 The original bracket I designed specifically for
the Masudaya Robby. It has since been updated to work with both the
Masudaya and Hallmark Robby. Compare the two robots
HERE
The original bracket I designed specifically for
the Masudaya Robby. It has since been updated to work with both the
Masudaya and Hallmark Robby. Compare the two robots
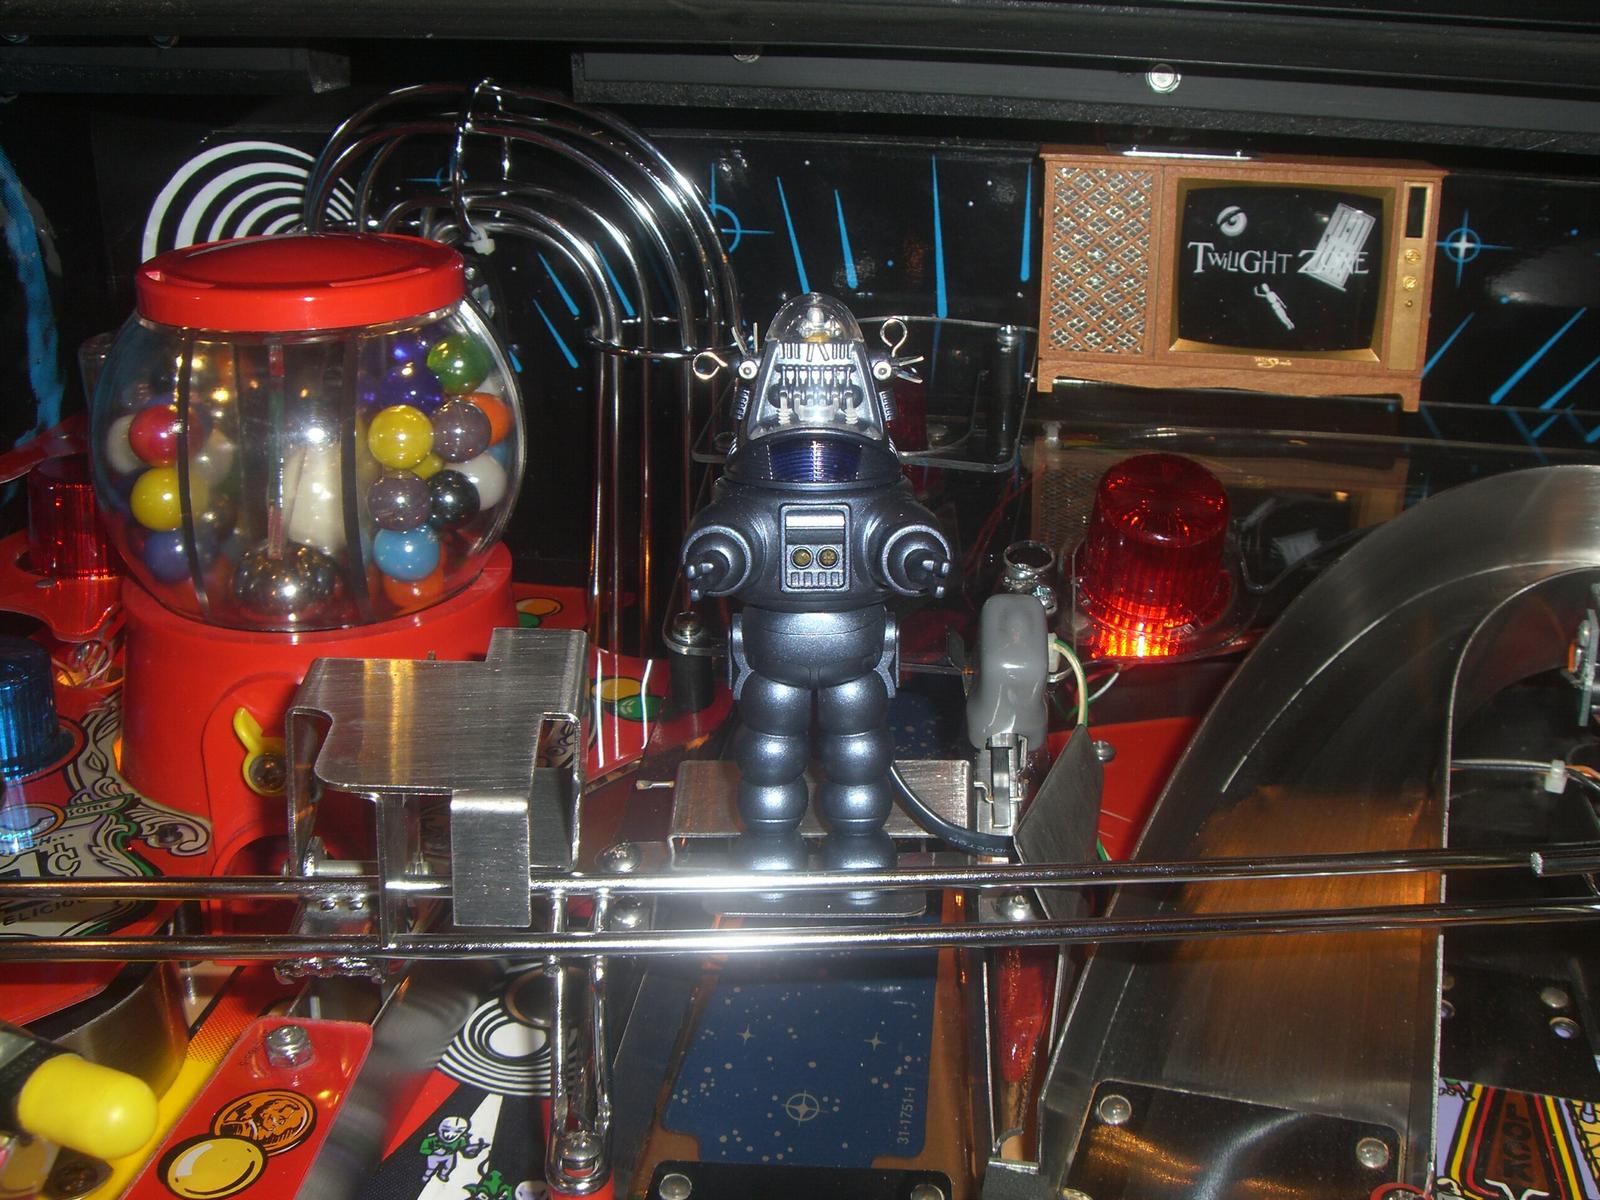
HERE This is a Tracy's Toys modded Masudaya Robby mounted on my bracket. It
is unclear as of this writing whether Tracy is still making them for
sale or not. They were a staple on eBay for many years.
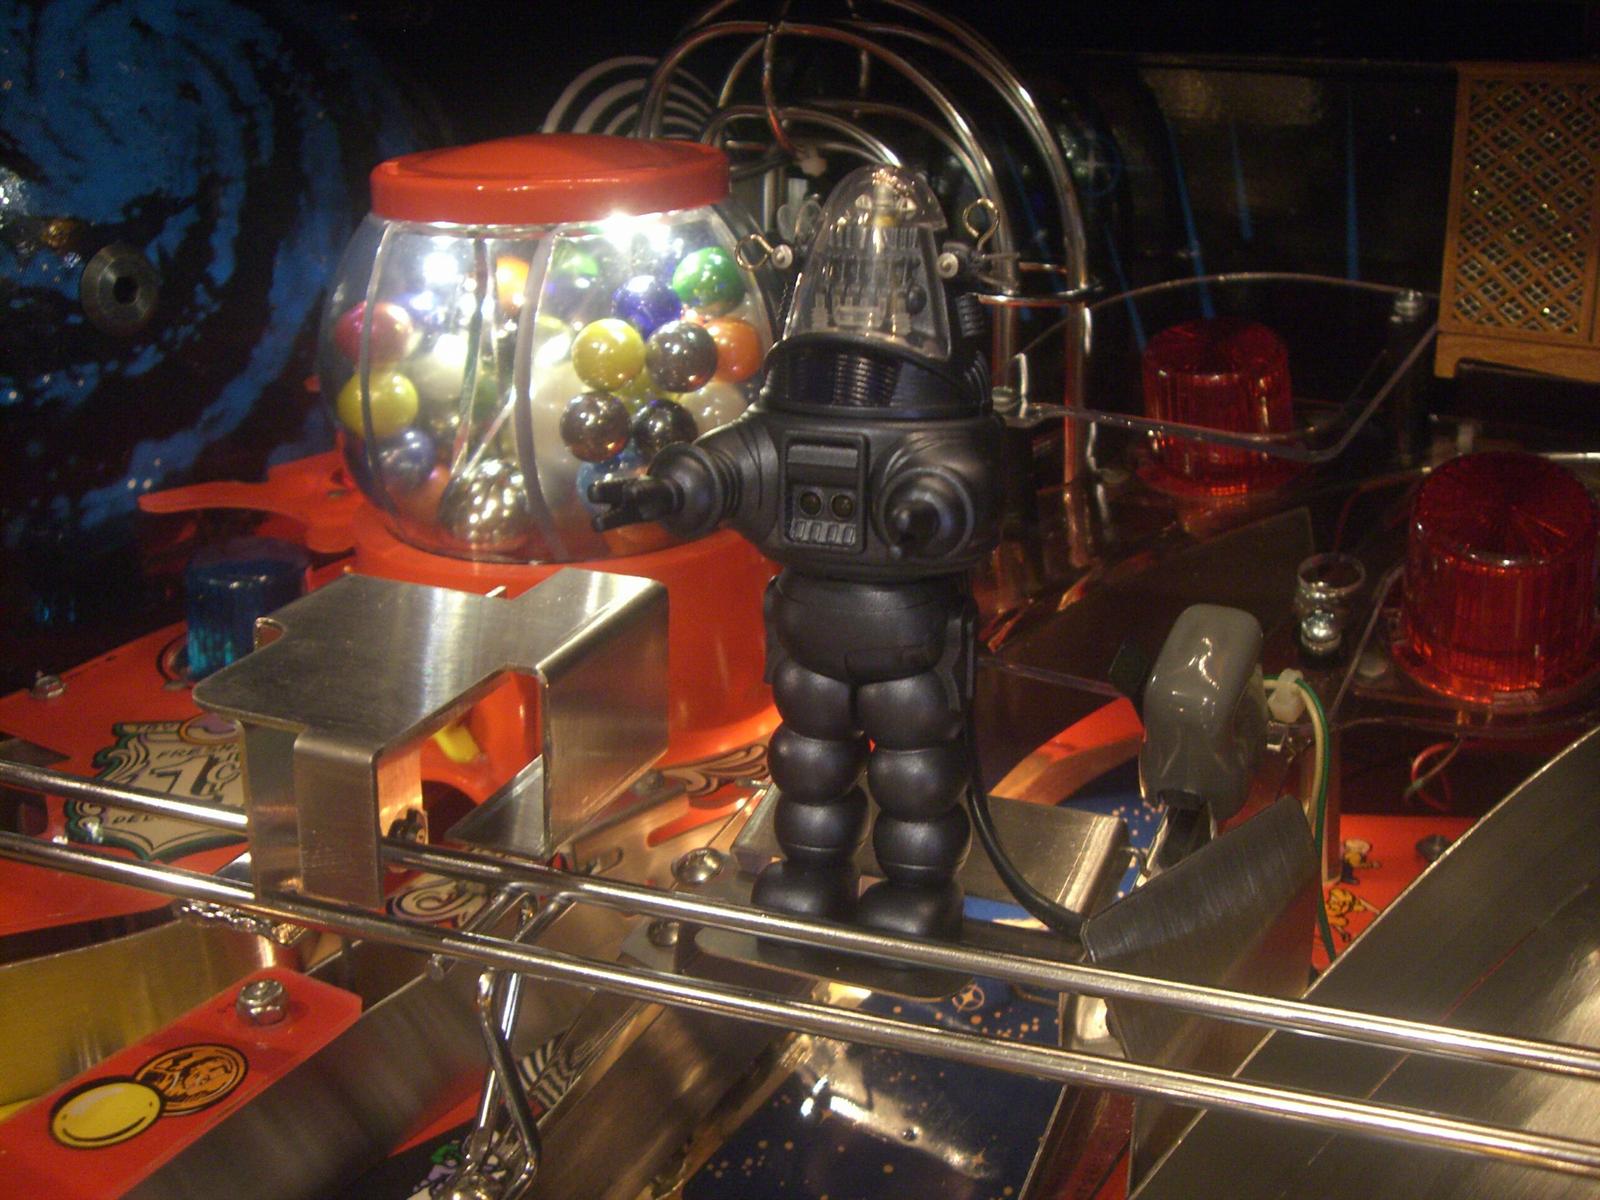
This is a Tracy's Toys modded Masudaya Robby mounted on my bracket. It
is unclear as of this writing whether Tracy is still making them for
sale or not. They were a staple on eBay for many years.
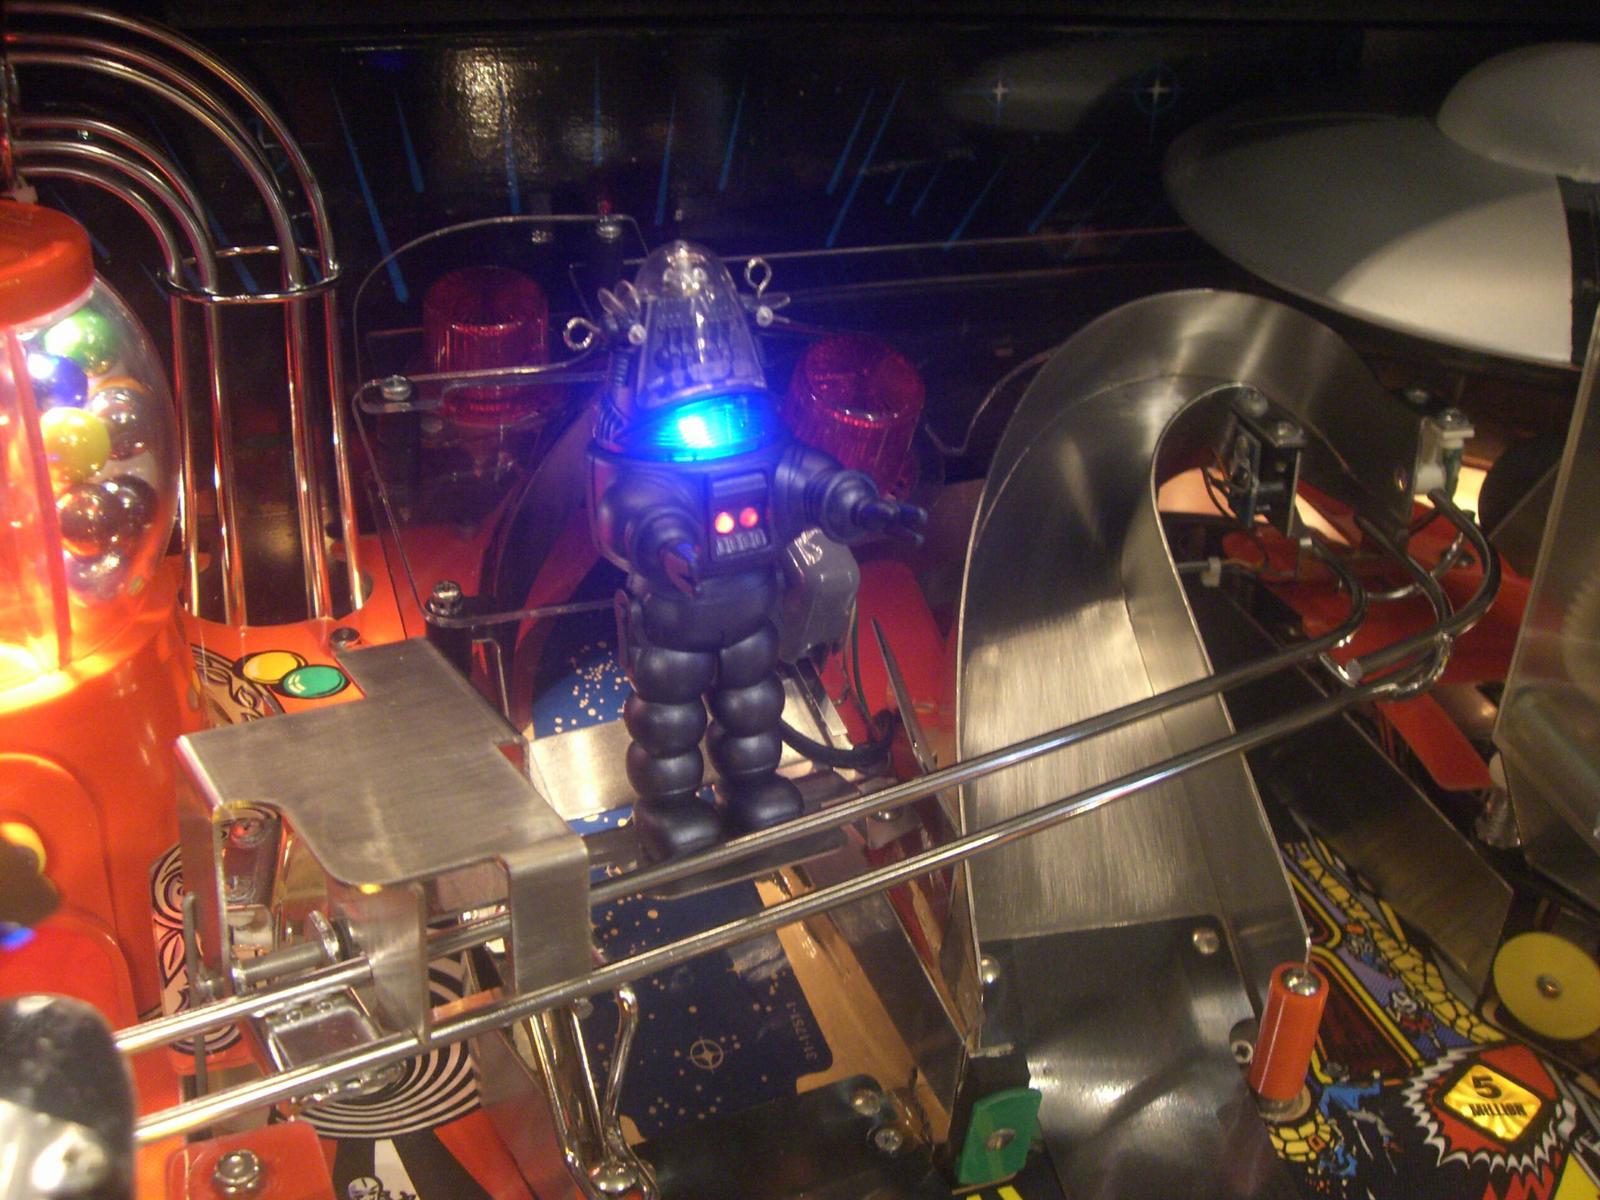
 Here you can see how the LED wiring cable runs behind Robby and down
through the hole in the playfield.
Here you can see how the LED wiring cable runs behind Robby and down
through the hole in the playfield.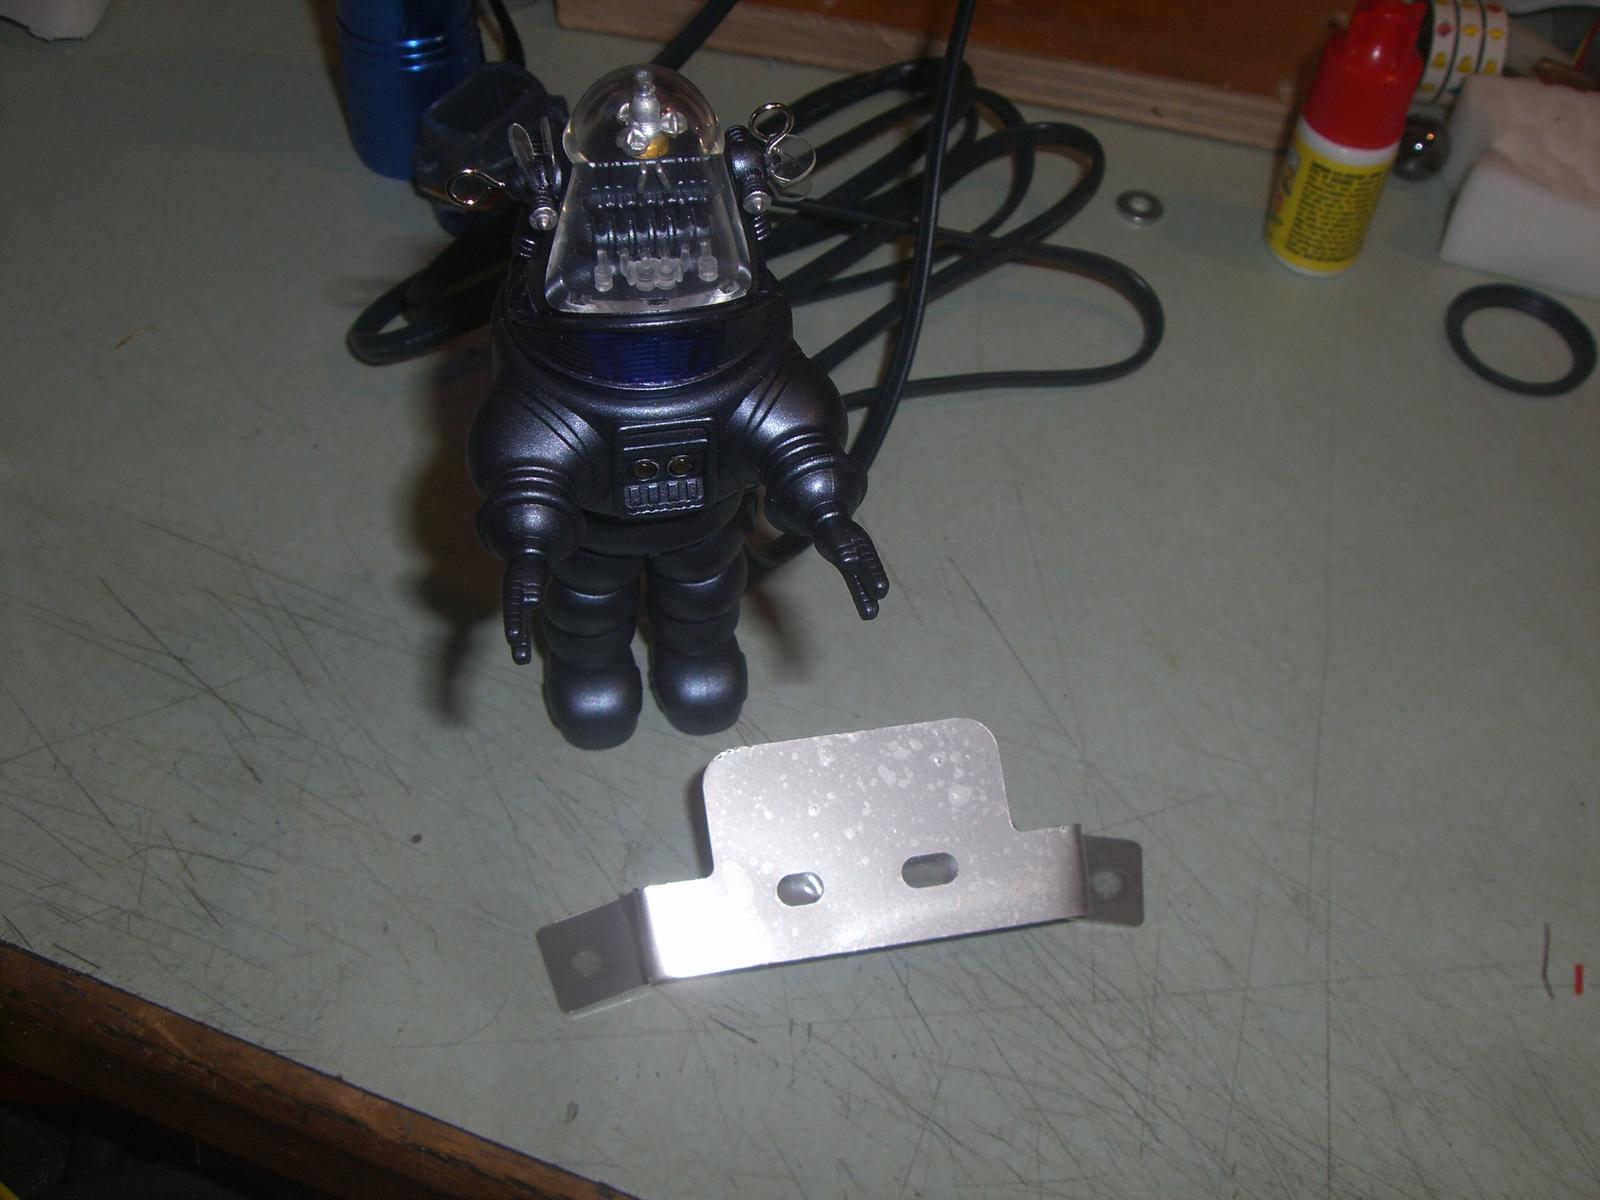 This
is my latest version of the mount bracket ready to be installed on a
Hallmark Robby. Don't forget to peel the protective film off the bracket
:)
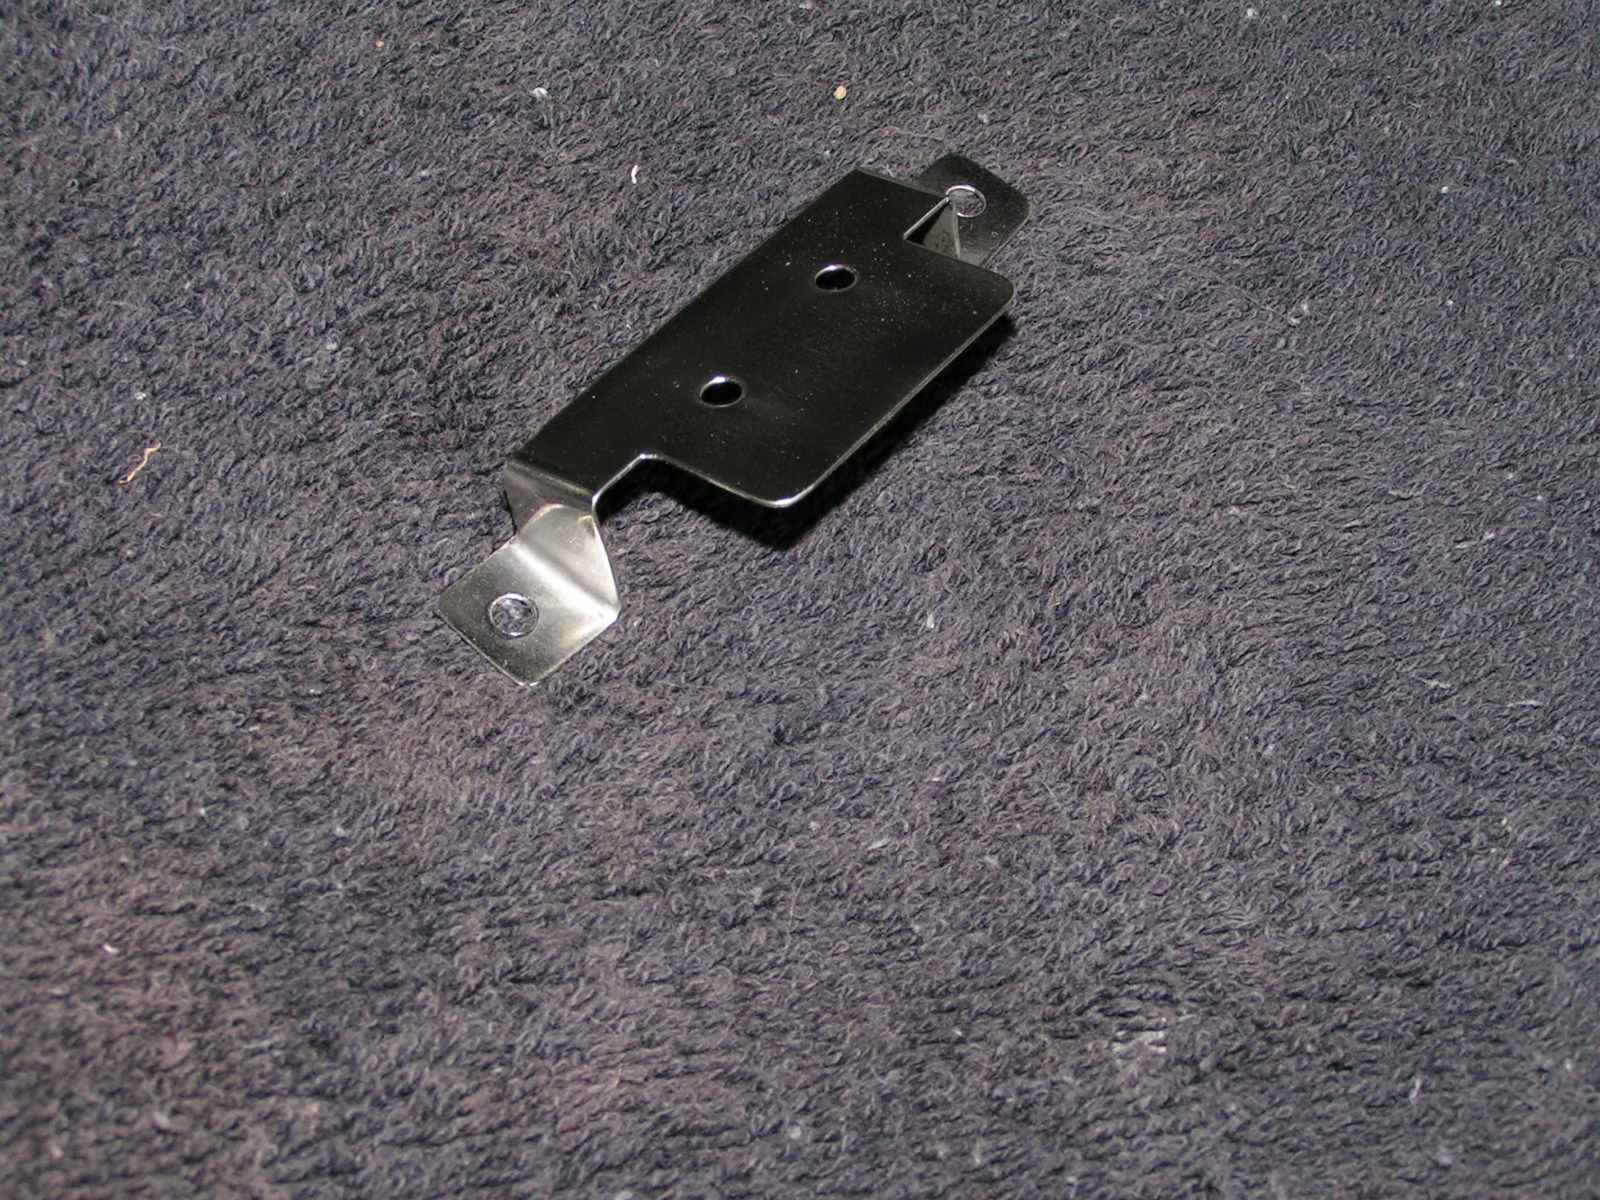
This
is my latest version of the mount bracket ready to be installed on a
Hallmark Robby. Don't forget to peel the protective film off the bracket
:)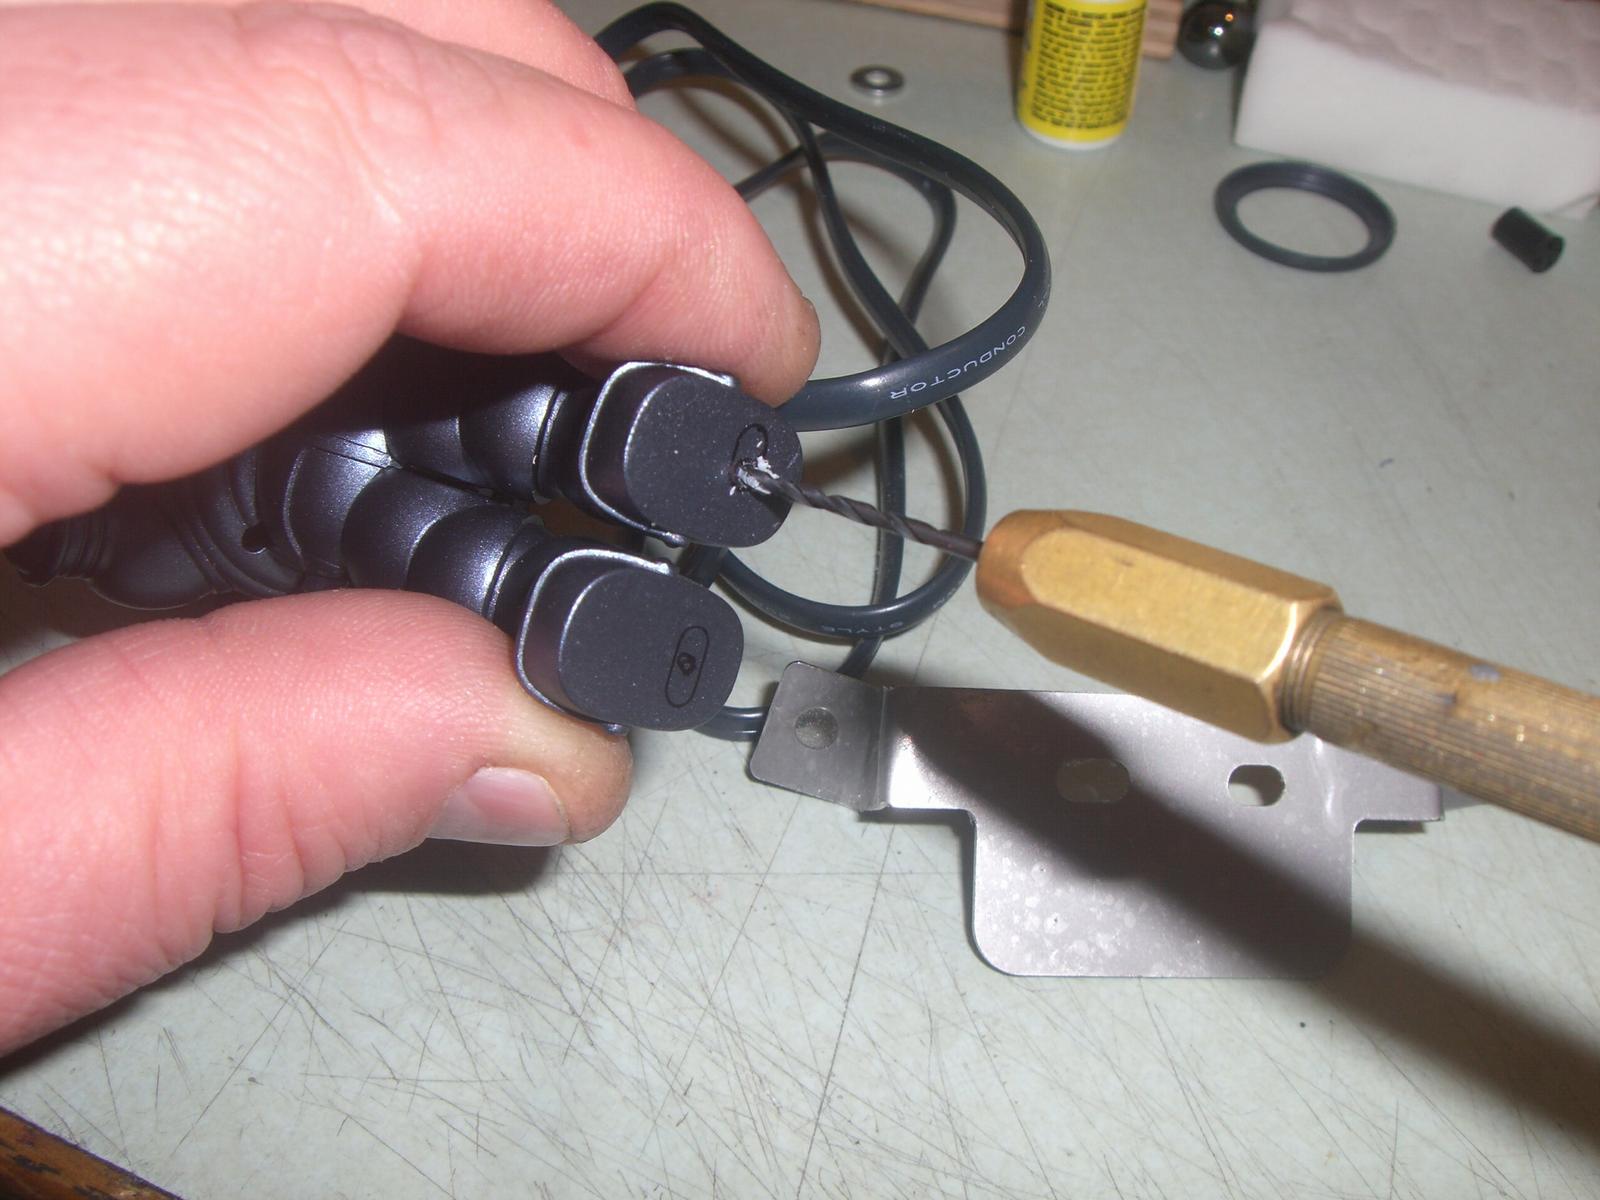 You can see I've marked the holes in the bracket on the bottom of
Robby's feet. I then made two more smaller marks to center the screws.
I'm using a common pin vise and a very small #40 drill bit to make the
pilot holes for the screws.
You can see I've marked the holes in the bracket on the bottom of
Robby's feet. I then made two more smaller marks to center the screws.
I'm using a common pin vise and a very small #40 drill bit to make the
pilot holes for the screws.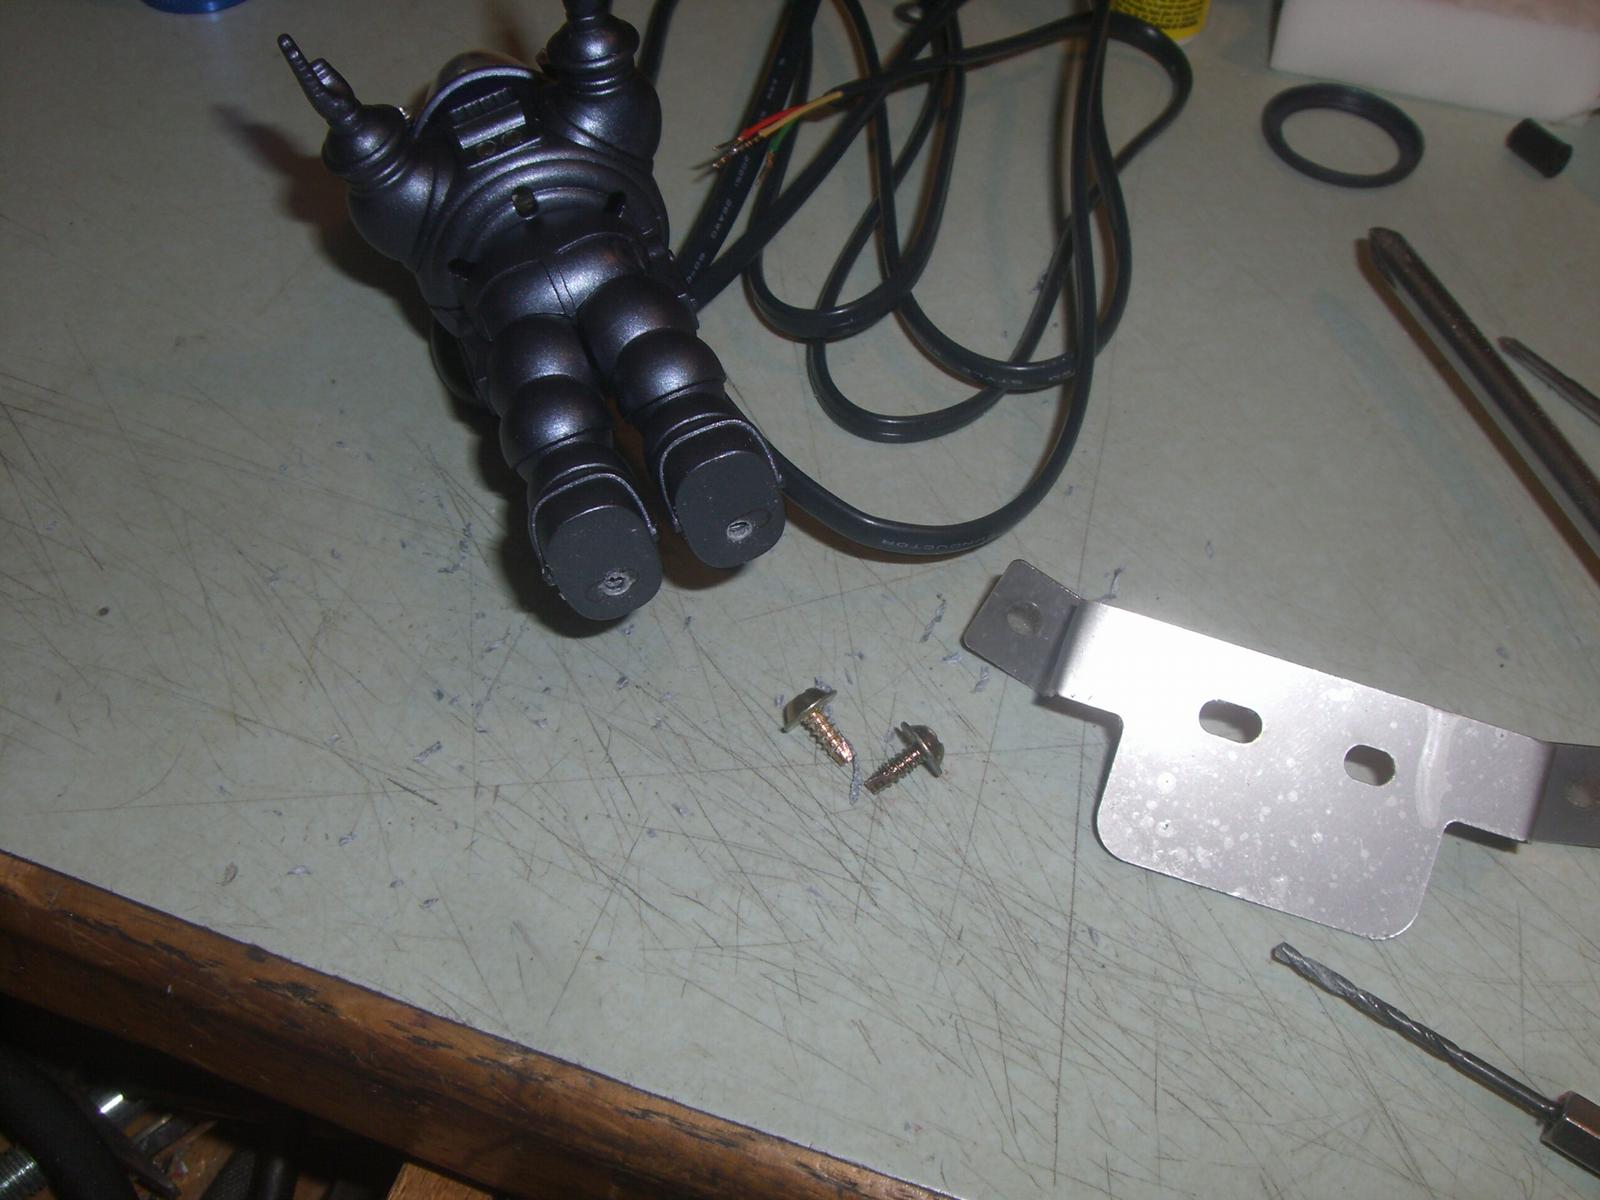 I dug through my screw bins and found two #6 self tapping sheetmetal
screws. At this time I do not include screws with the bracket as these
are easily found at your local hardware store, if not in your own garage
:)
I dug through my screw bins and found two #6 self tapping sheetmetal
screws. At this time I do not include screws with the bracket as these
are easily found at your local hardware store, if not in your own garage
:)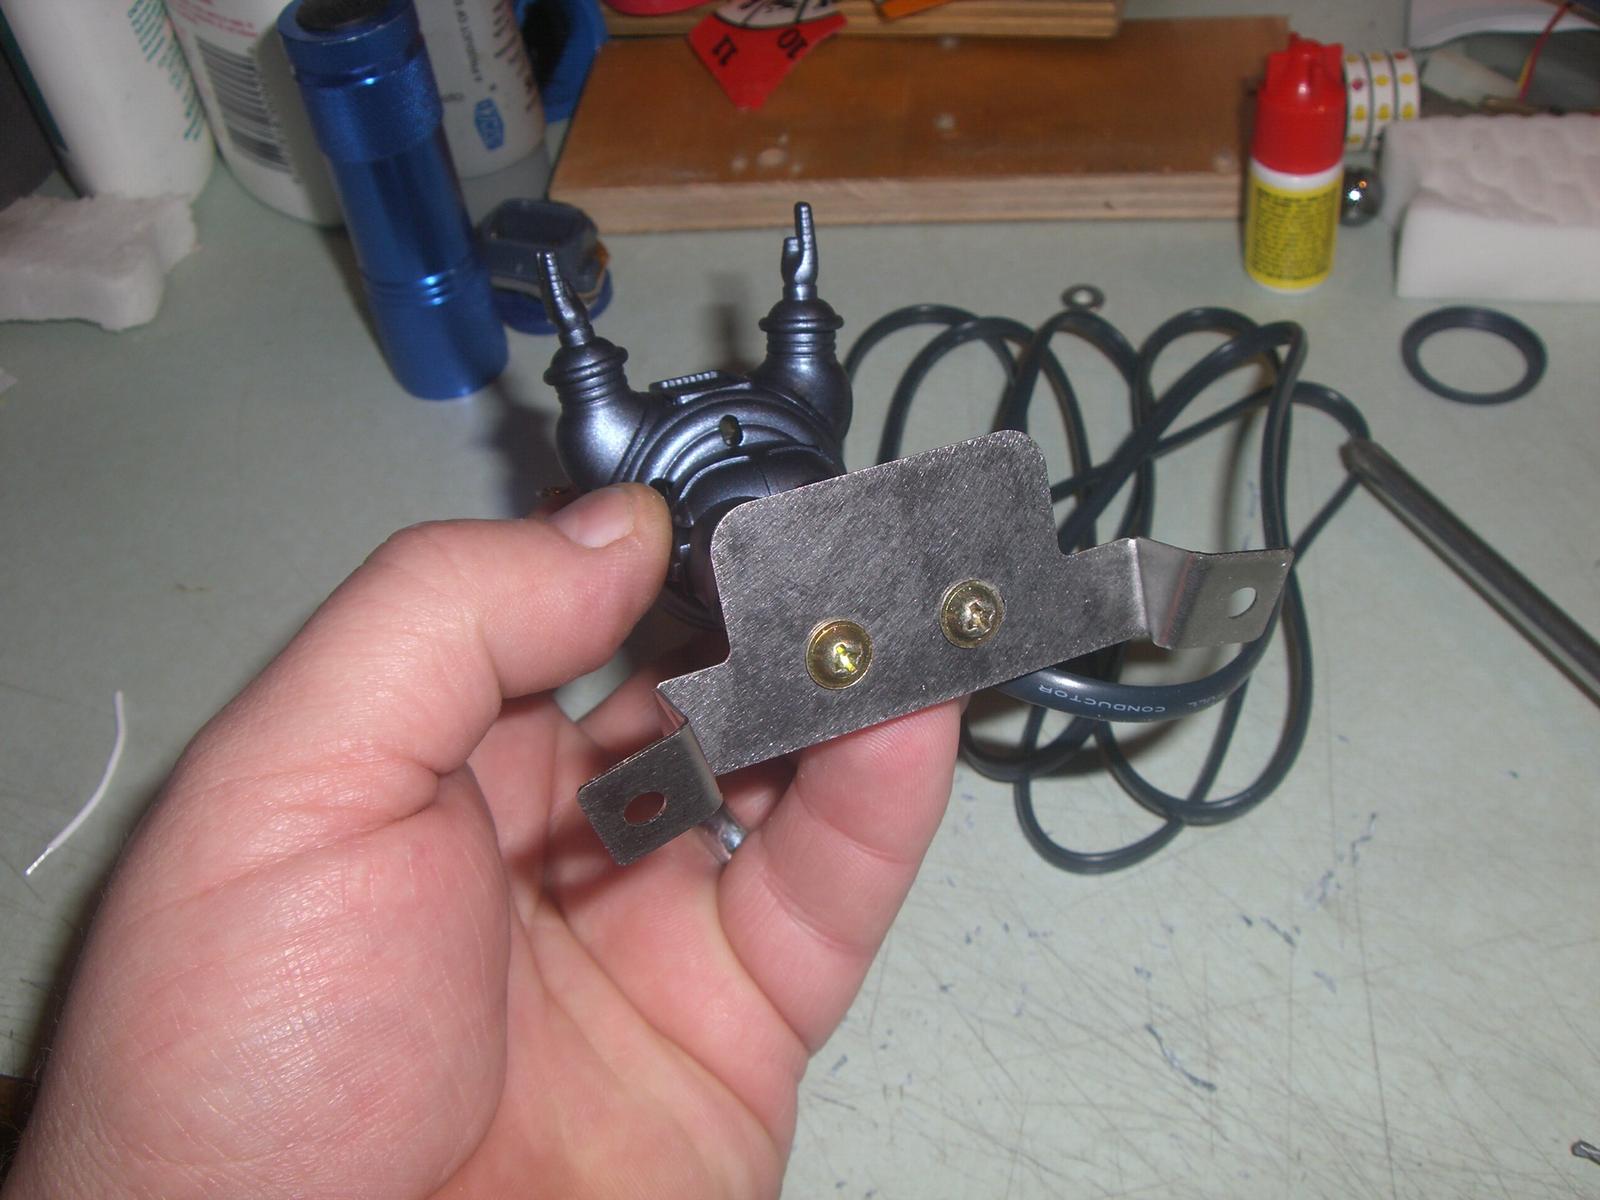 Showing the screws attaching the bracket to Robby's feet. Any small #4
to #6 sheetmetal screws will work fine.
Showing the screws attaching the bracket to Robby's feet. Any small #4
to #6 sheetmetal screws will work fine. There you have it! Ready to install on your left ramp!
Installed pix in next frame. You may notice other mods in those pix. I'll explain how I made them on a separate web page.... someday :)