In this section we're going to put a smooth, high polish on our restored and Varathaned playfield. I do this within a week from the last coat of clear. My favorite polish is 3M Finesse-it II available at auto parts and paint supply stores. Stay away from petroleum based polishes! They tend to gum up and overheat the Varathane causing streaking and possible tears in the clear. I use a 2500 rpm DeWalt VSR drill motor and a 4 inch buffing arbor. The one Treasure Cove sells is very nice but don't use his compounds on Varathane. His compounds are made for catalyzed hard coats and Mylar refinishing and work great for that. I start by squeezing out a line of compound about a foot long and then use the foam pad to smear it around without power to the drill. Once a thin film is spread out start the drill up to about 1/3rd speed and keep it moving across the playfield. Never stop in one spot! After picking up all the compound speed up the drill above half speed and carry on. If you start seeing fine foam powder stop as you are wearing out the pad. Add more compound as before and keep with the same pattern until you've polished the playfield entirely. It should look pretty nice at this point but we're not done yet! Now we'll switch to the lambs wool pad and do the same thing as before but now run the drill at top speed. Just float it, never try to put pressure on it. If you're still seeing sand scratches you probably need to block sand again with 1500 and then polish again. Hopefully you'll start seeing it turn out like the pics below :)
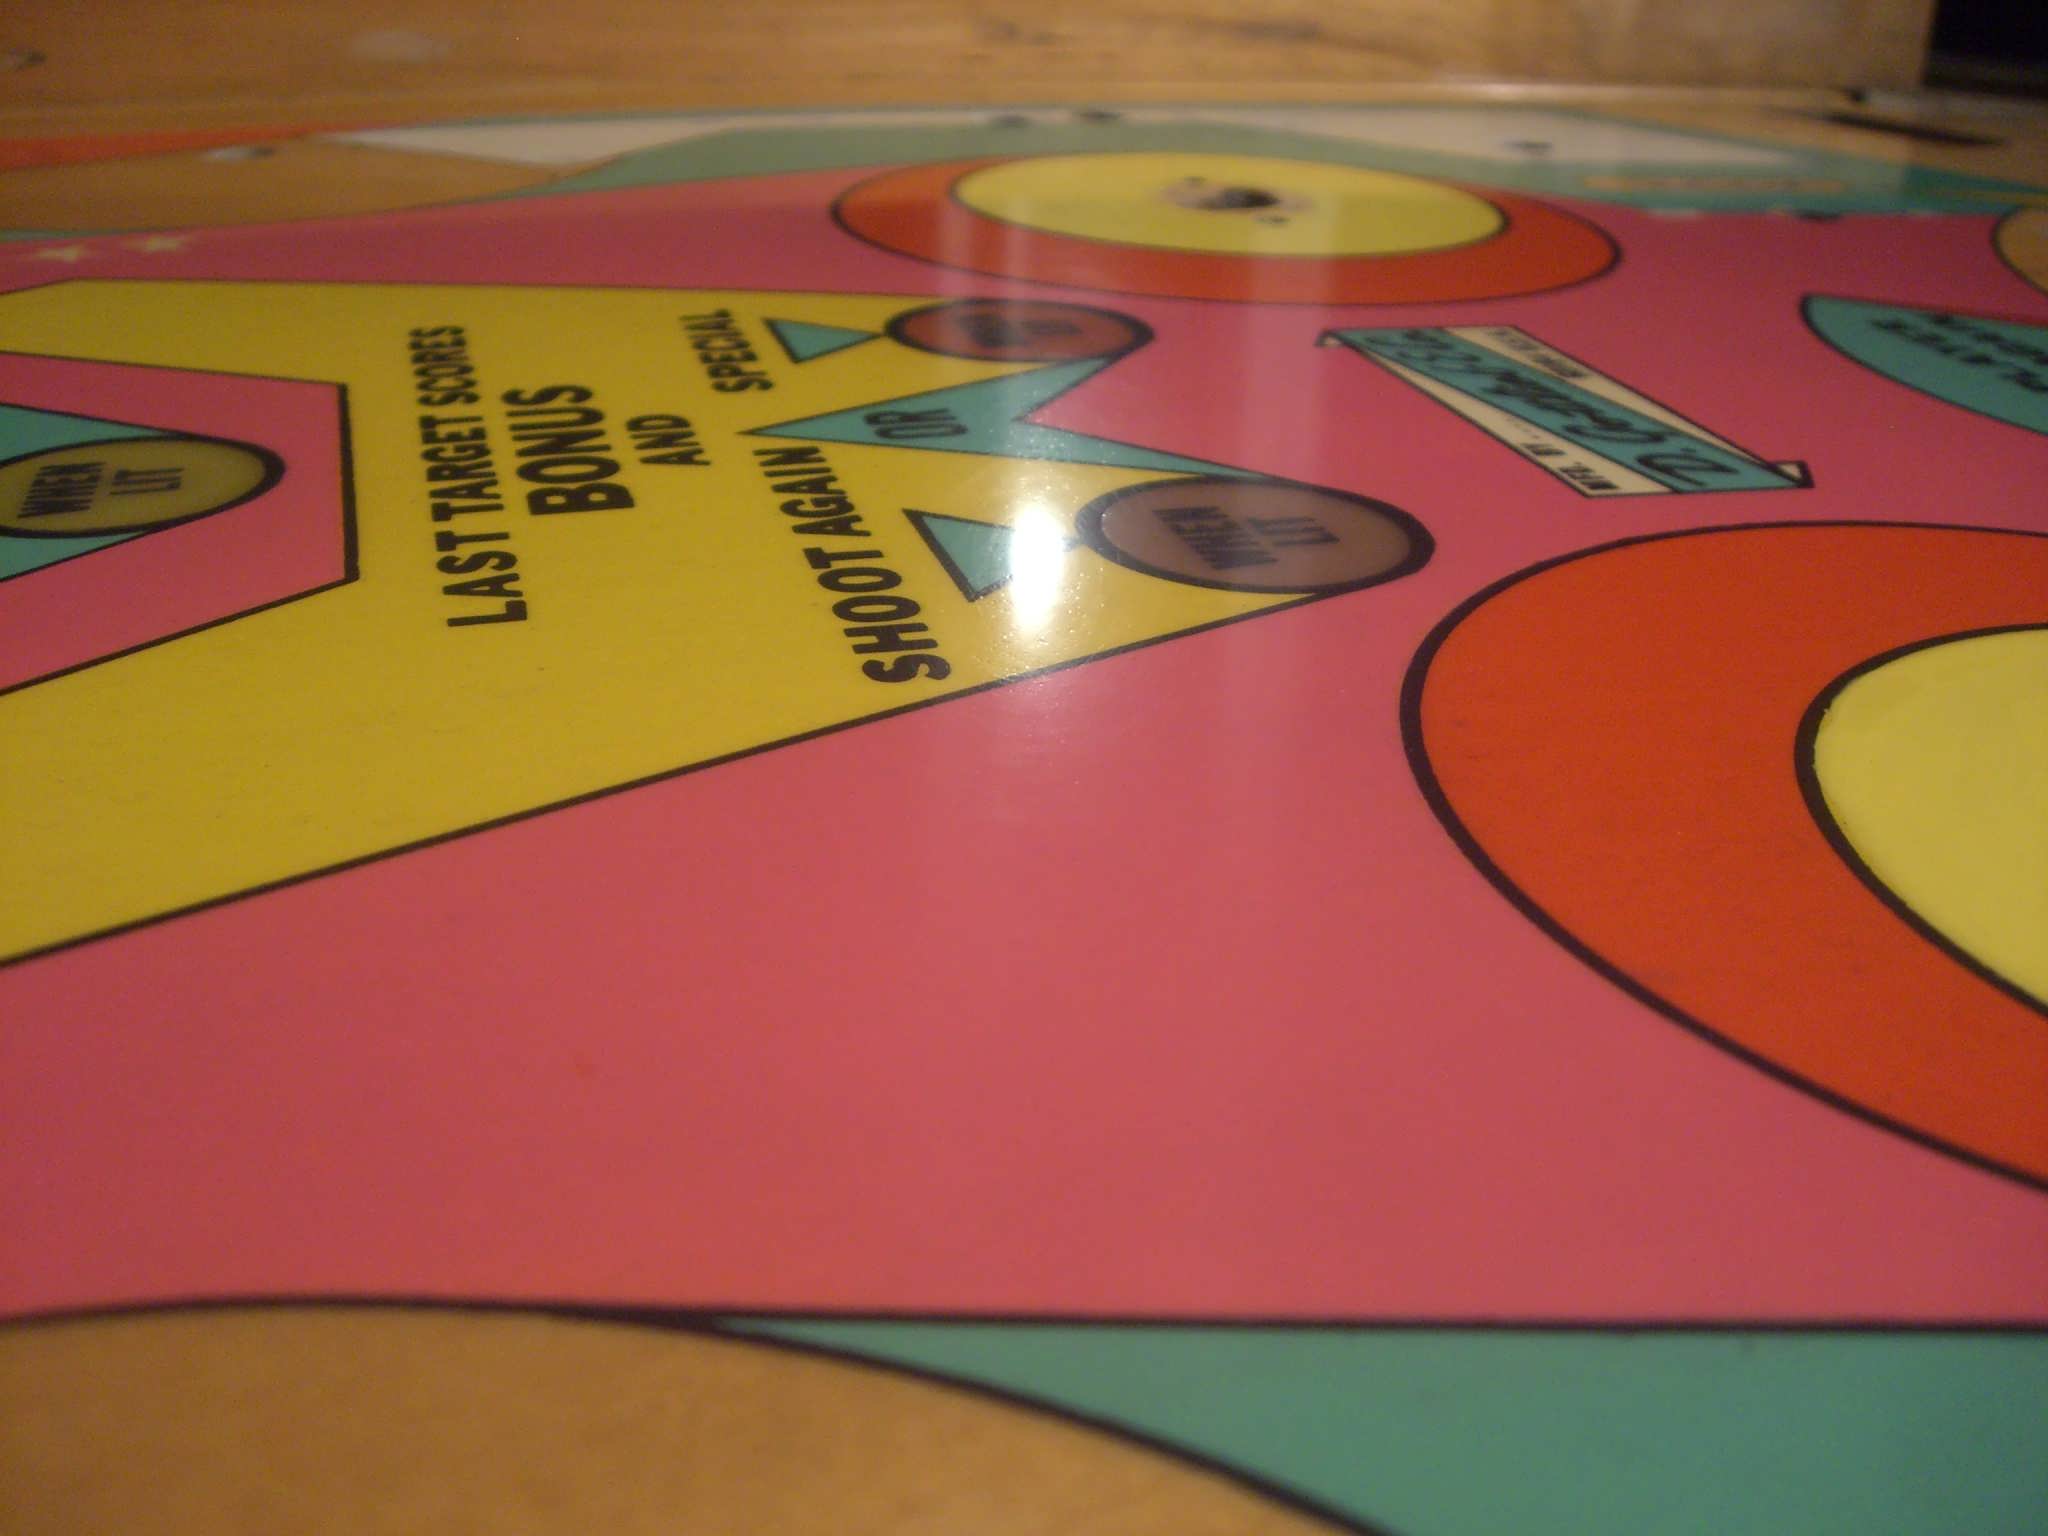


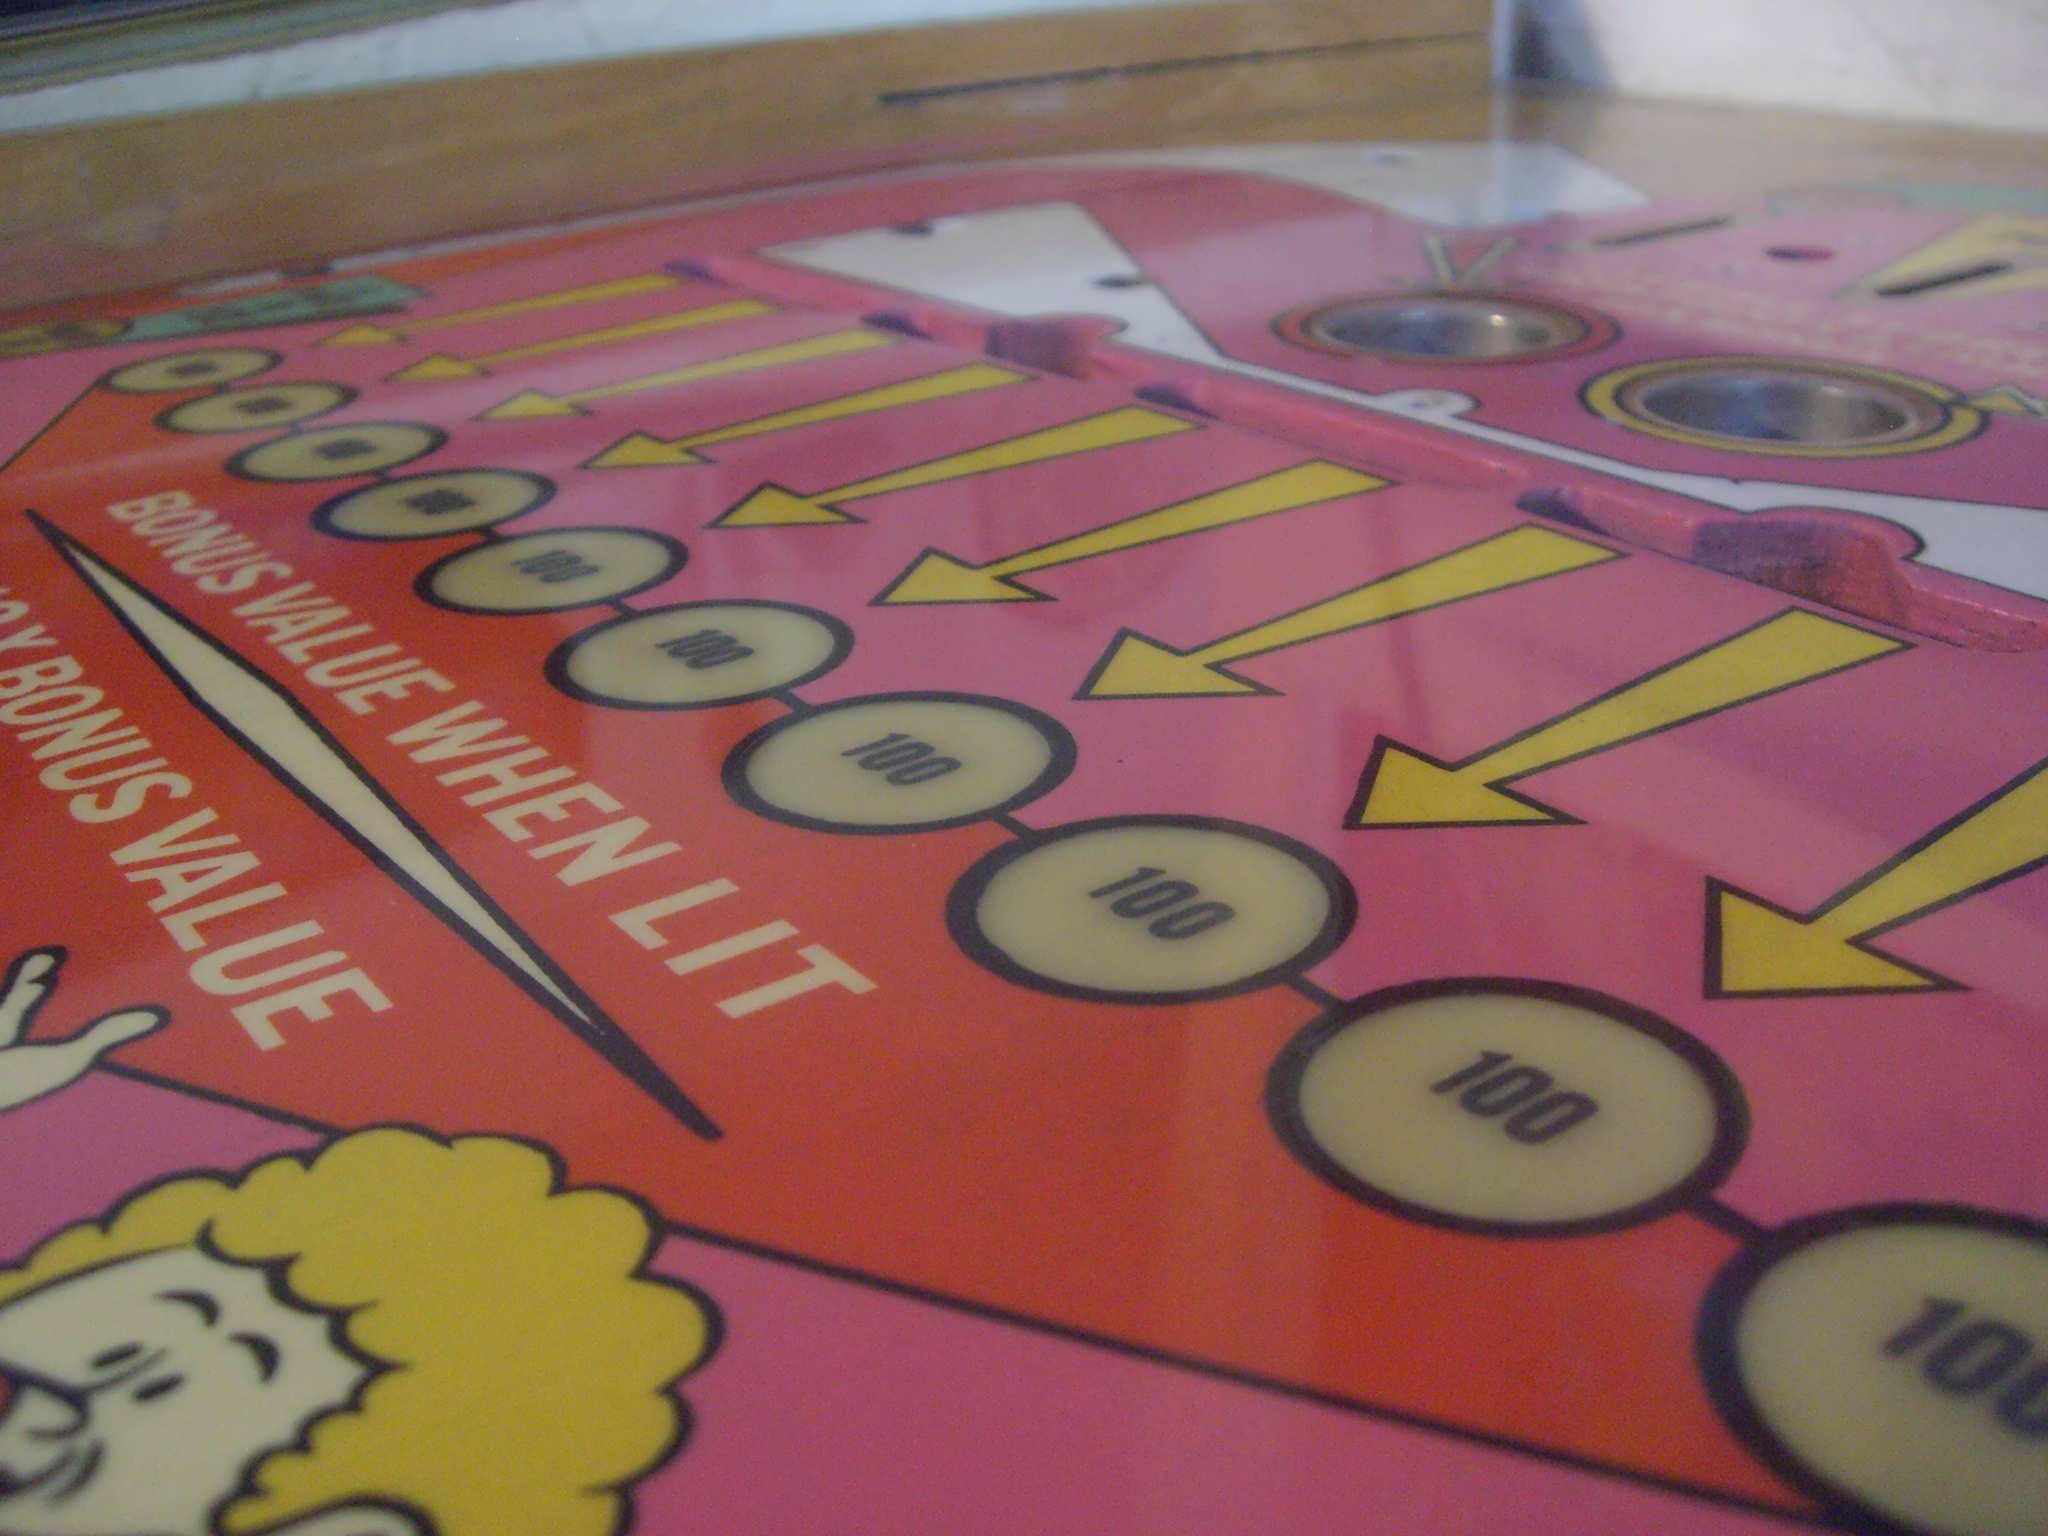

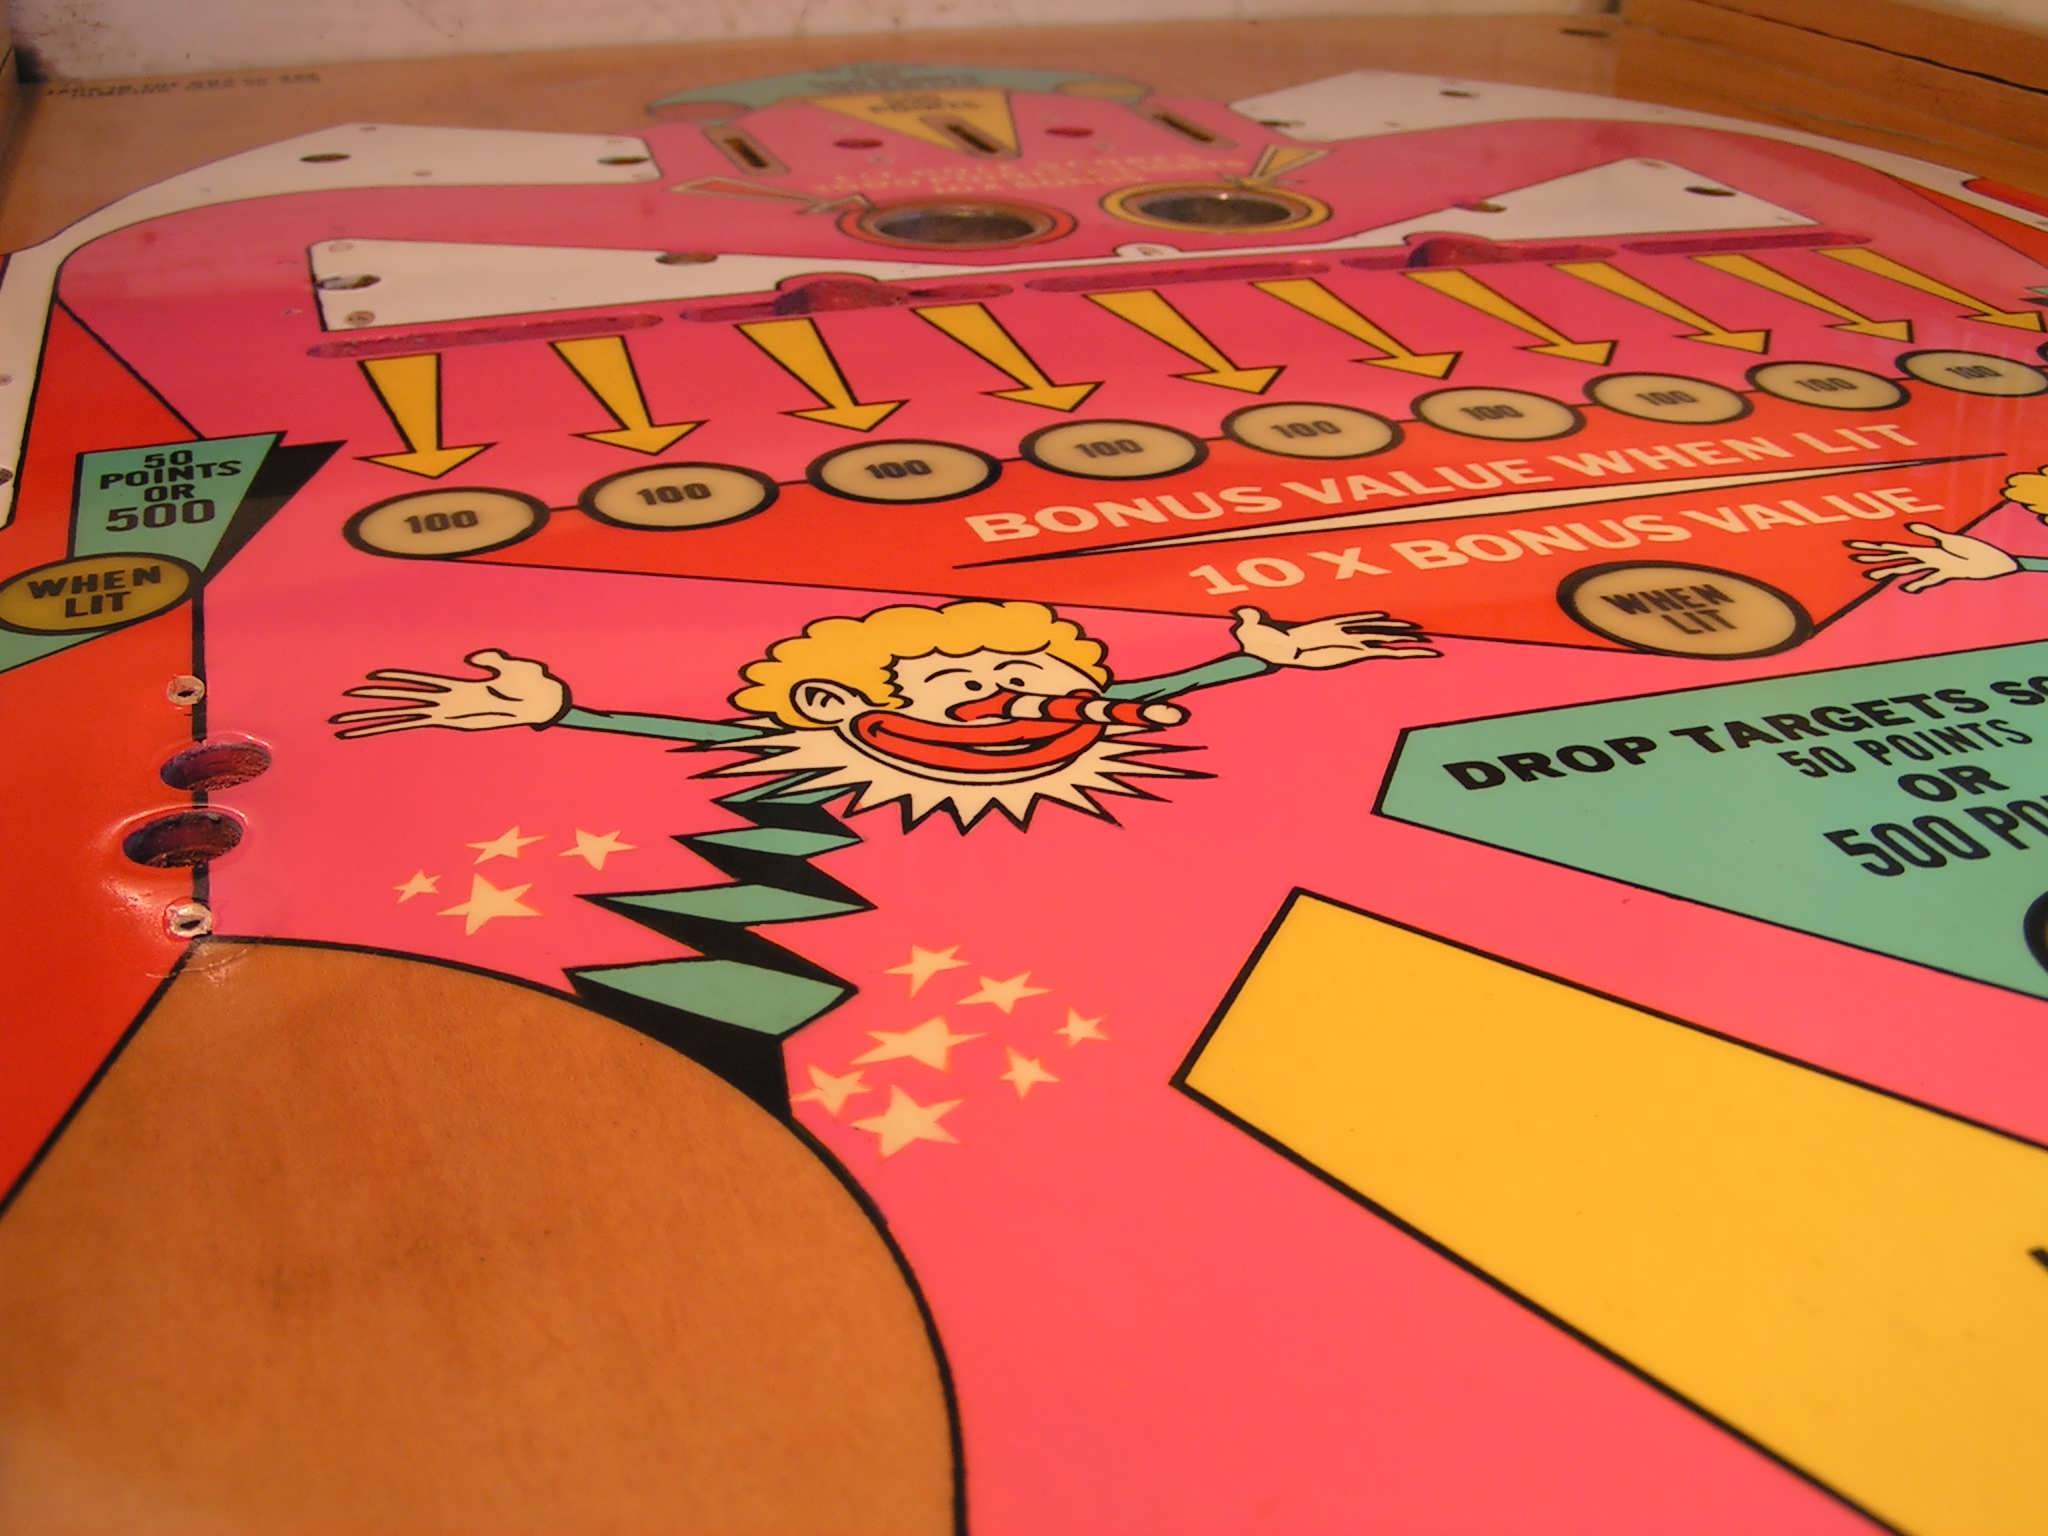

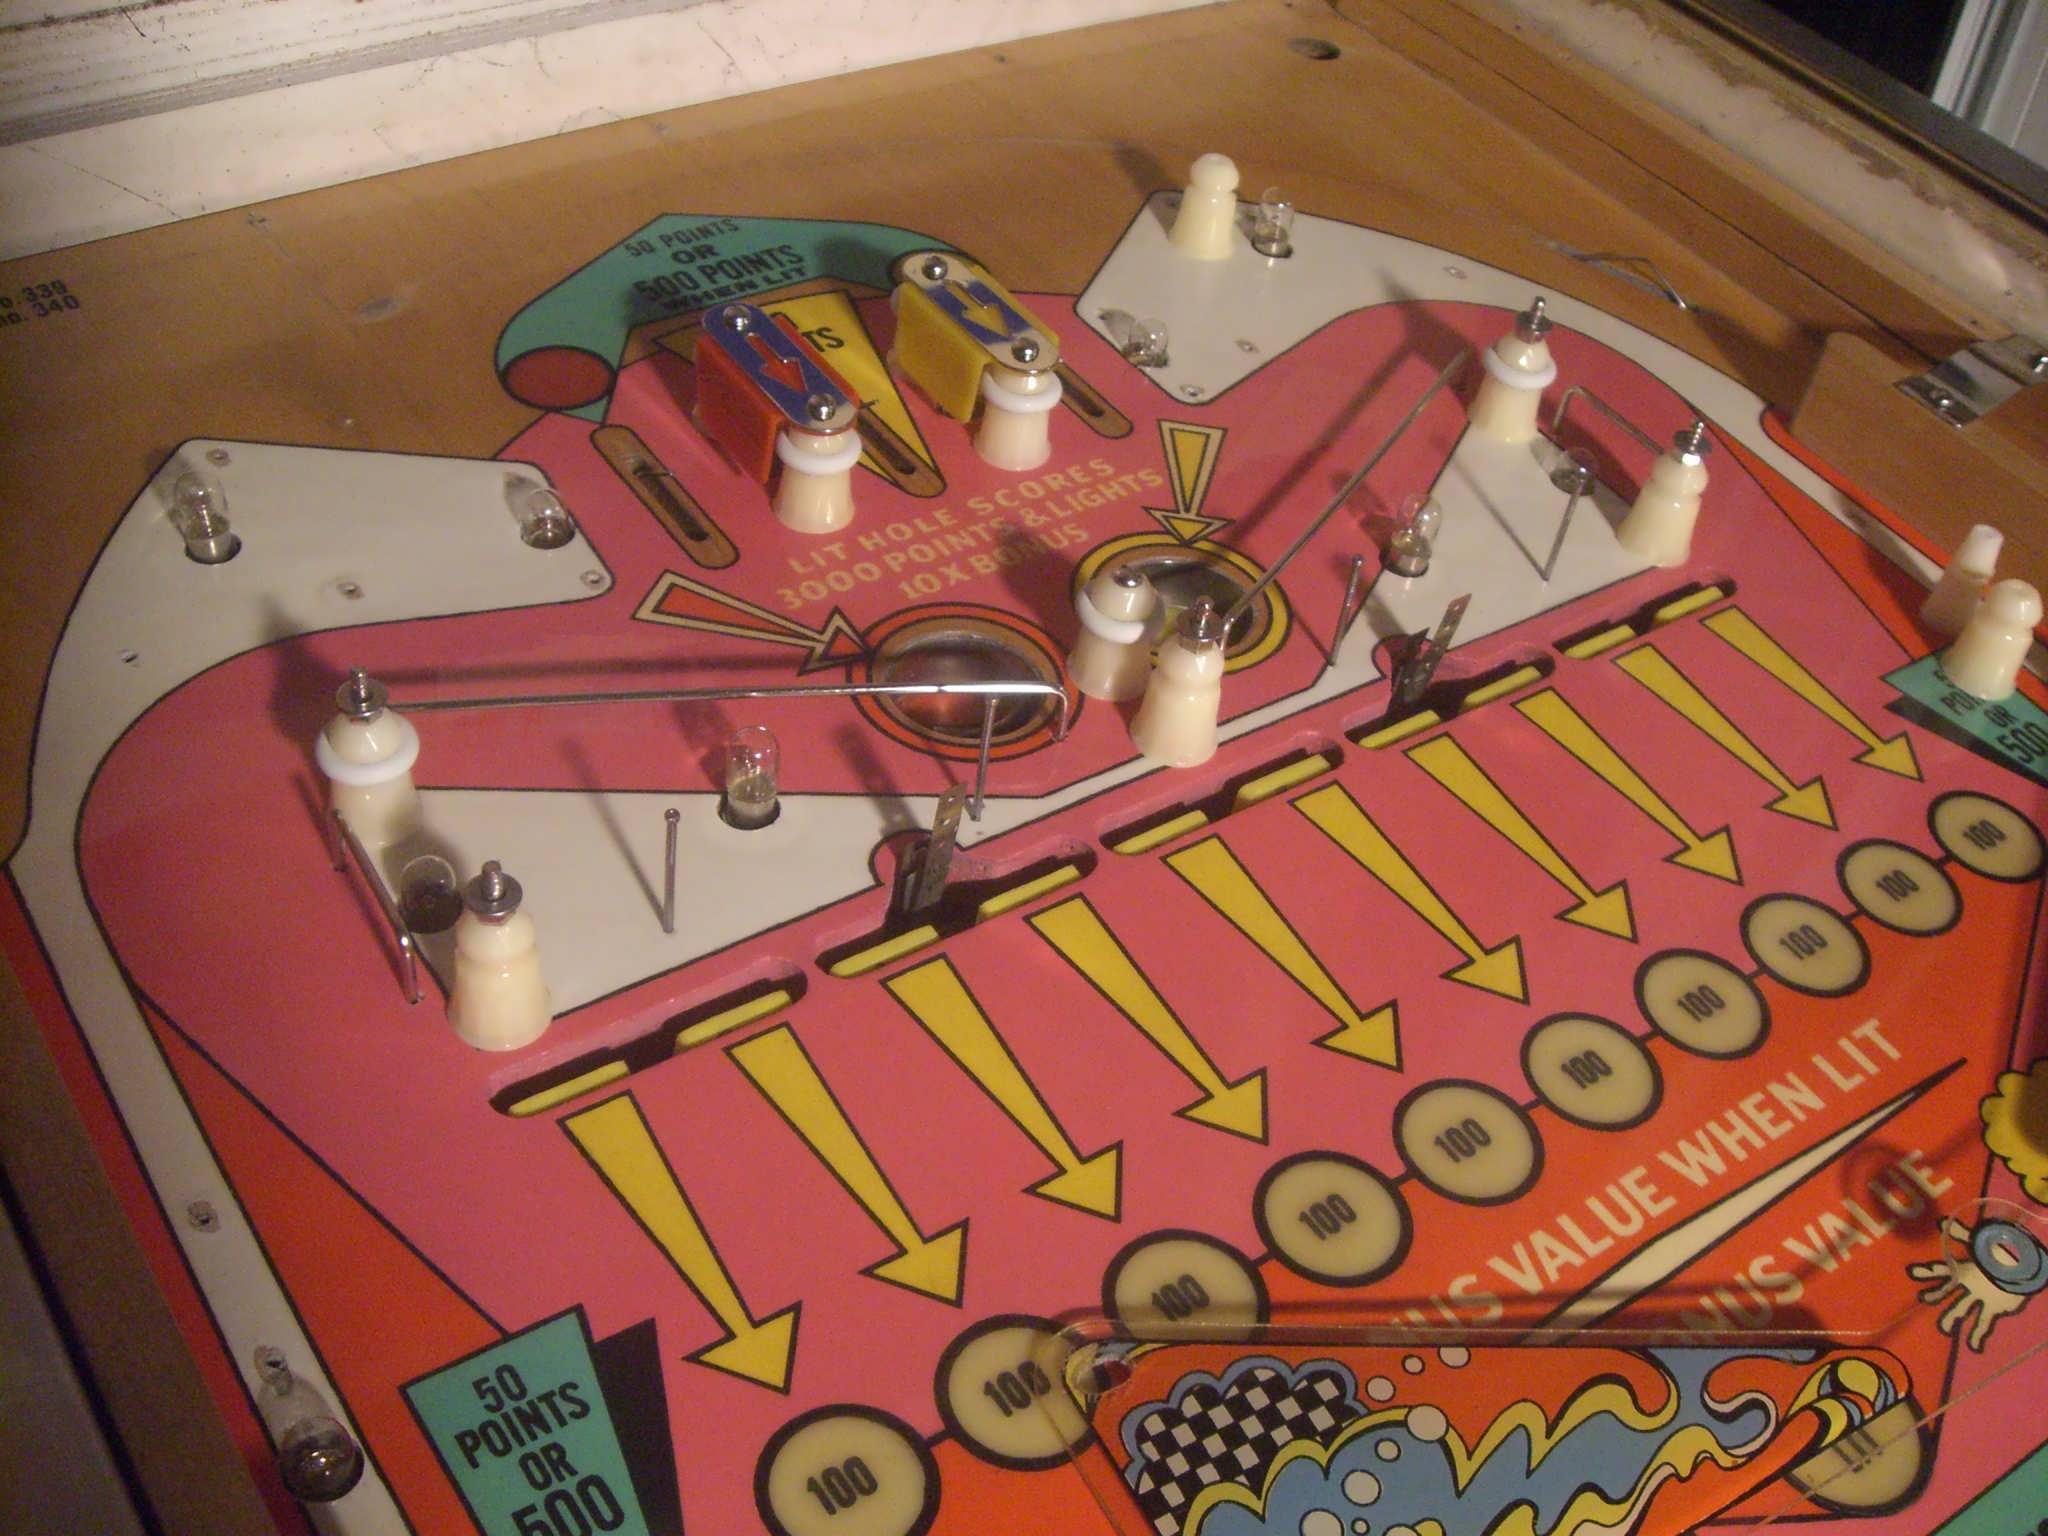
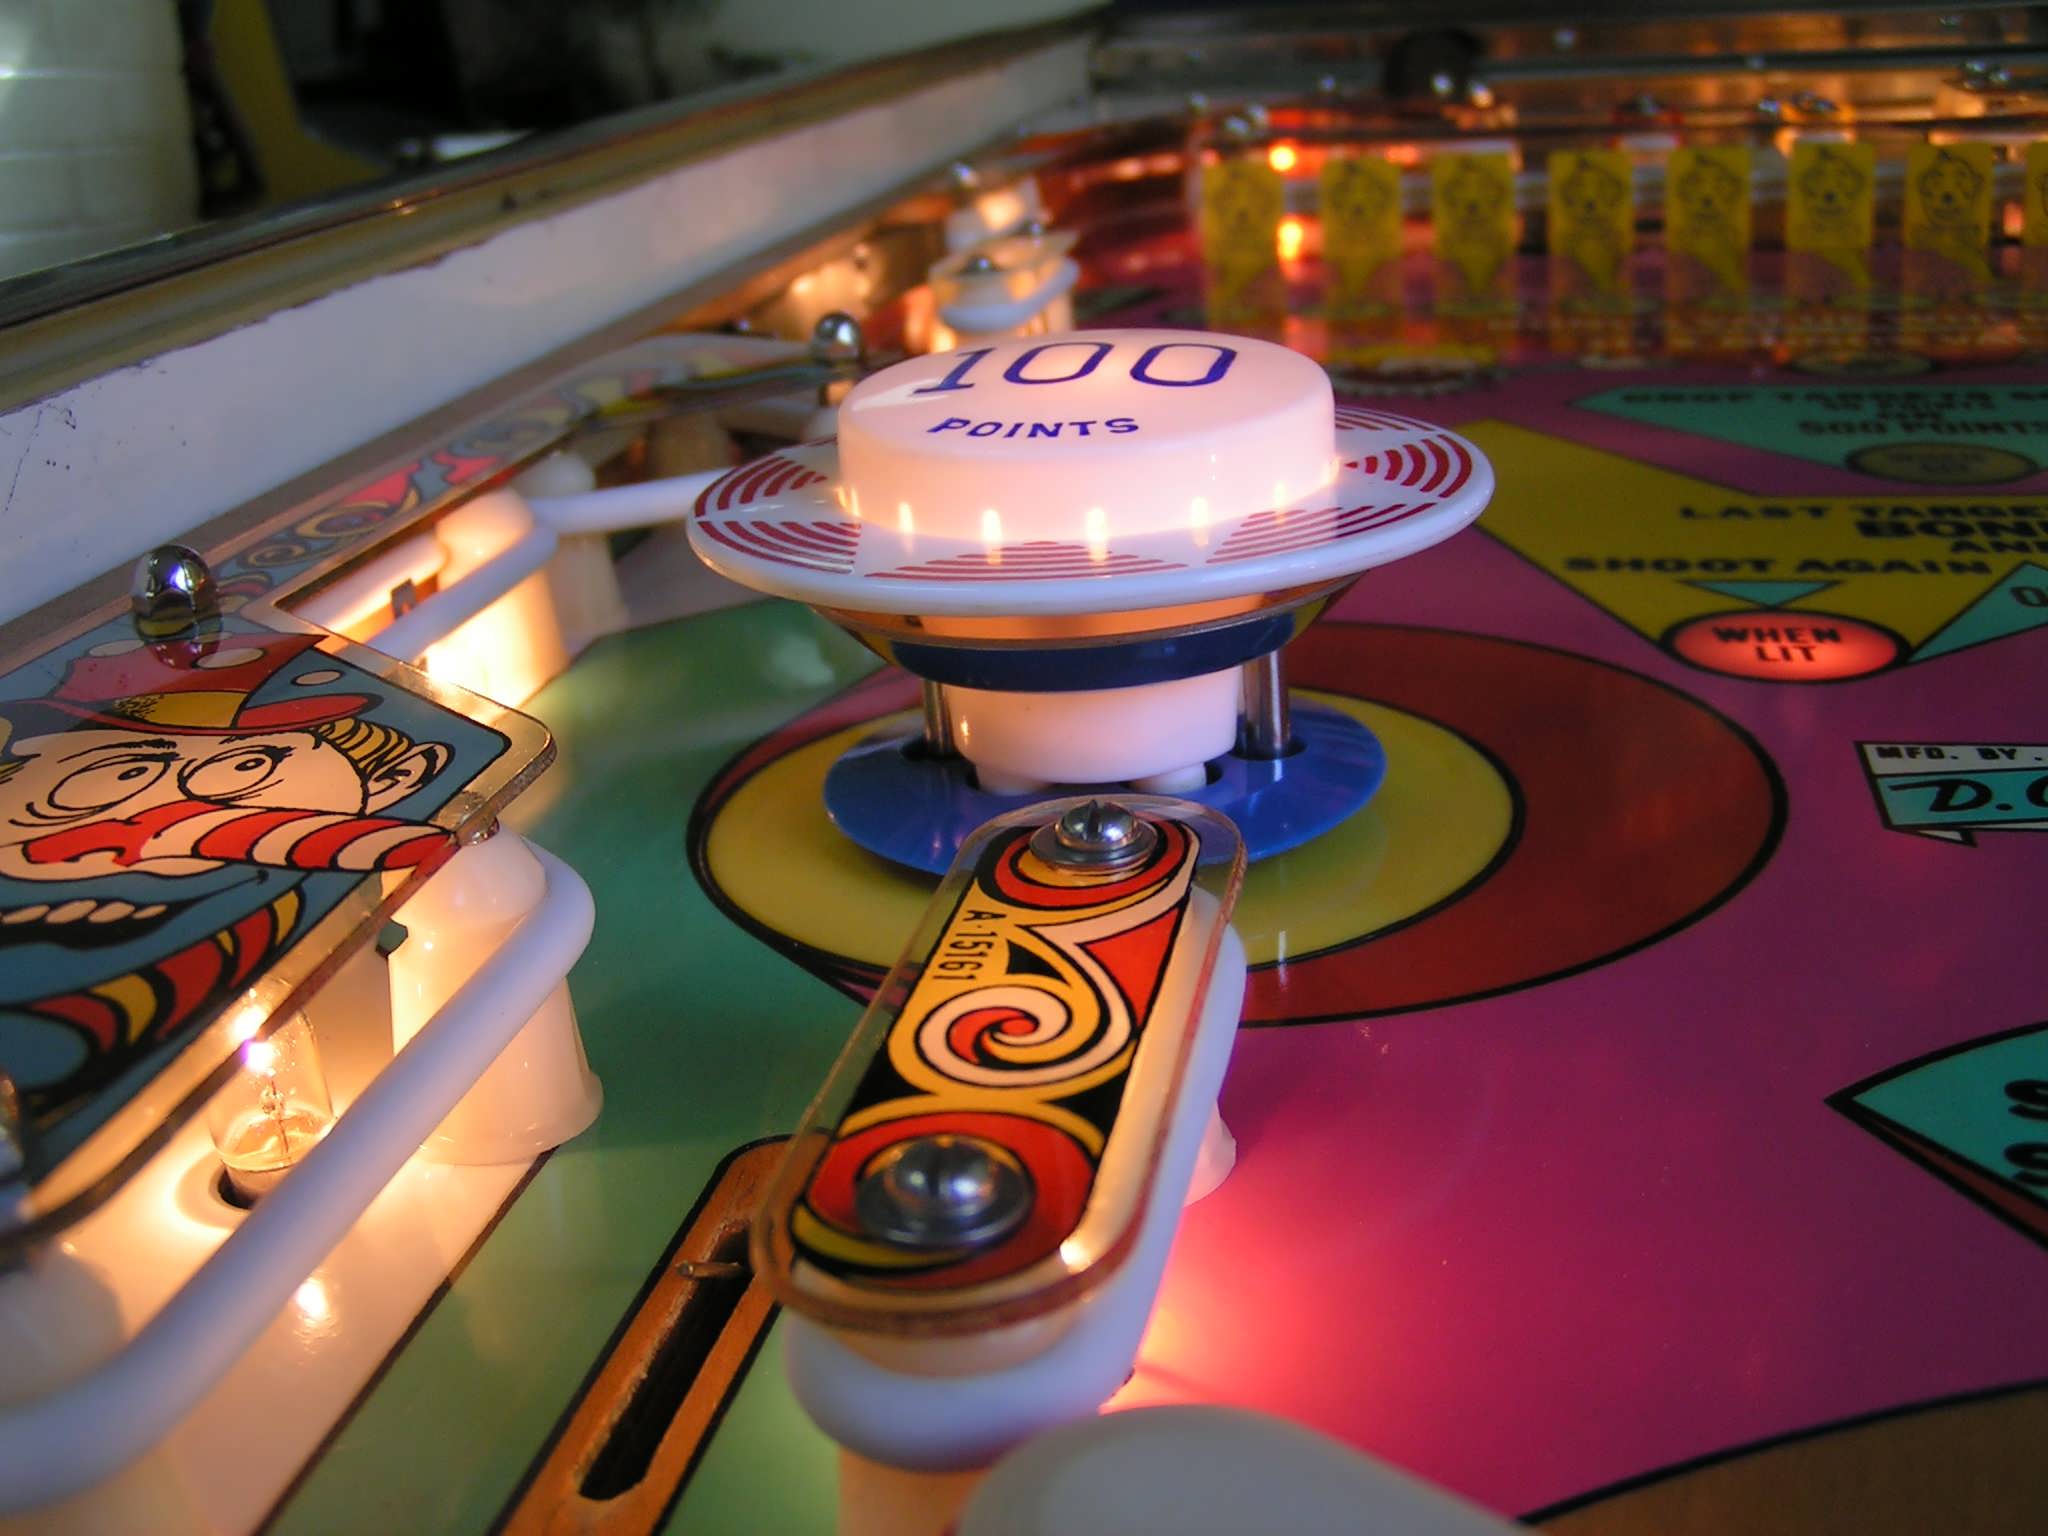
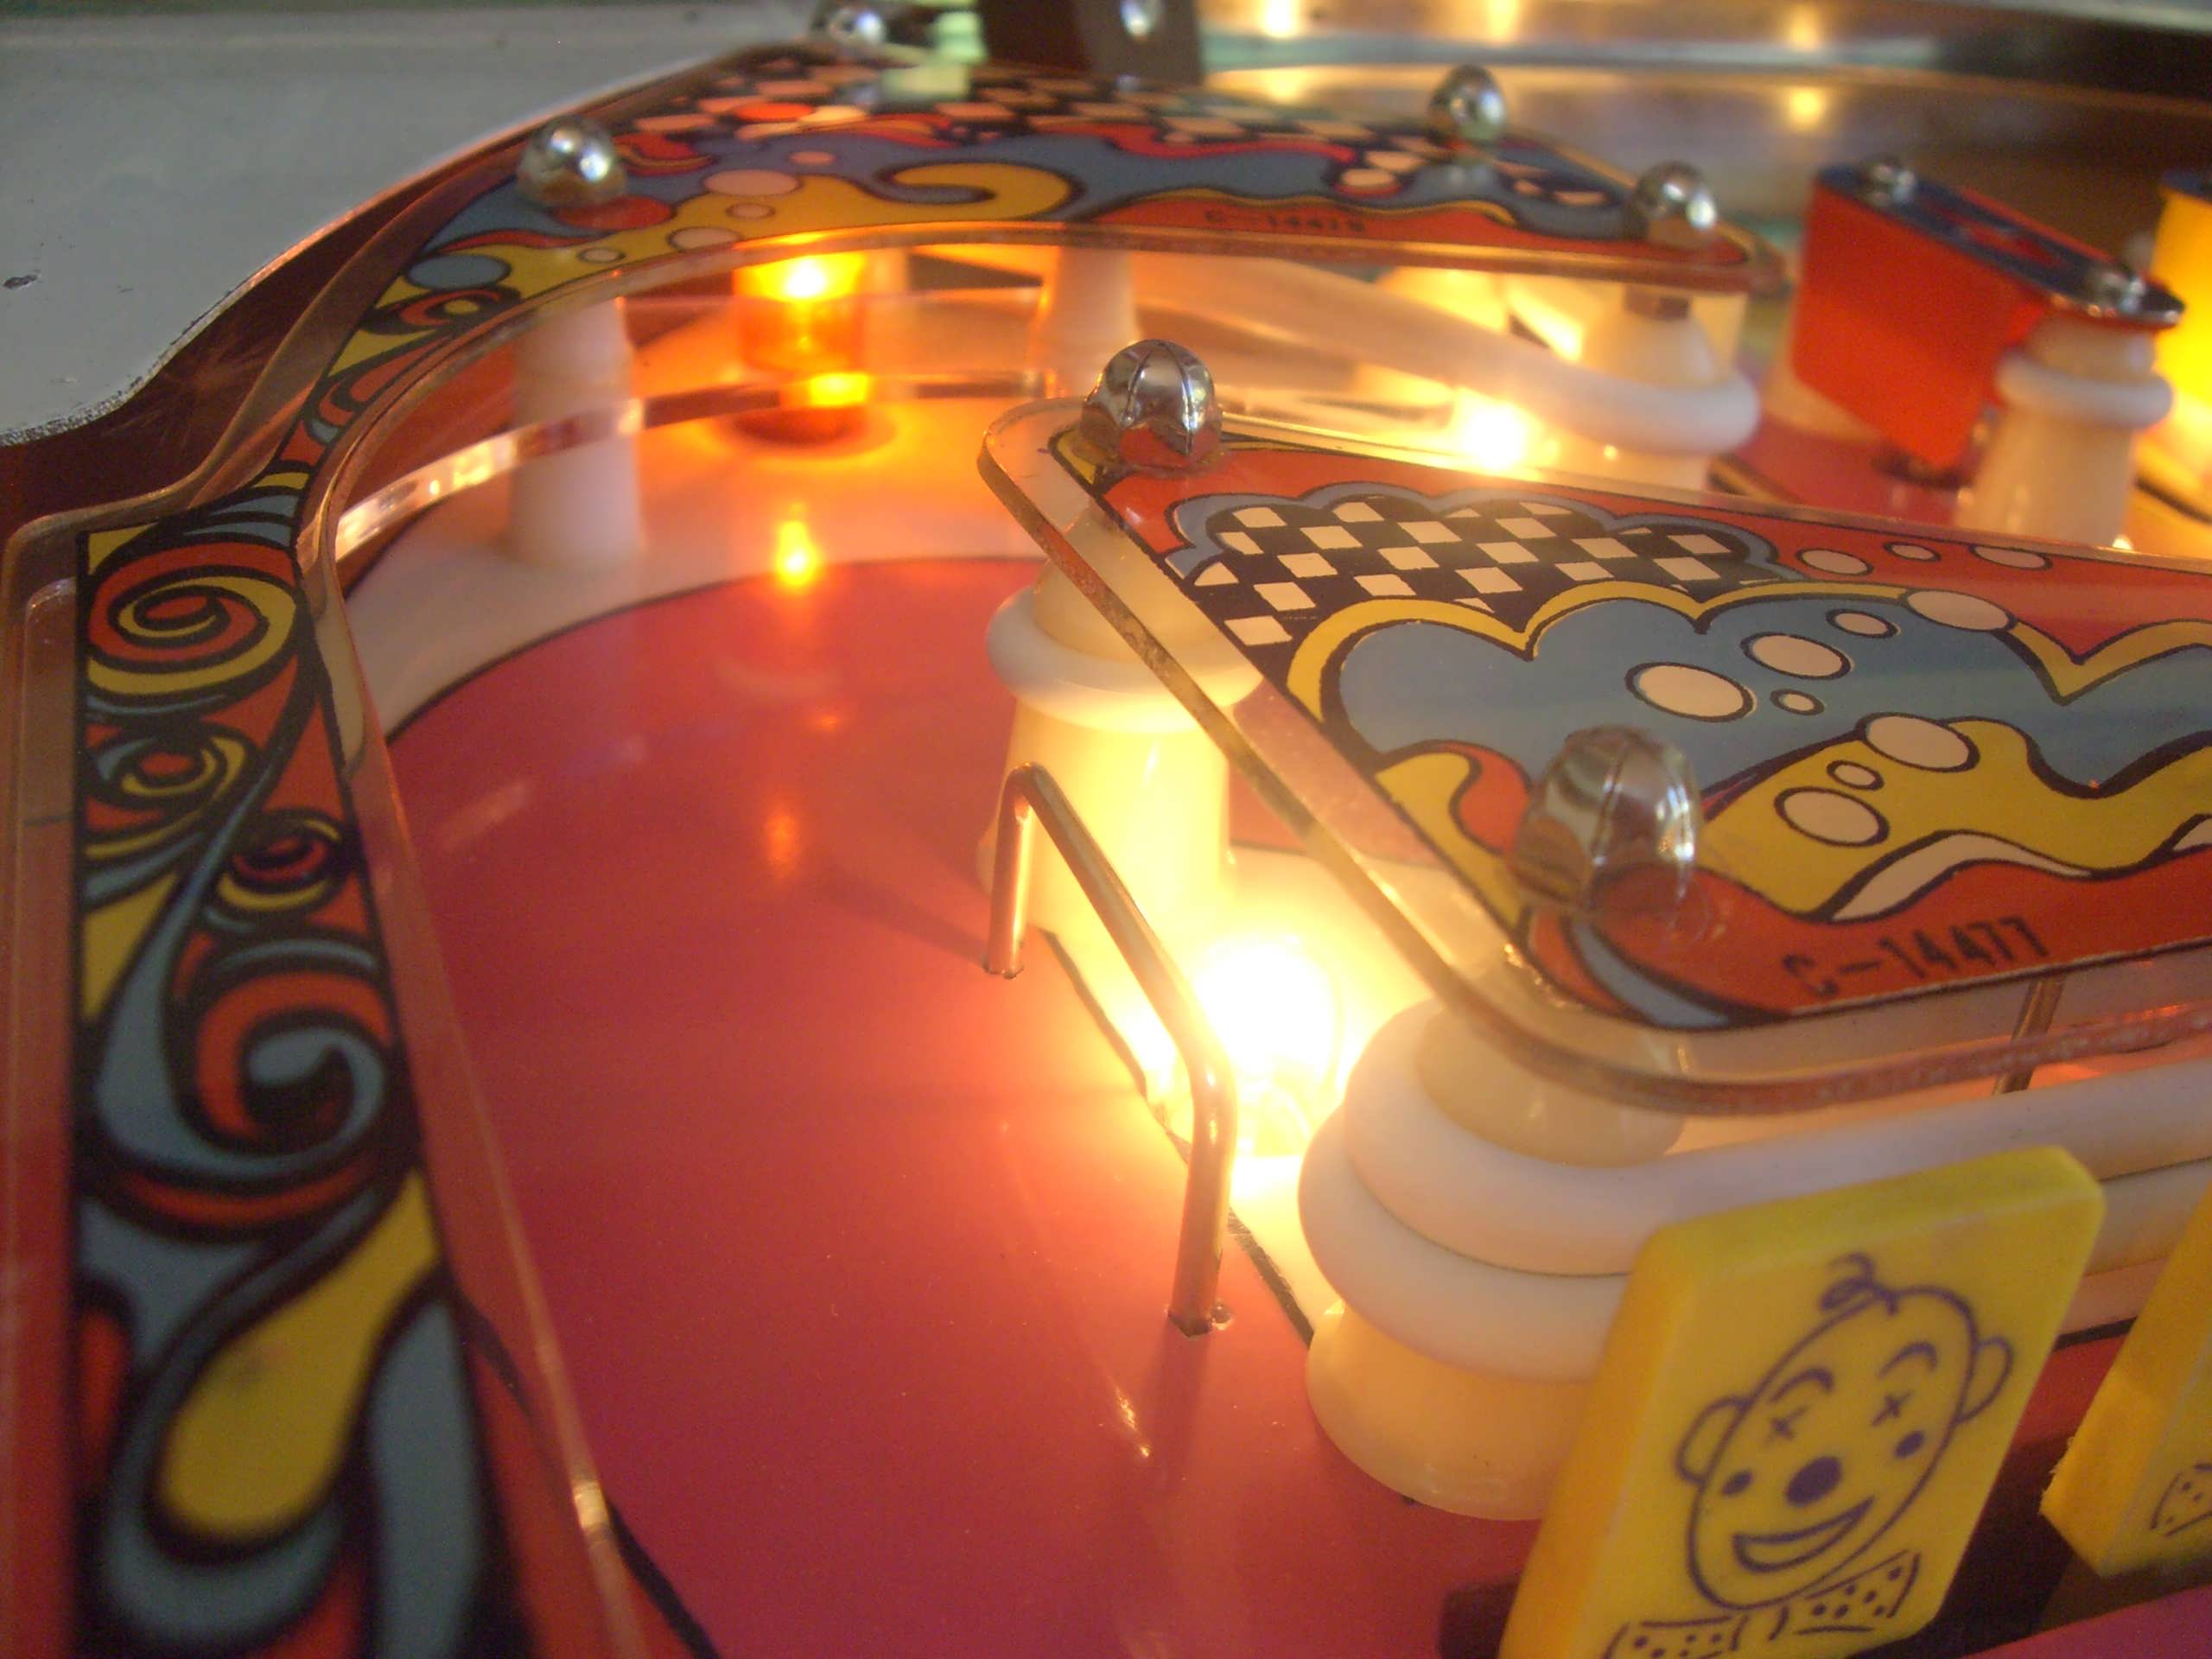
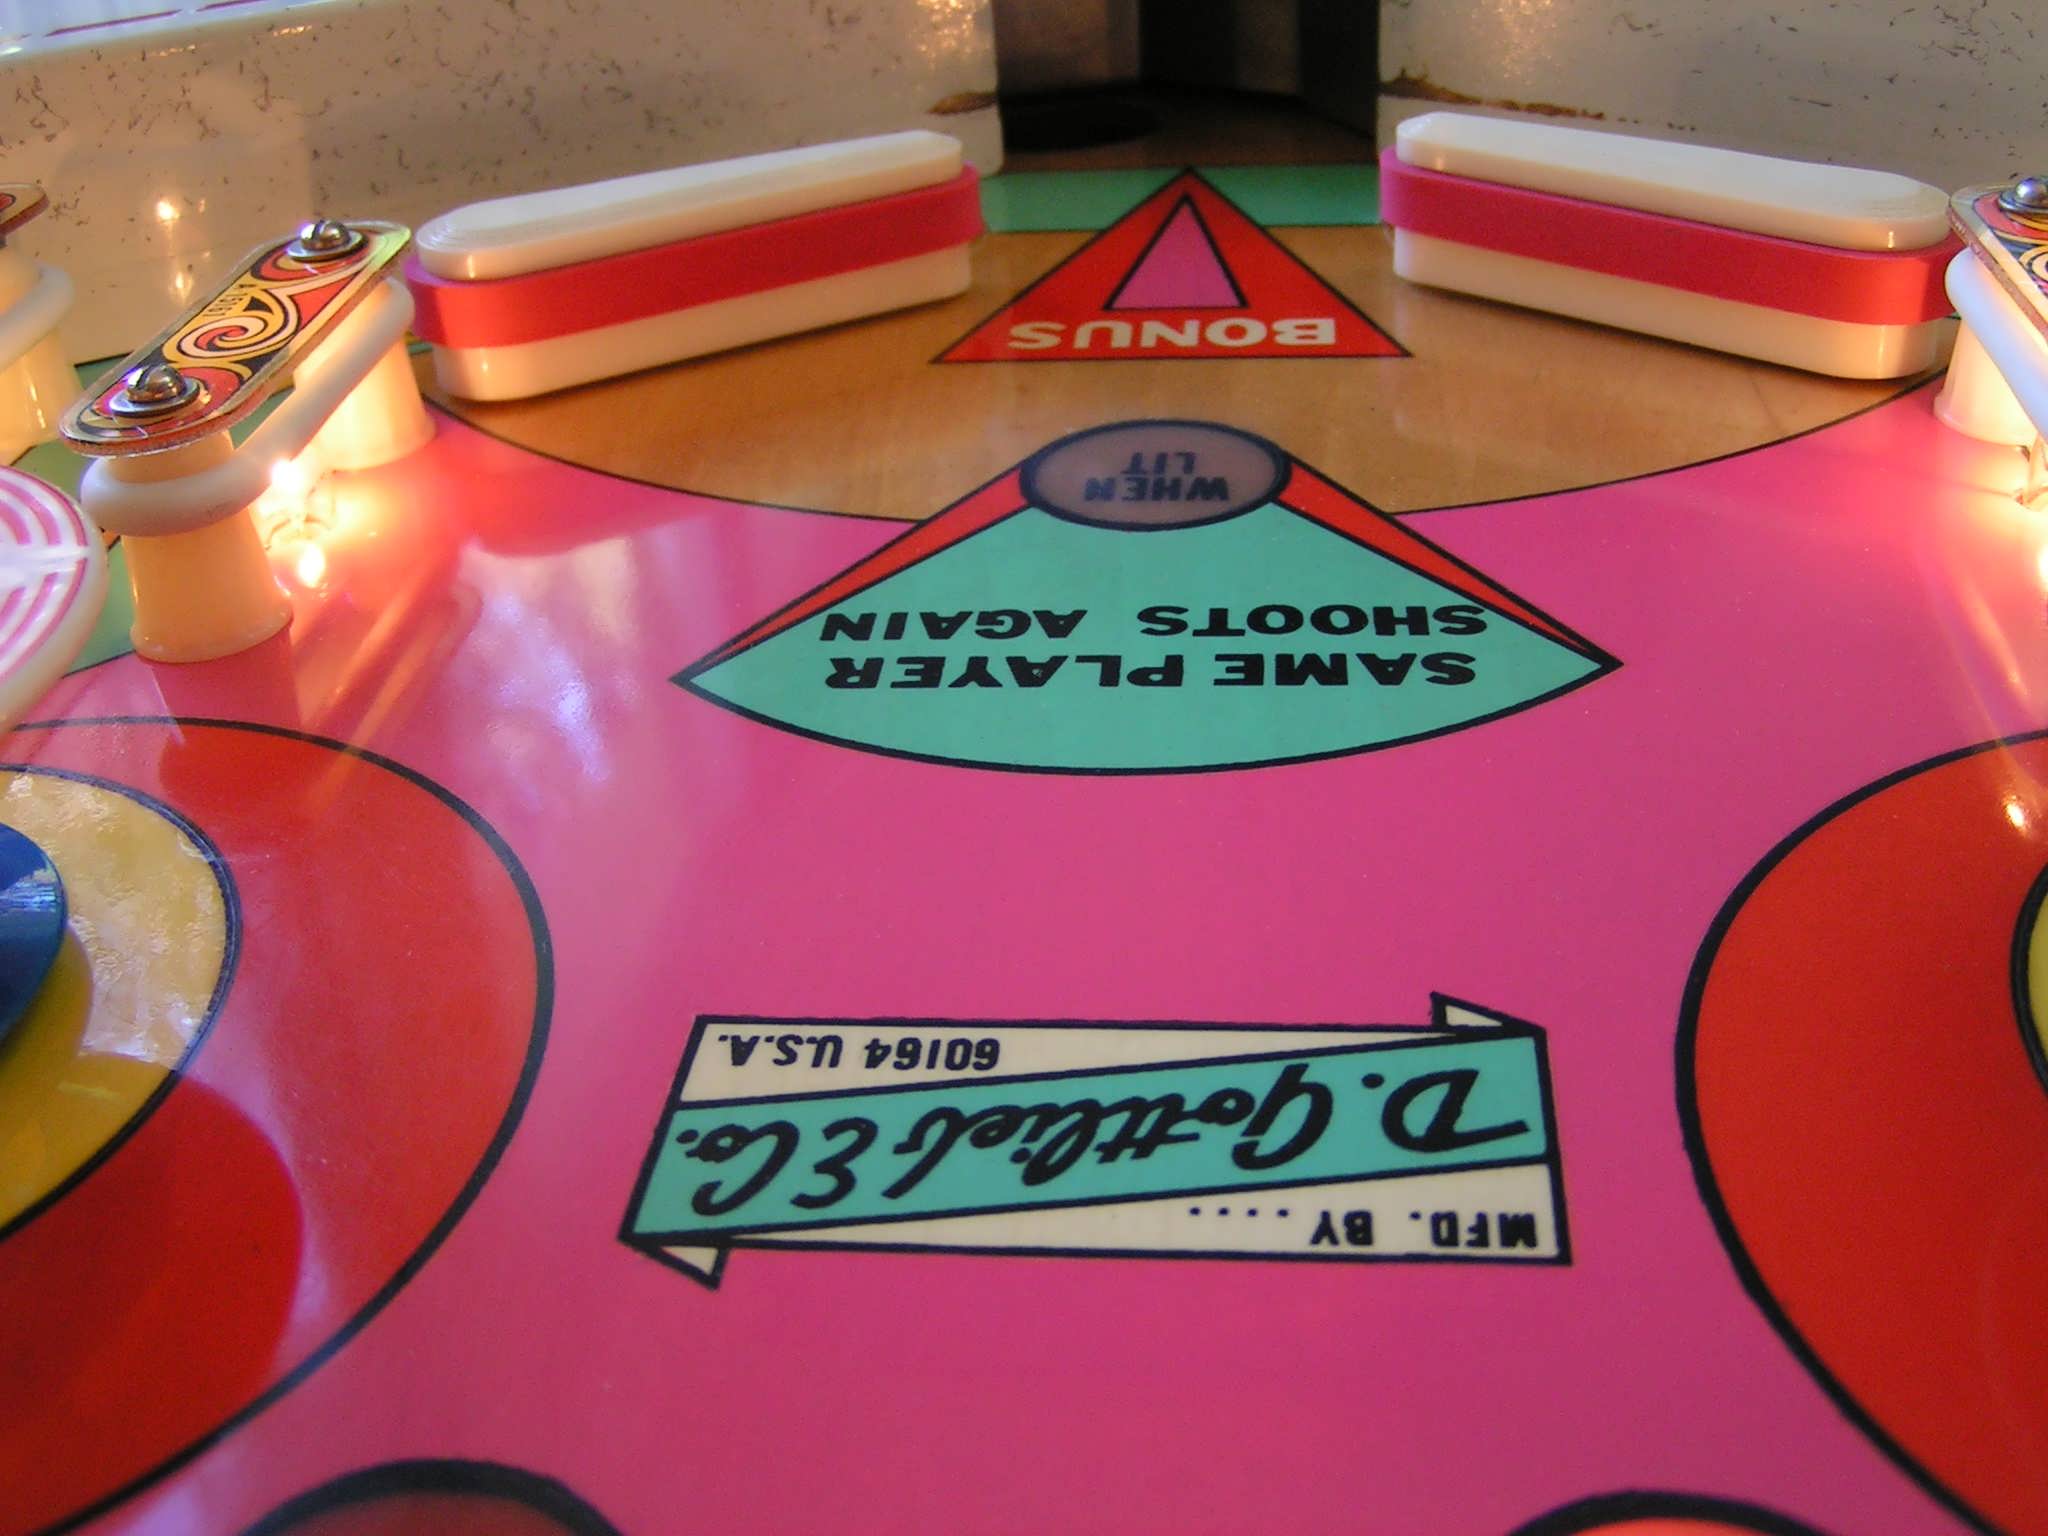
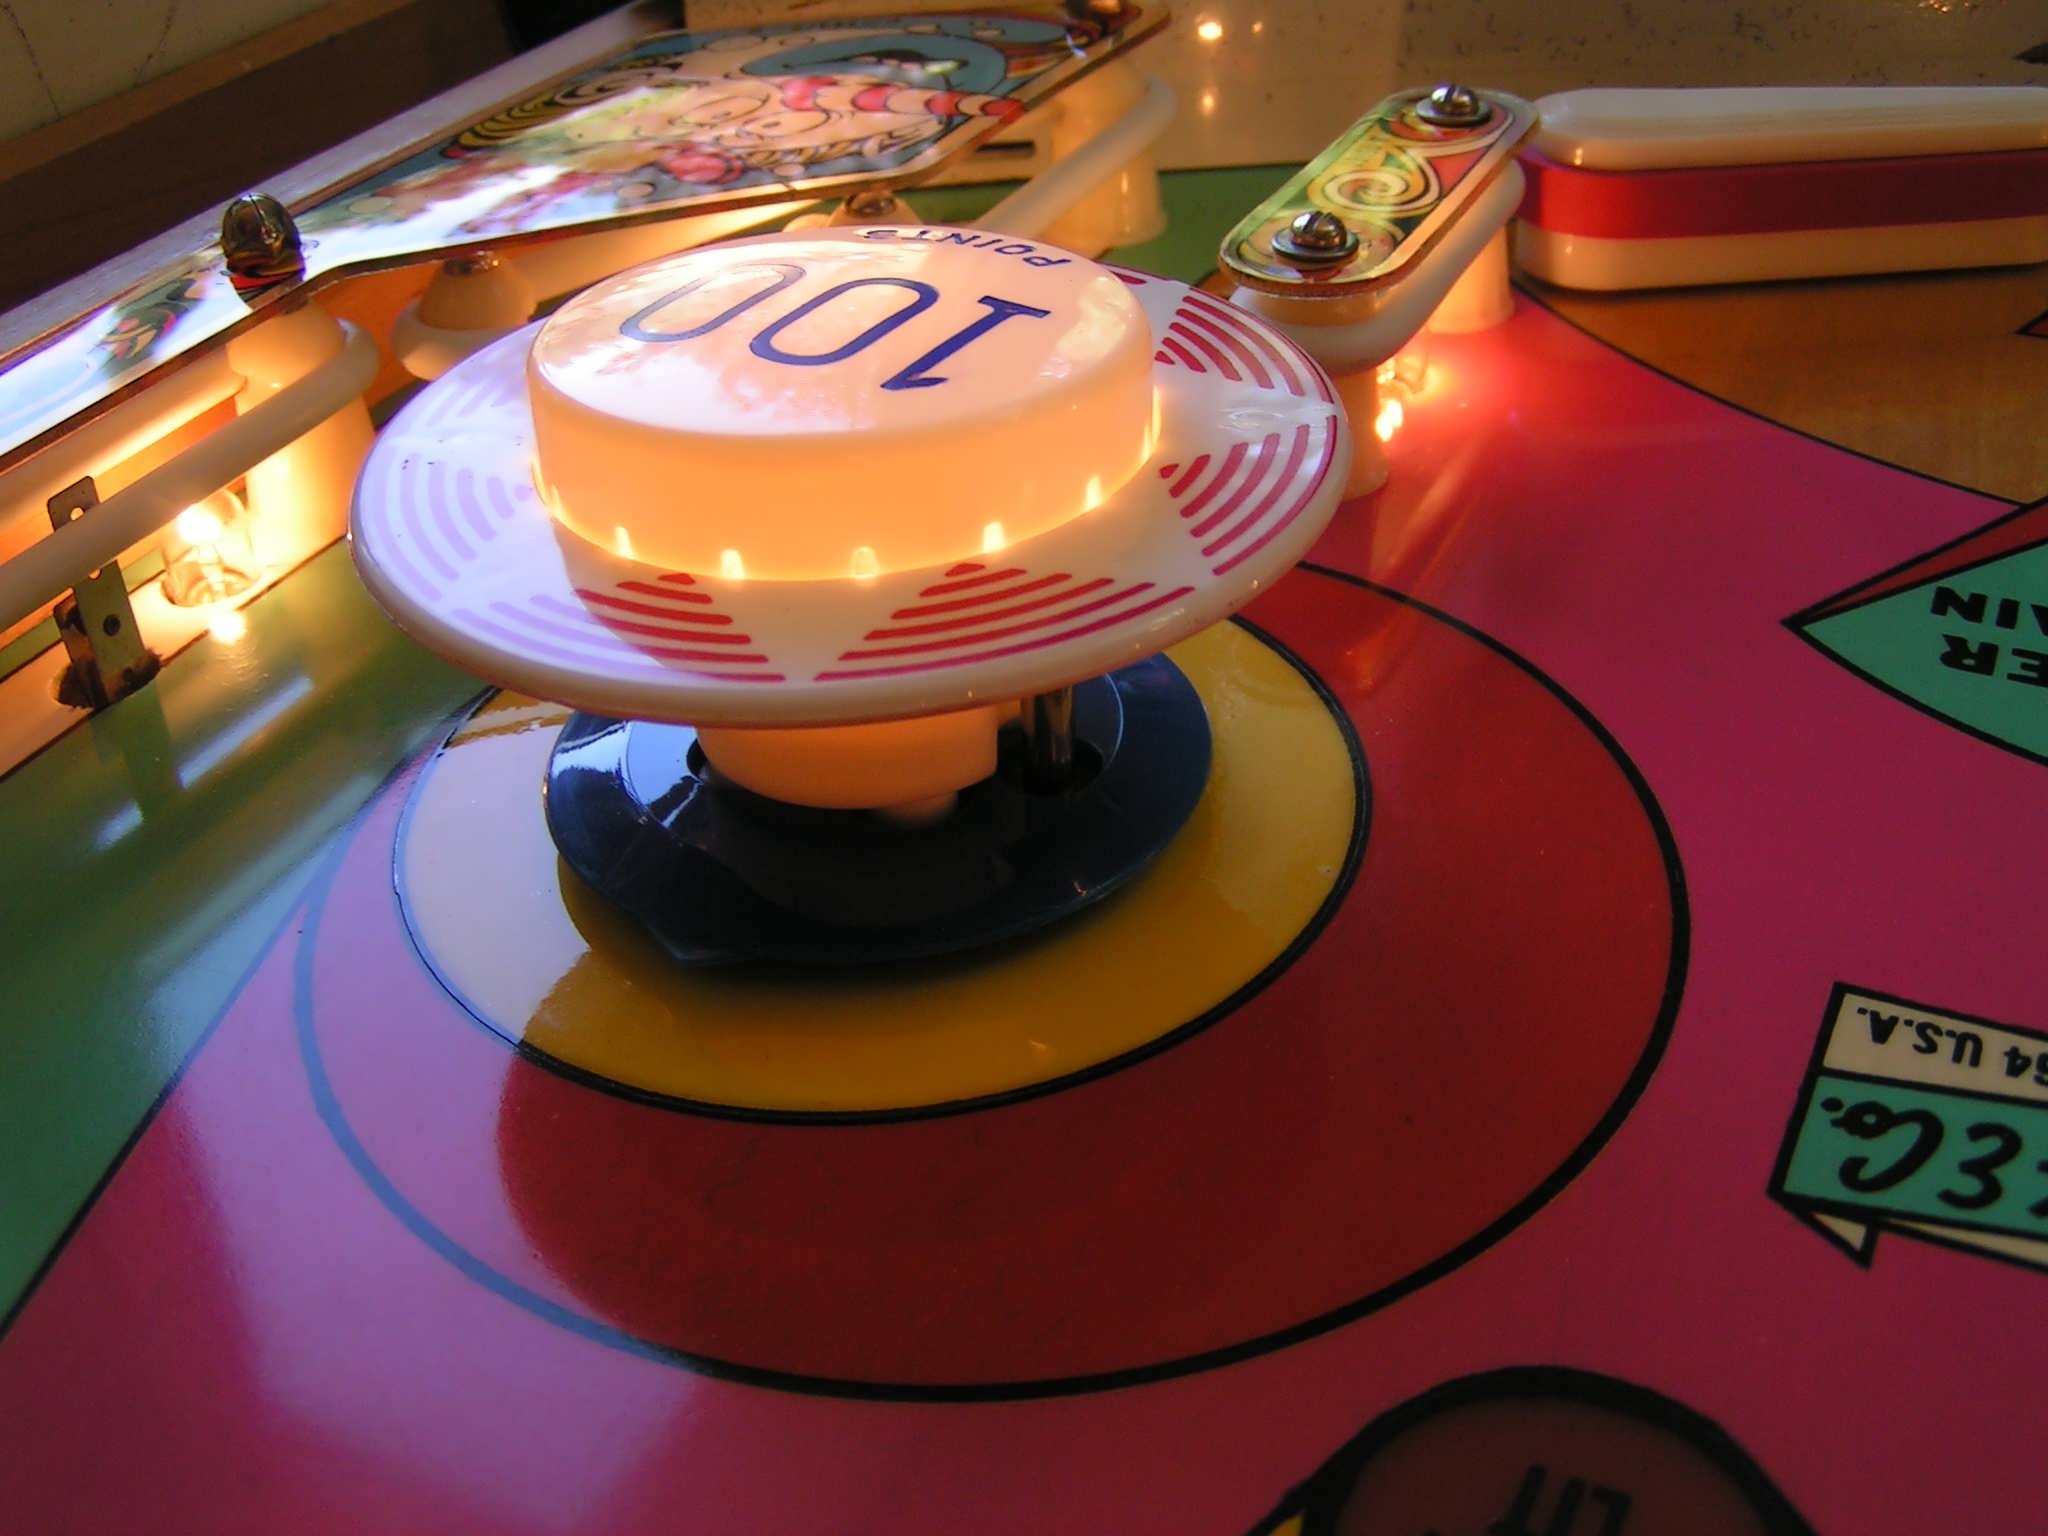
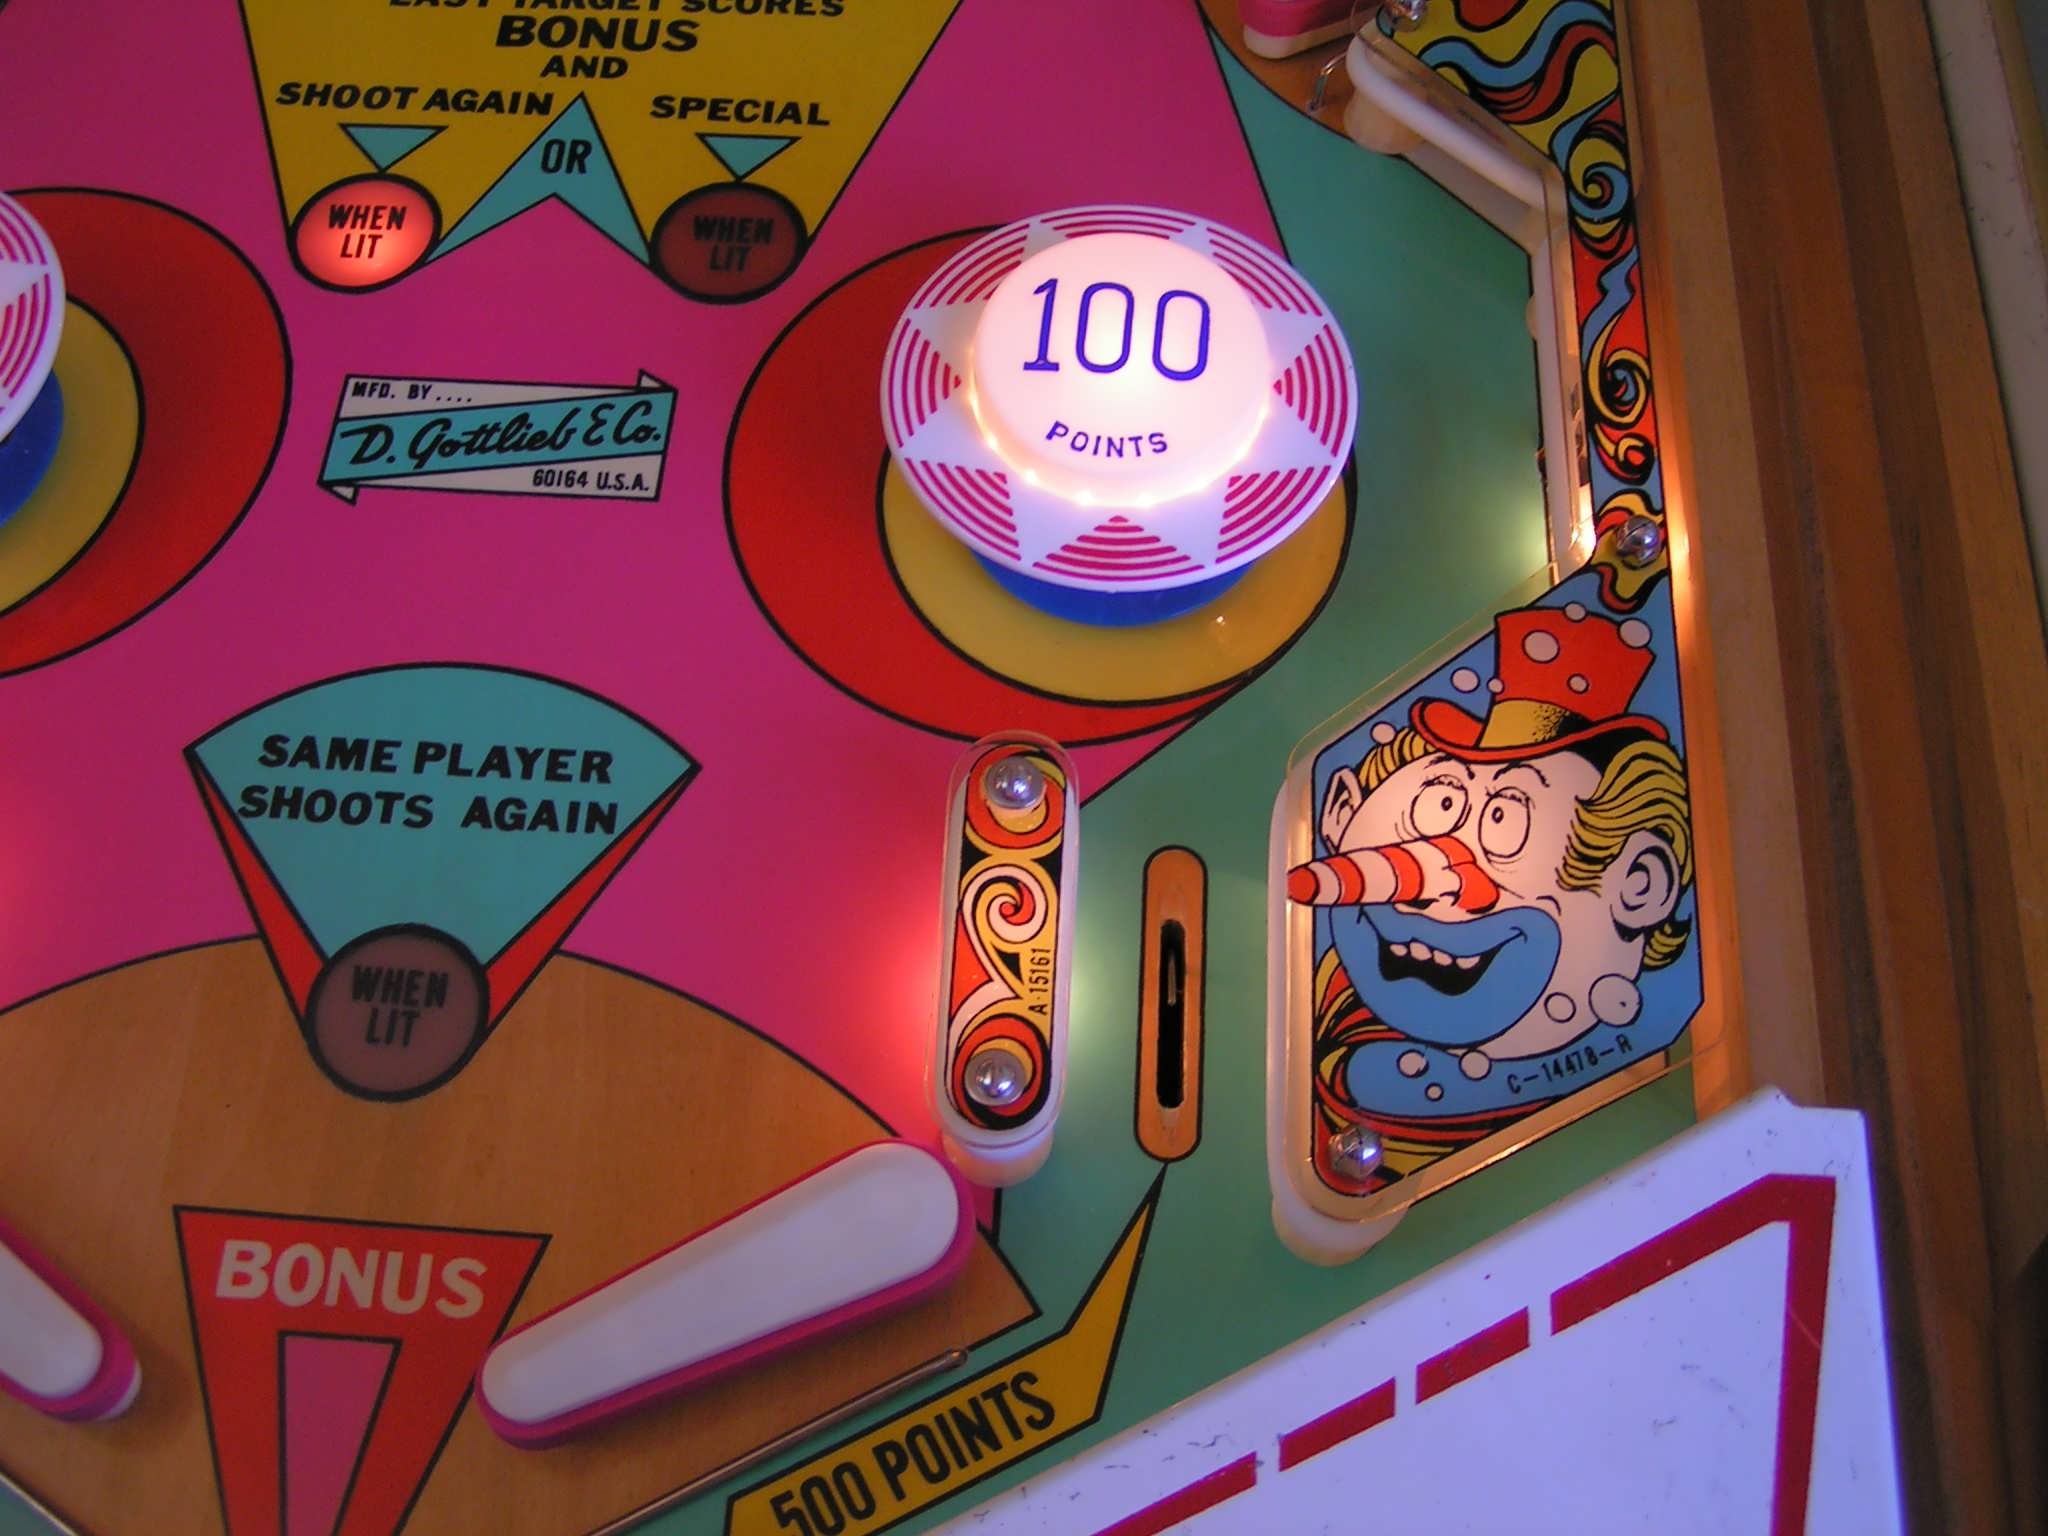
 You should see a progression in these pictures from initial
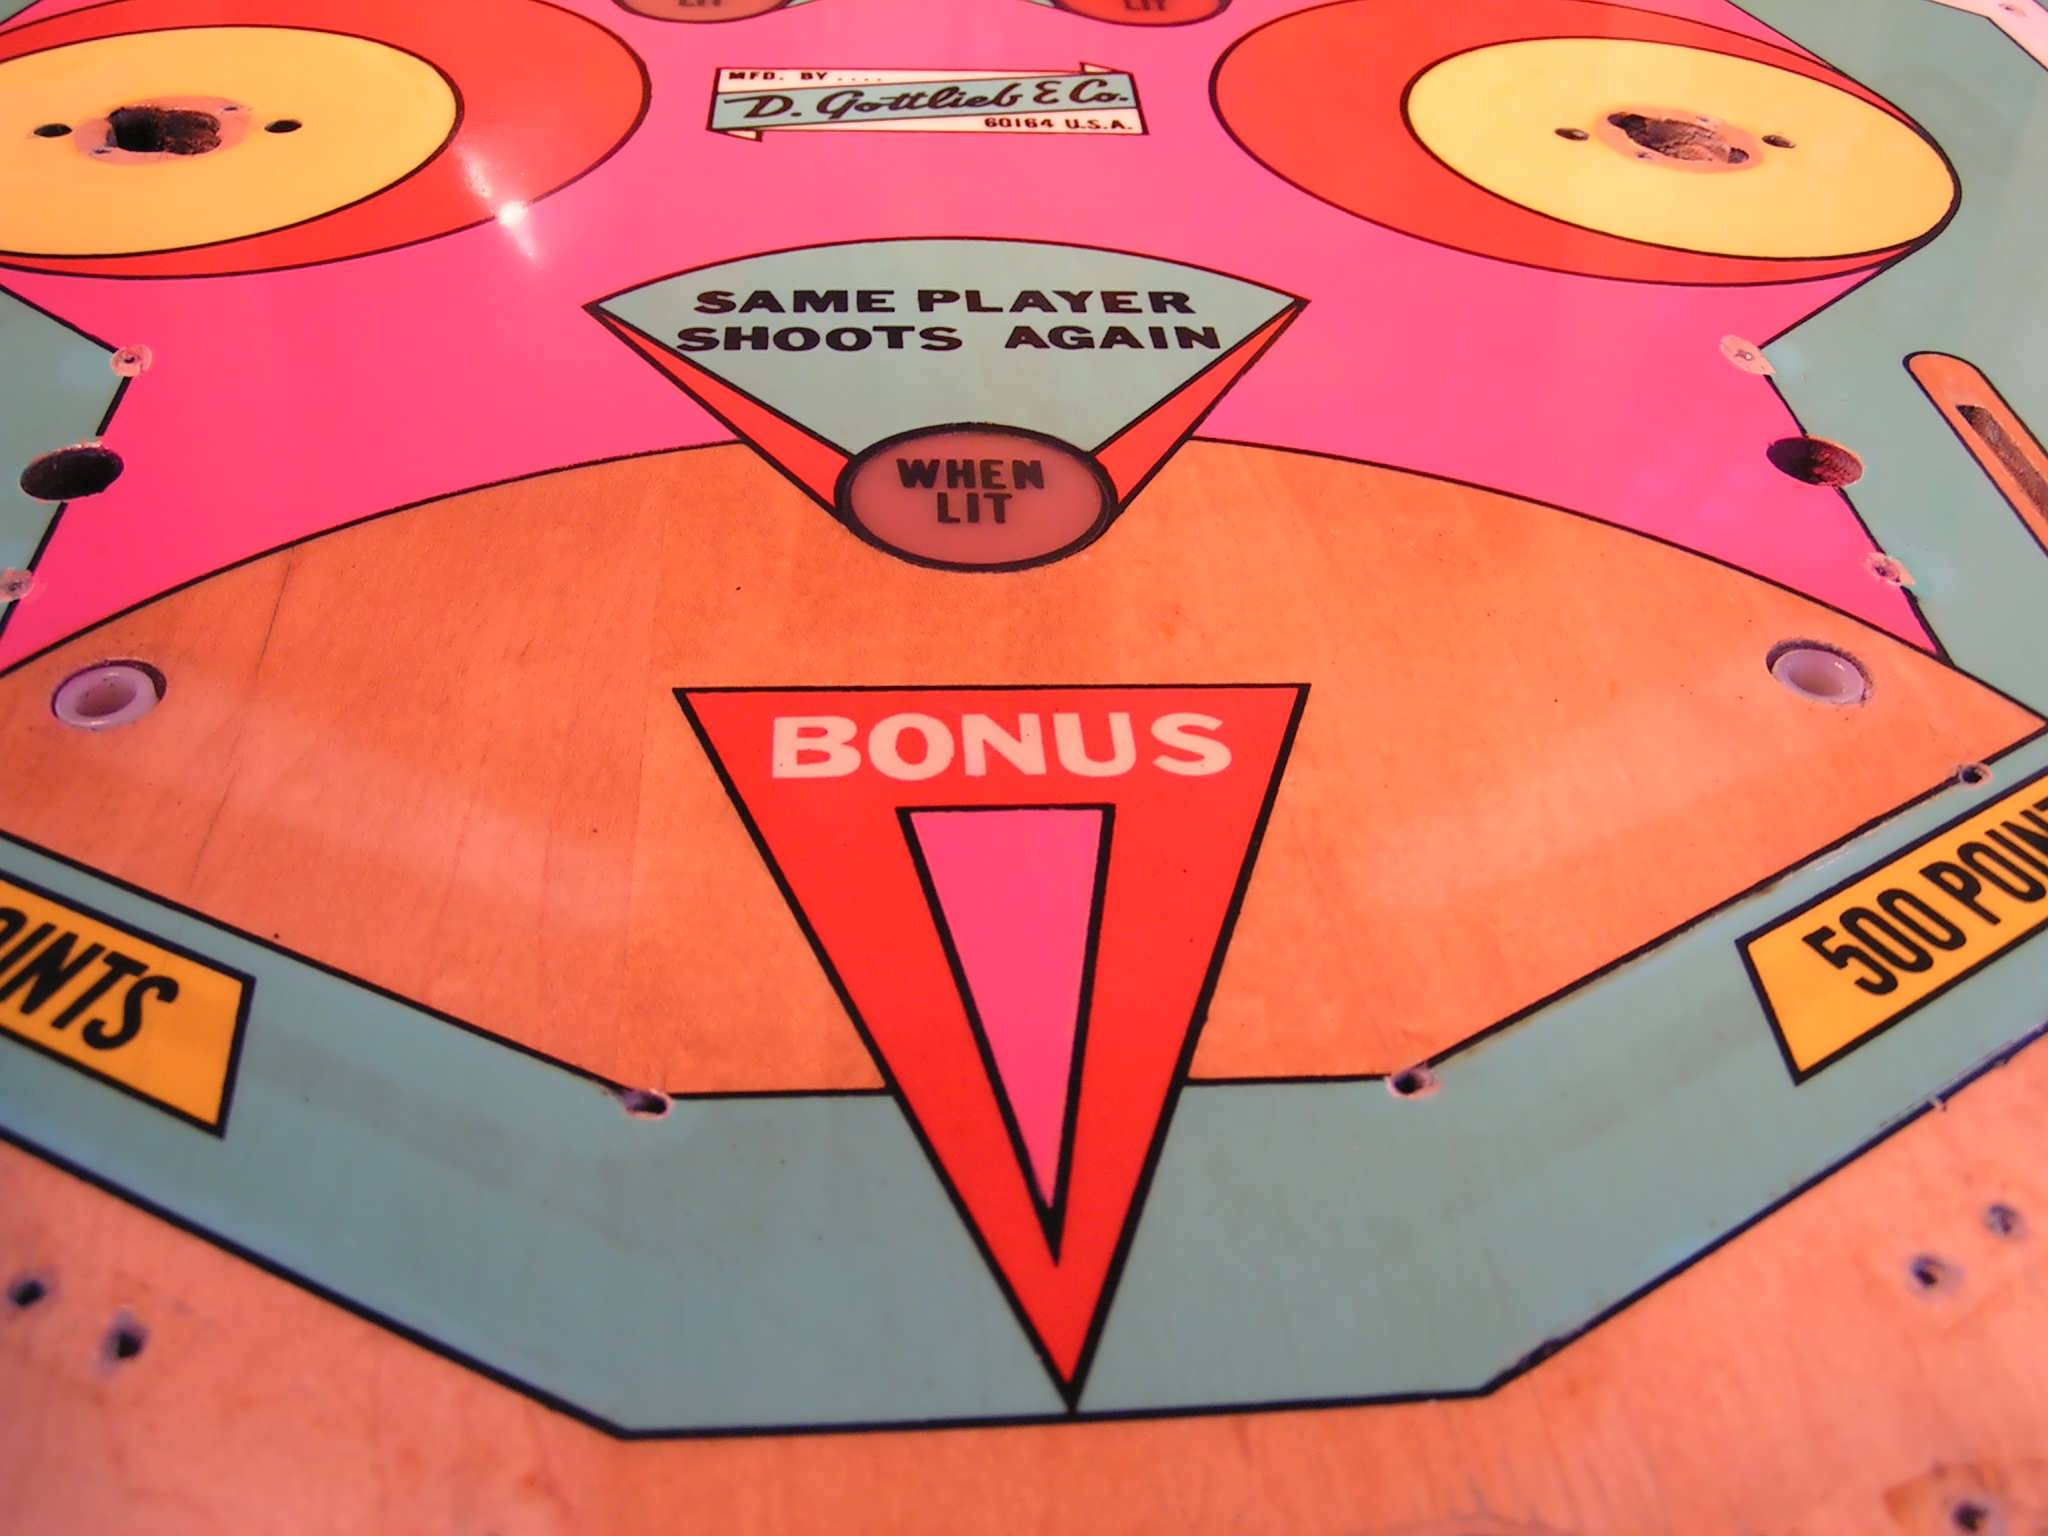
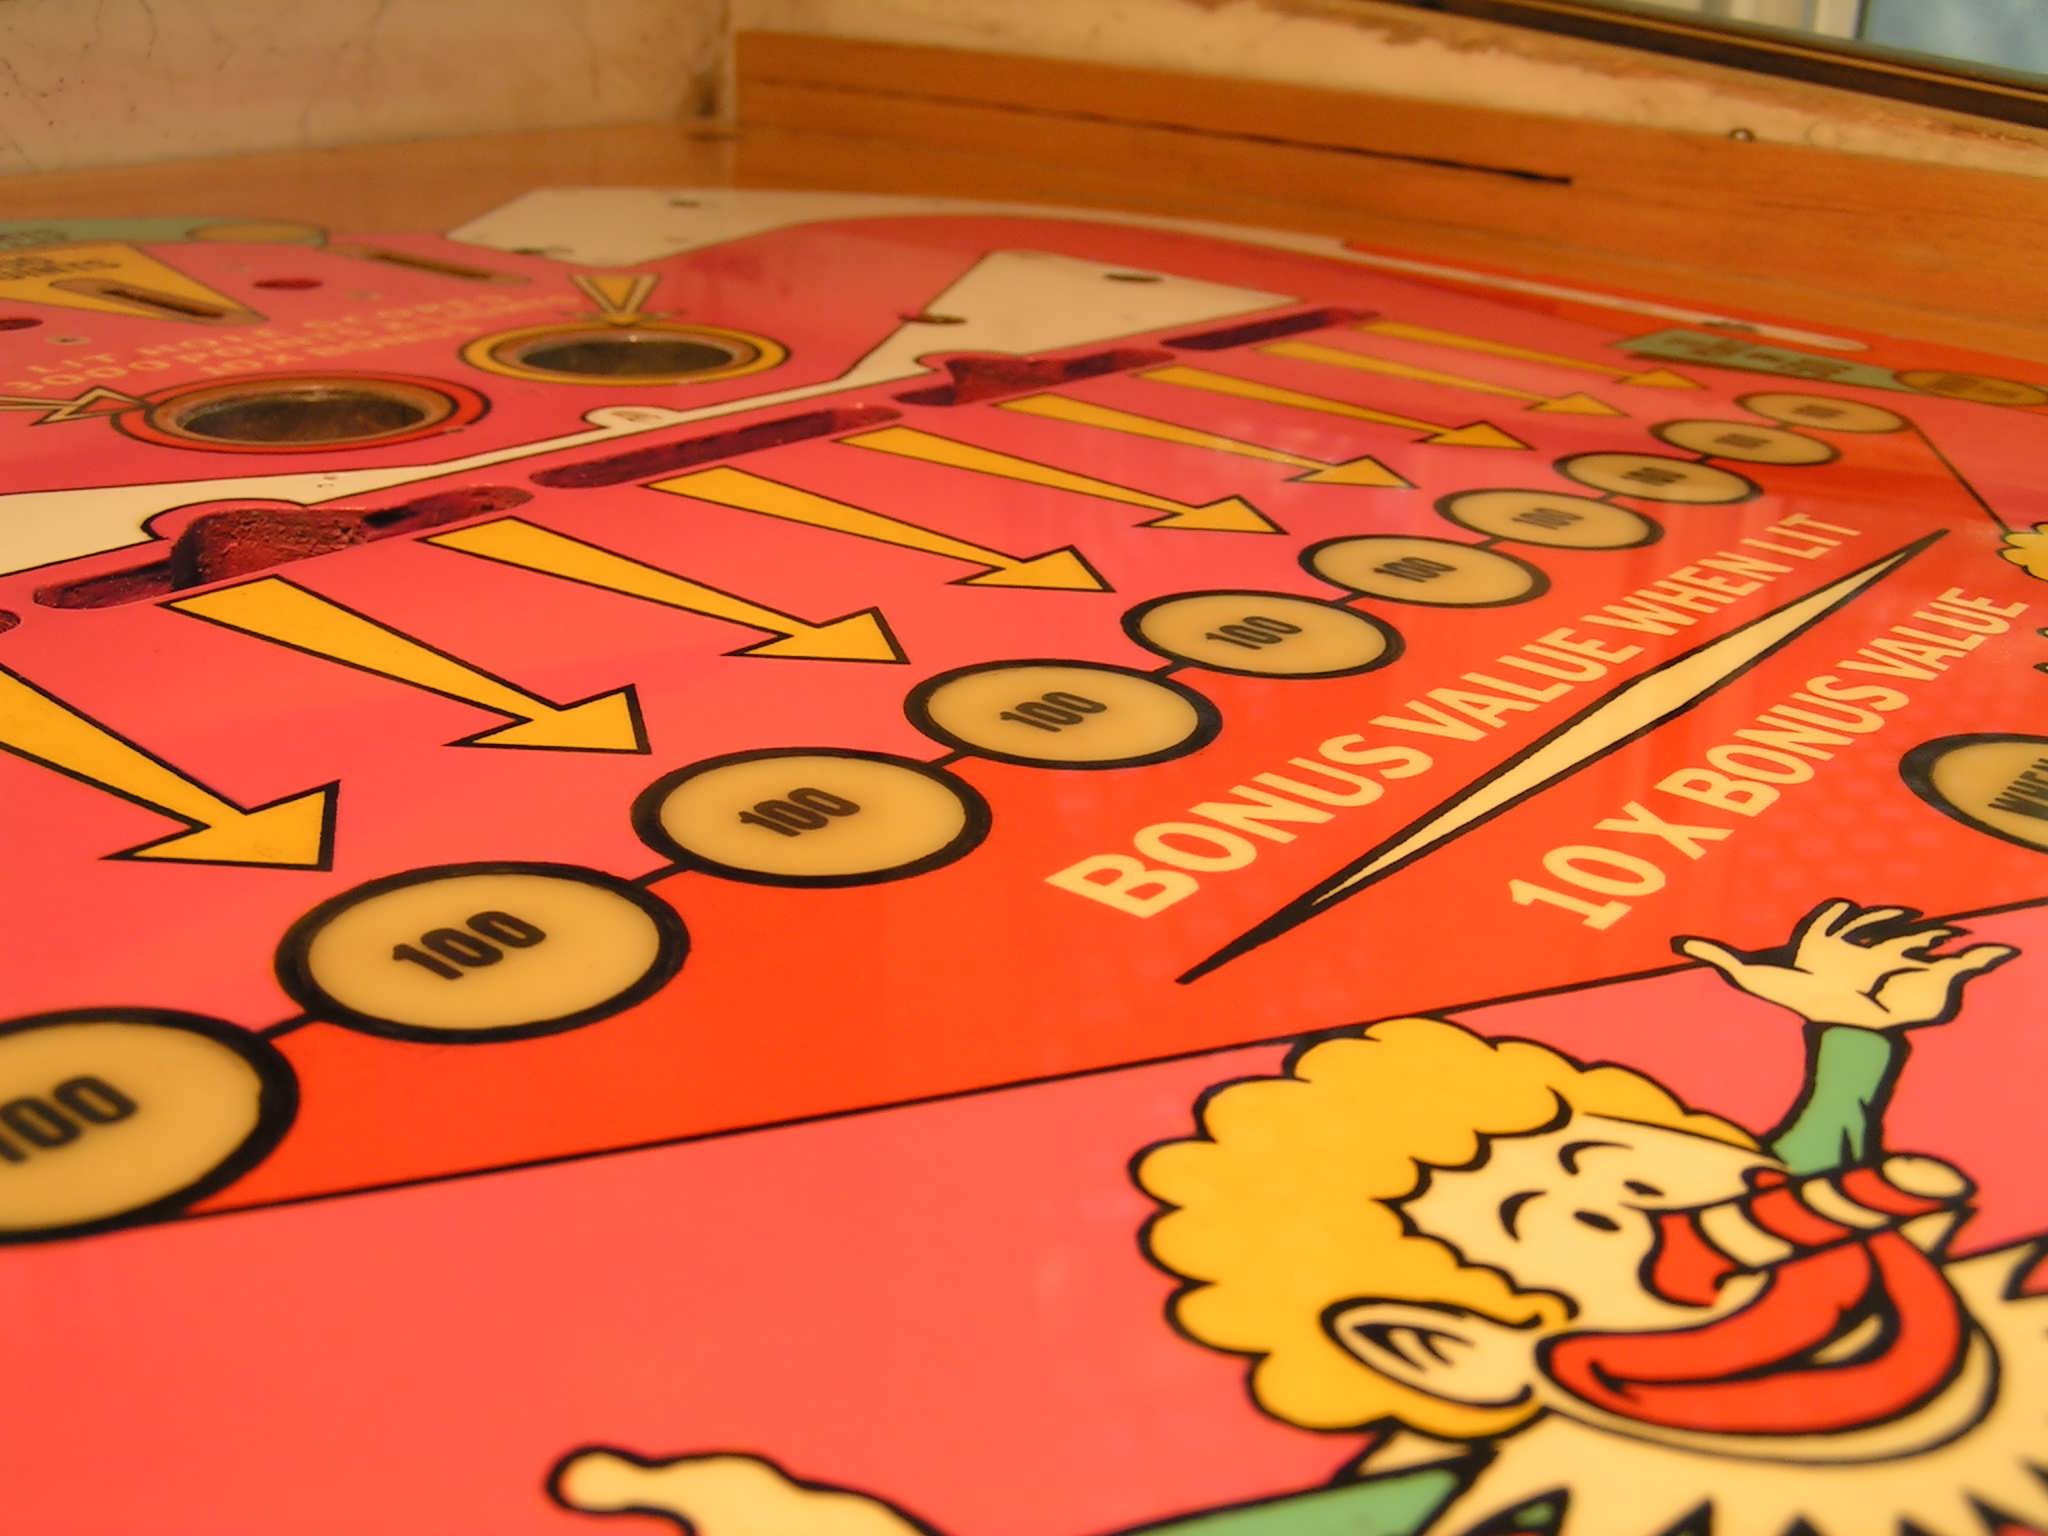
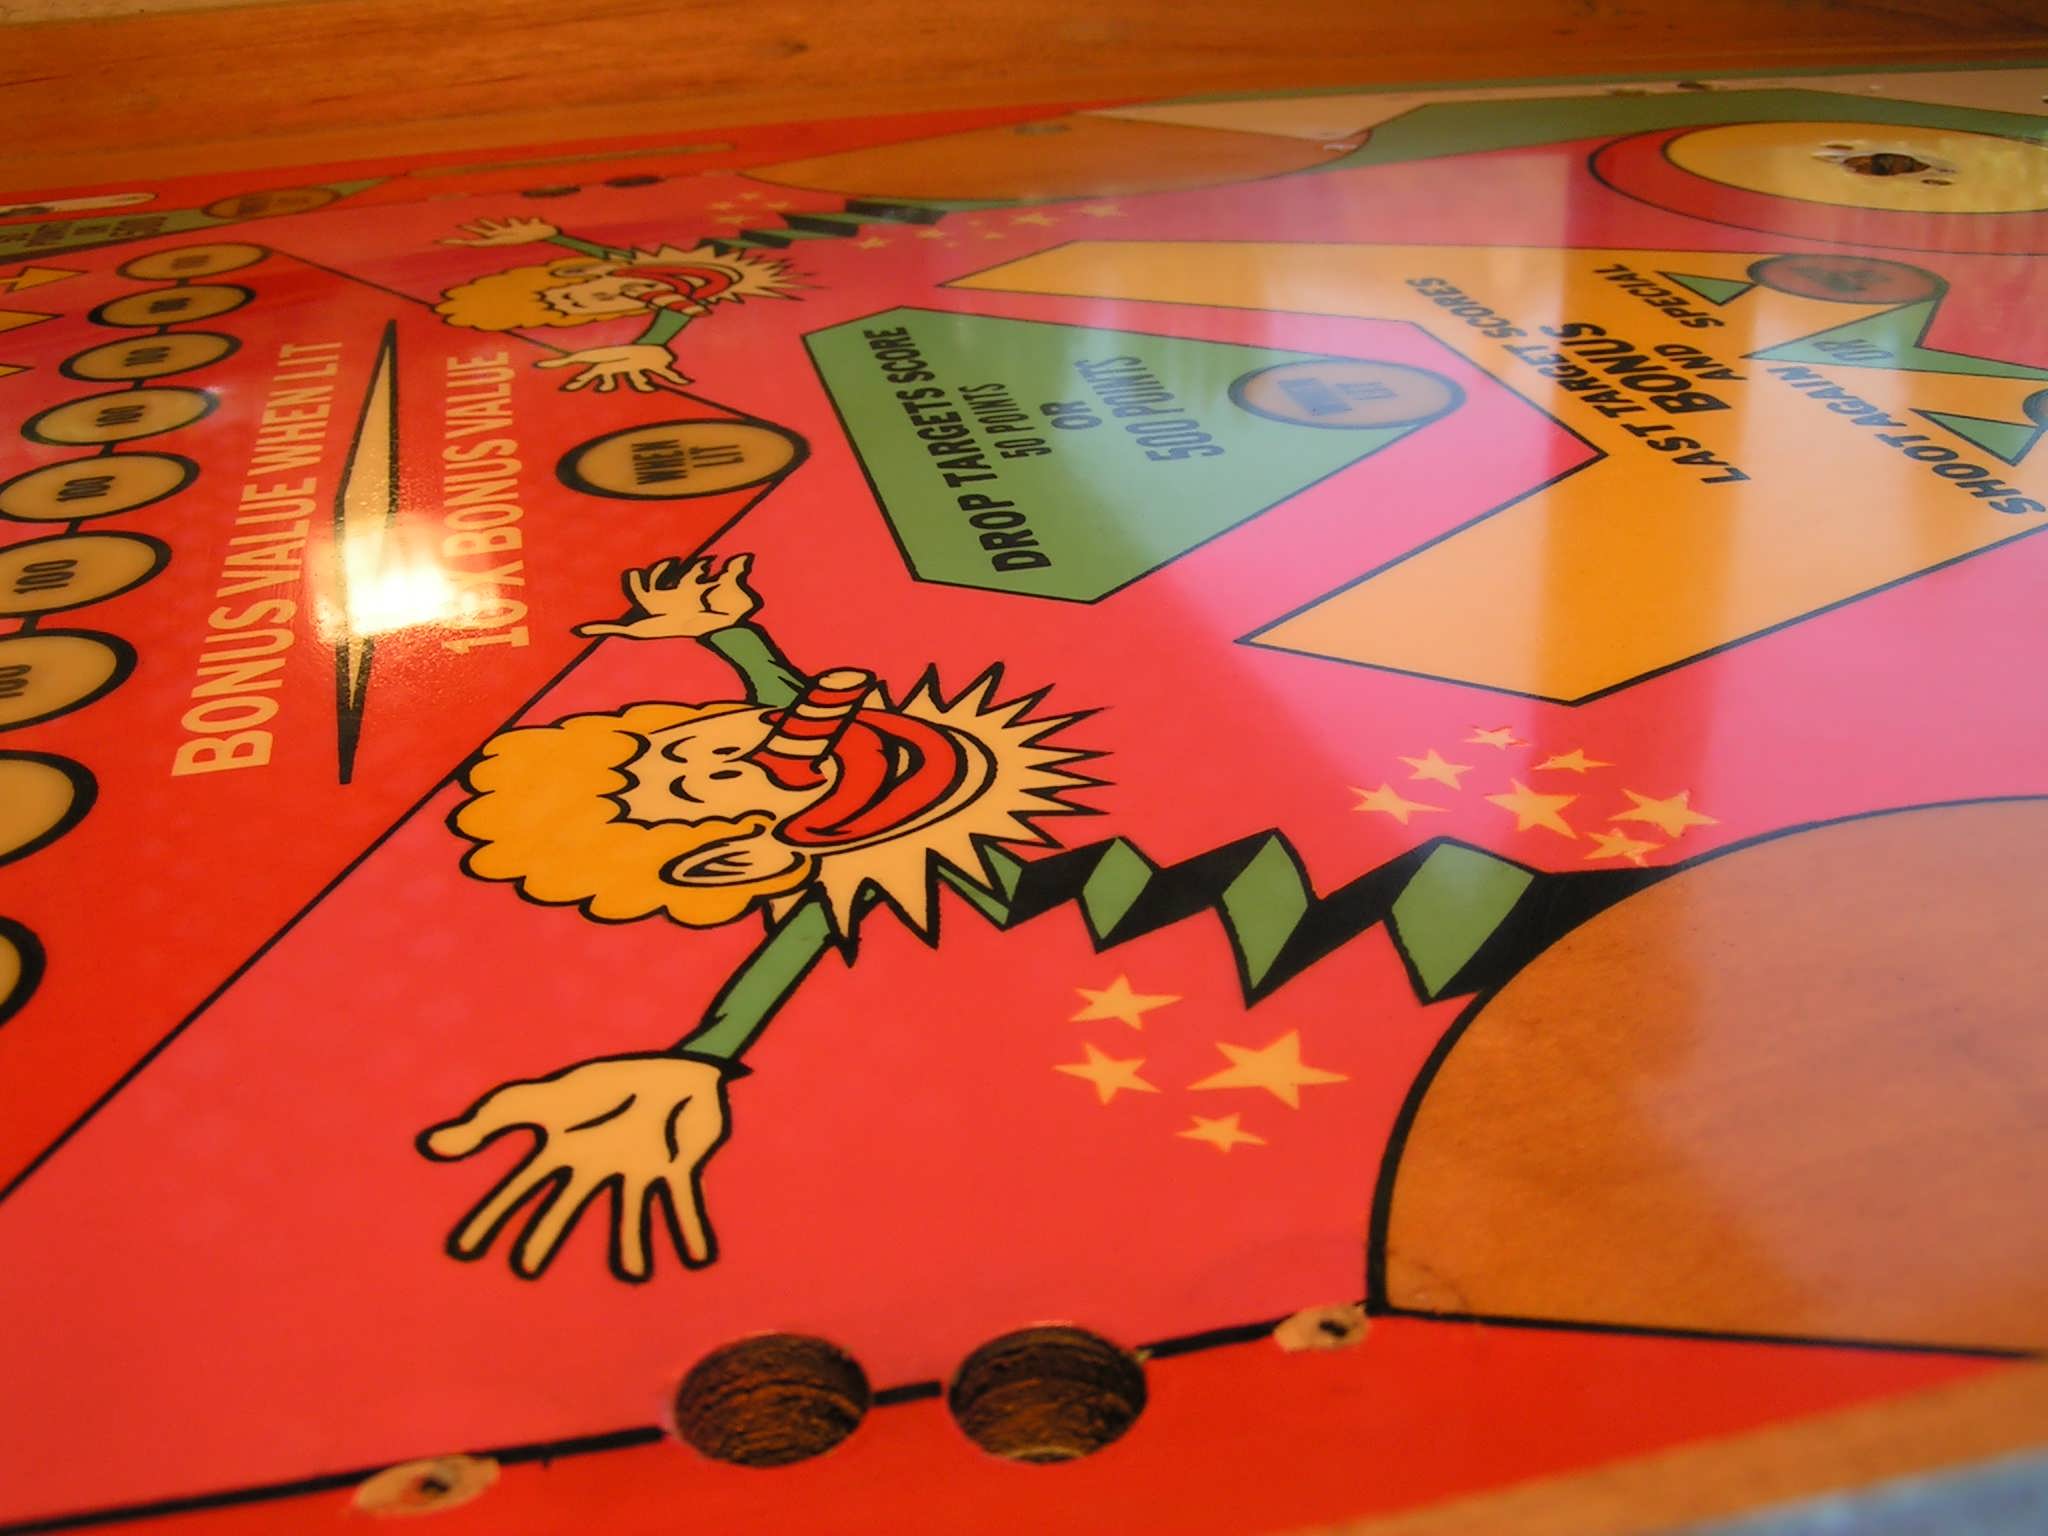
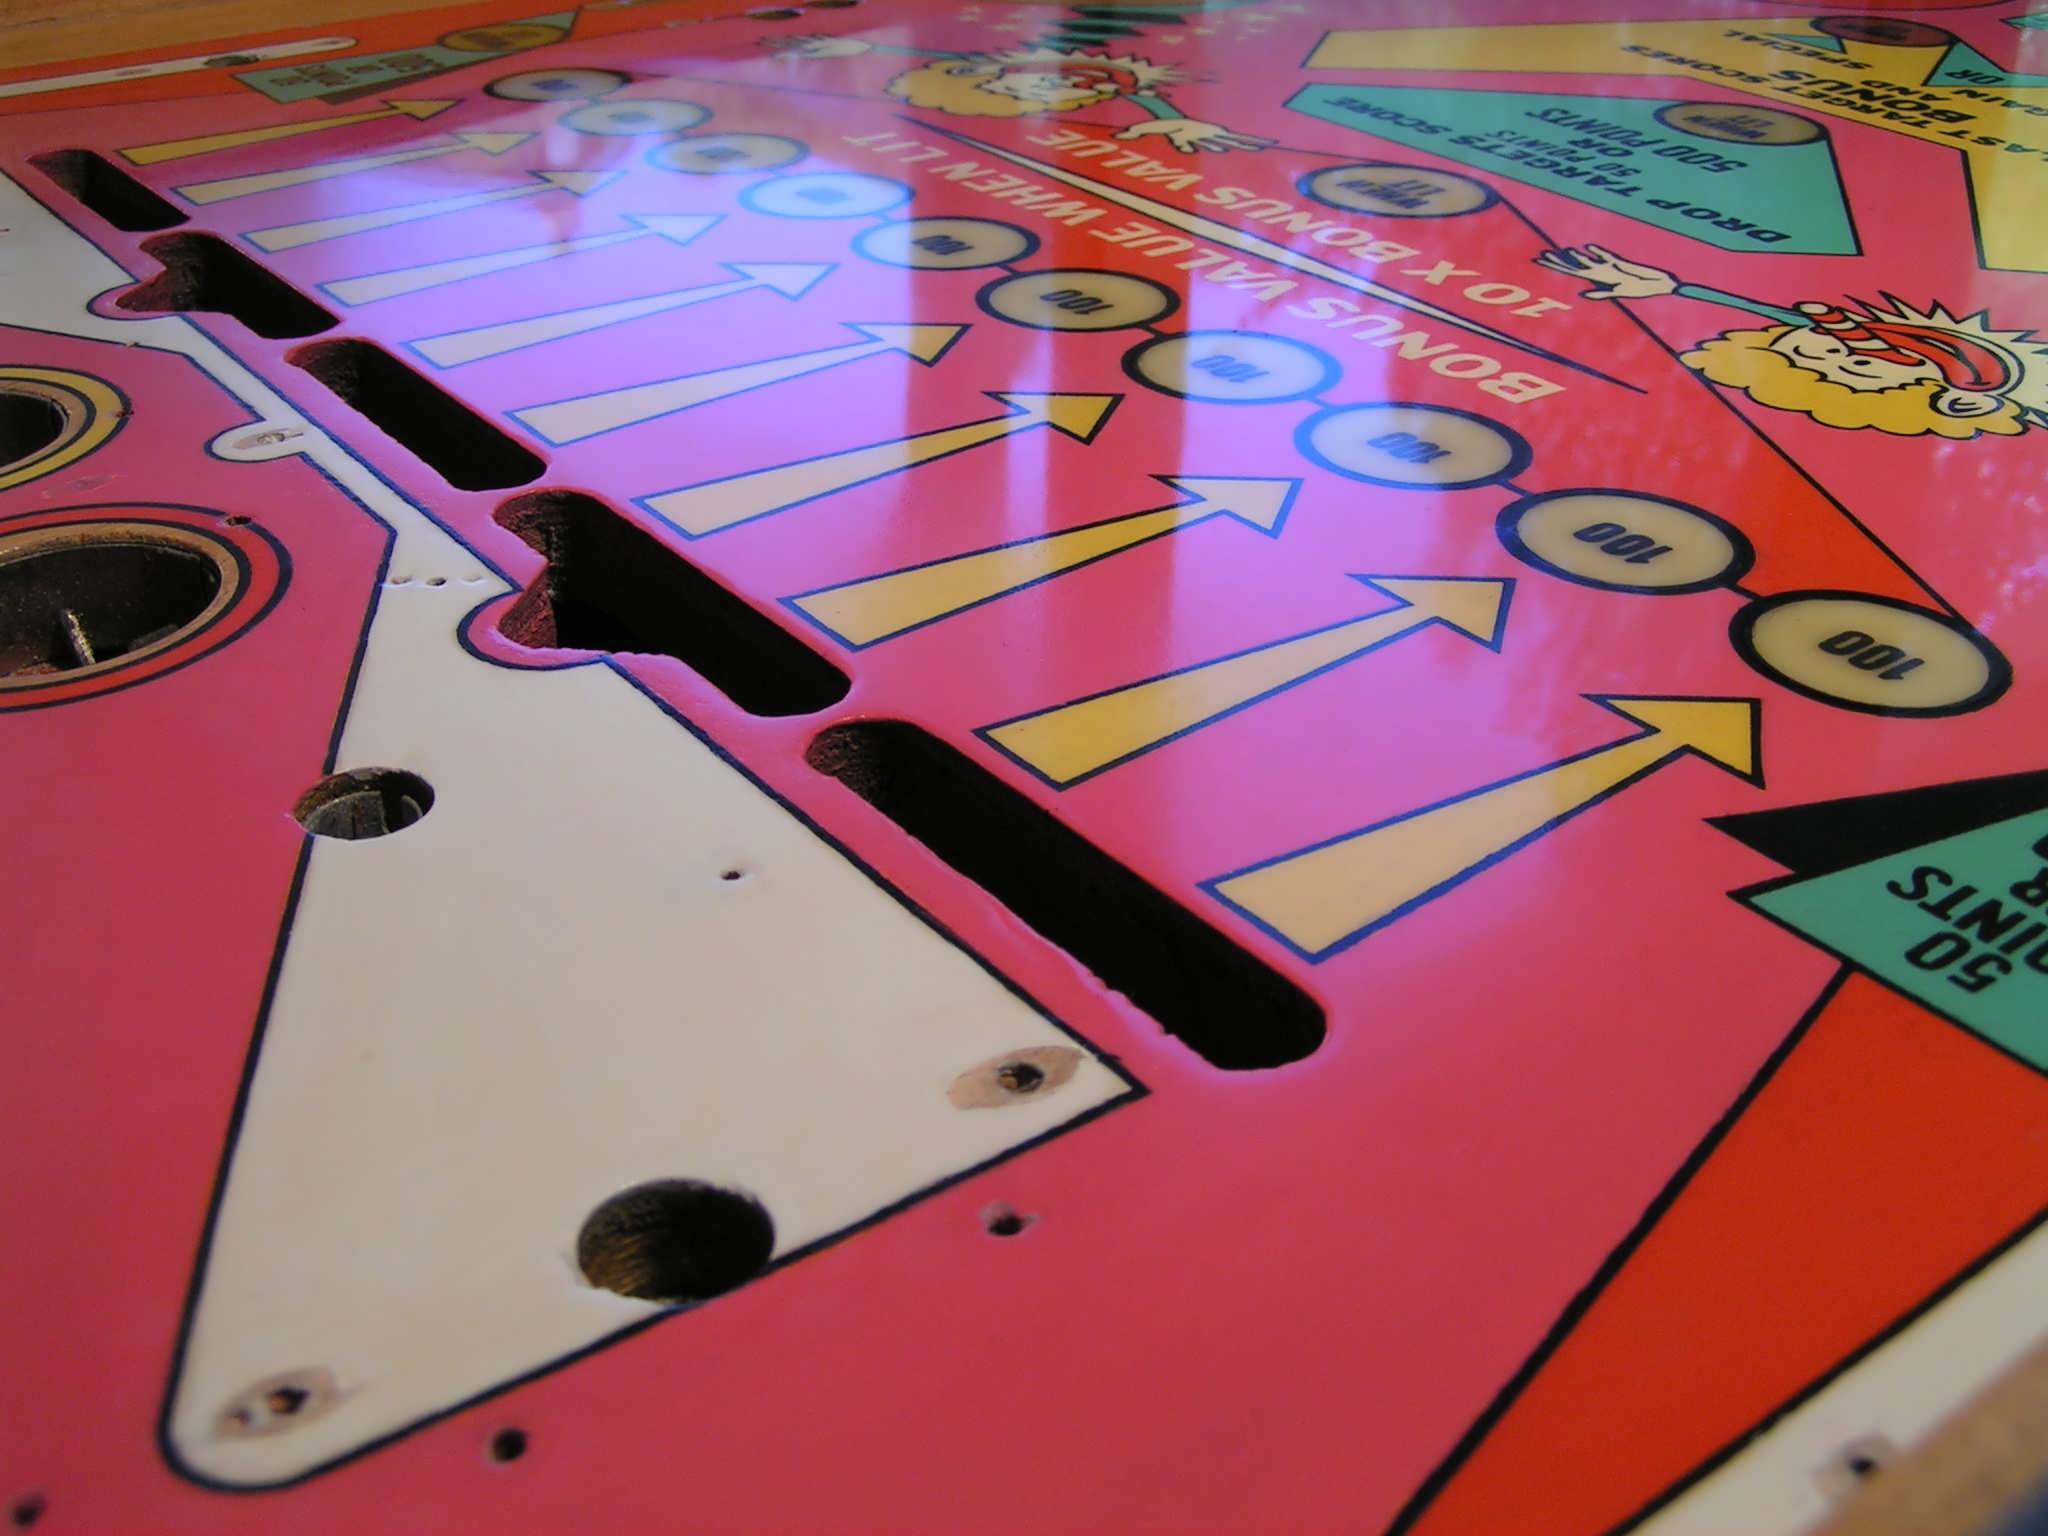
polish in the first pics to the final lambs wool pad polish in the last several.
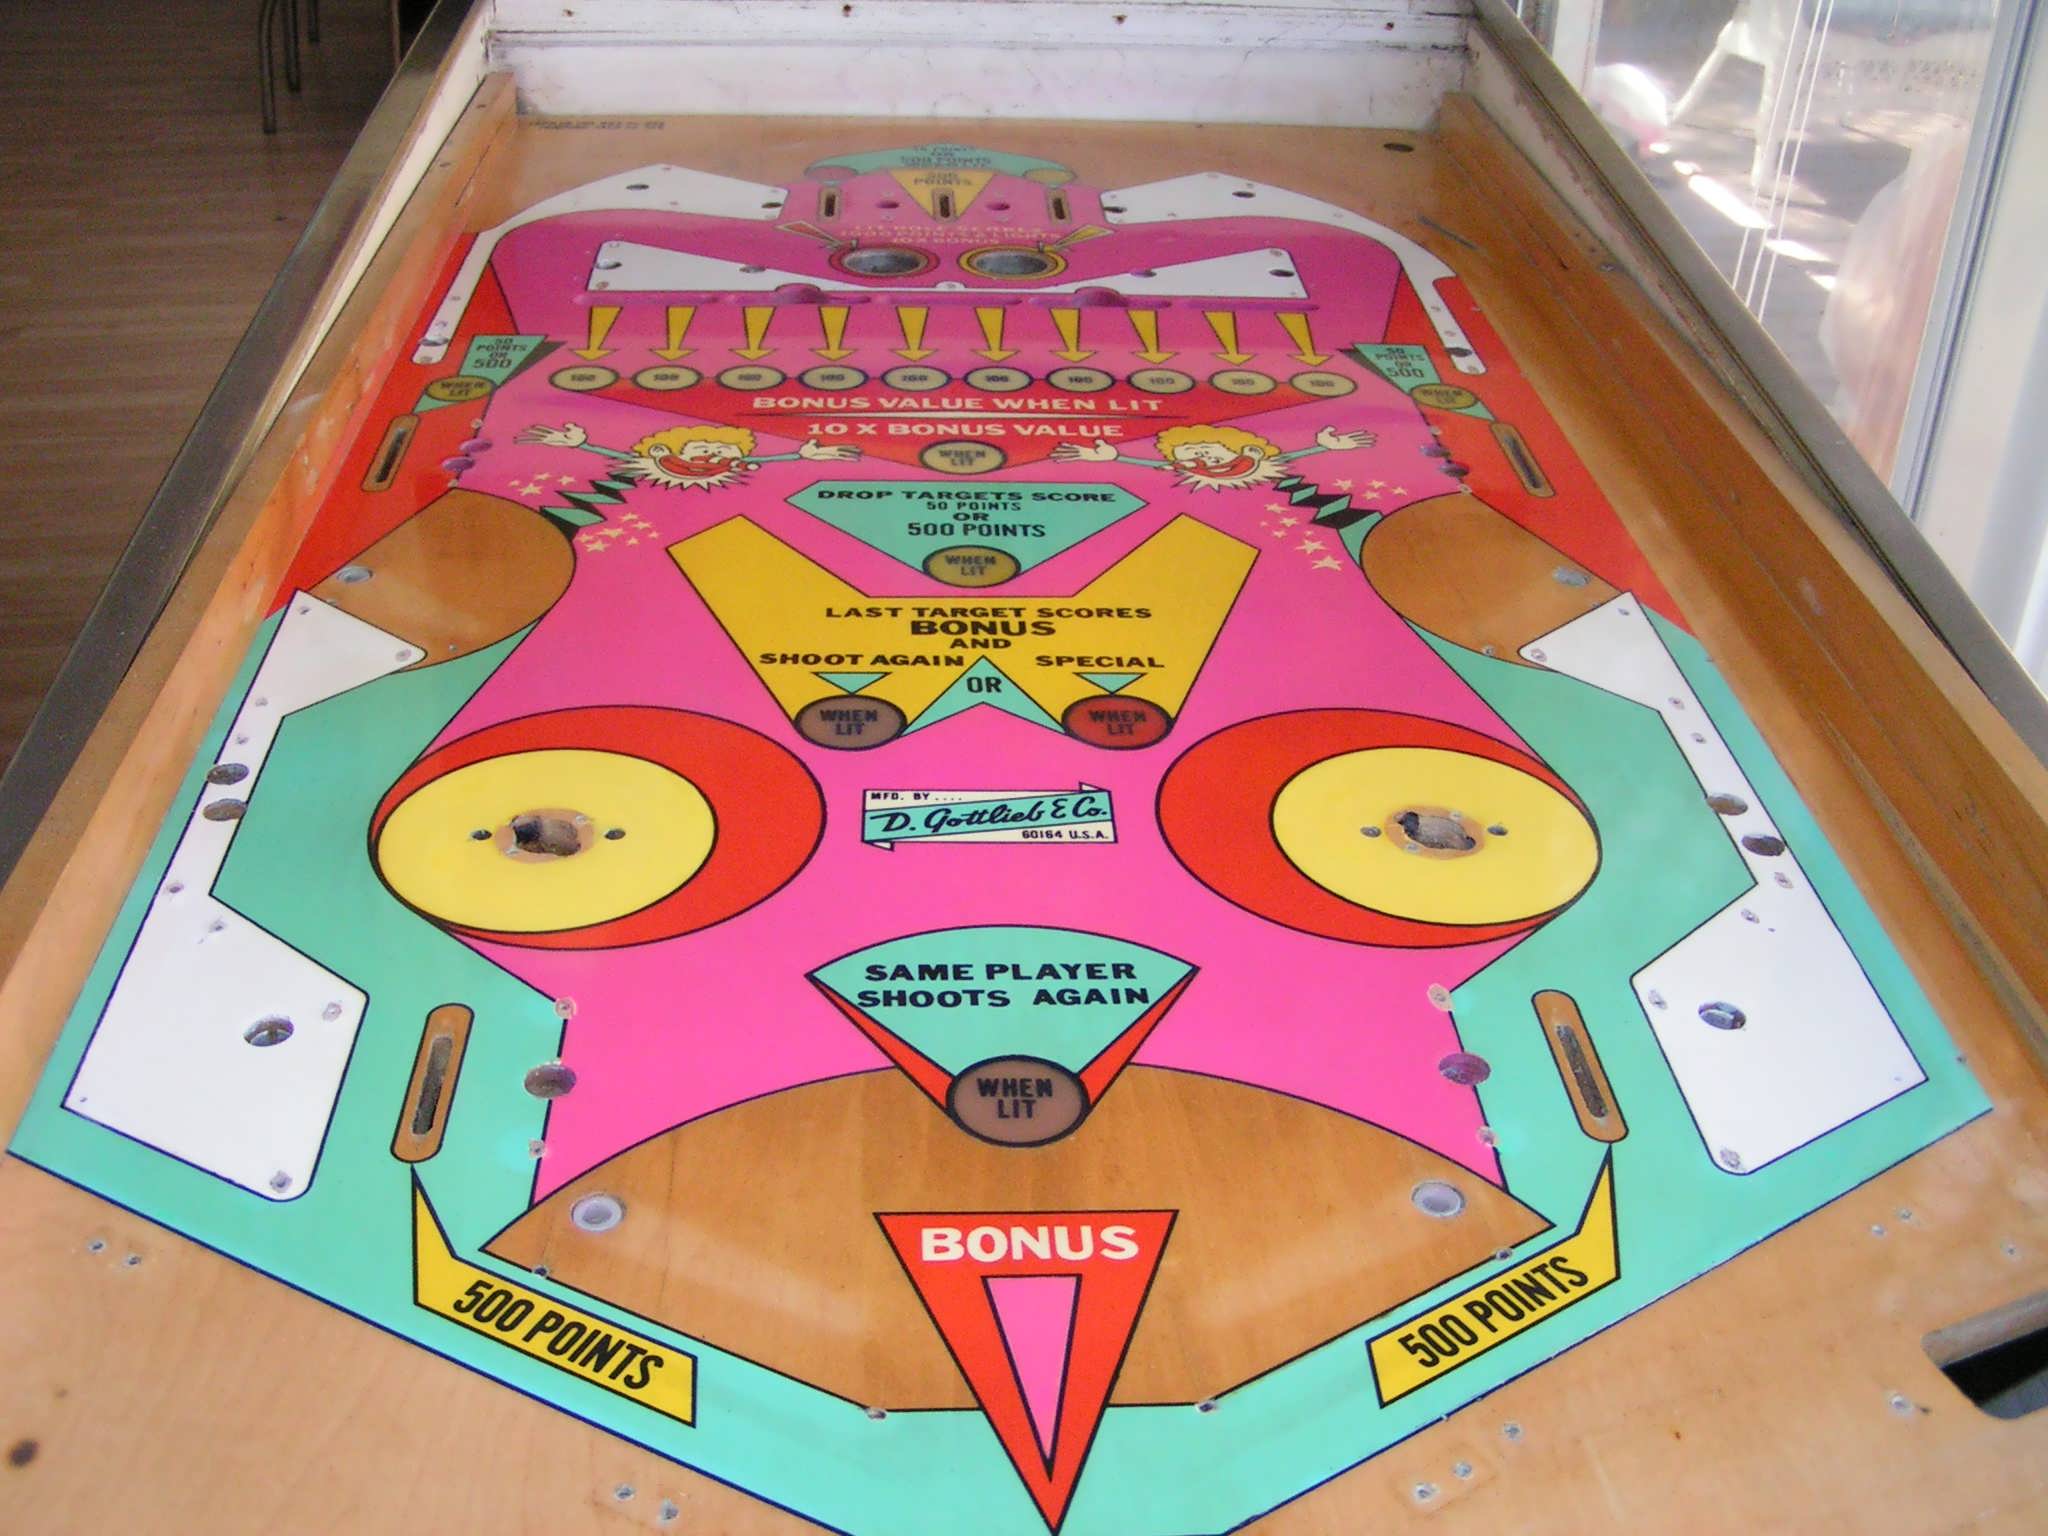
This playfield is a far cry from what I started with, that's for sure! :) Let it
breathe overnight and we'll assemble it tomorrow. Ready? Let's go :)
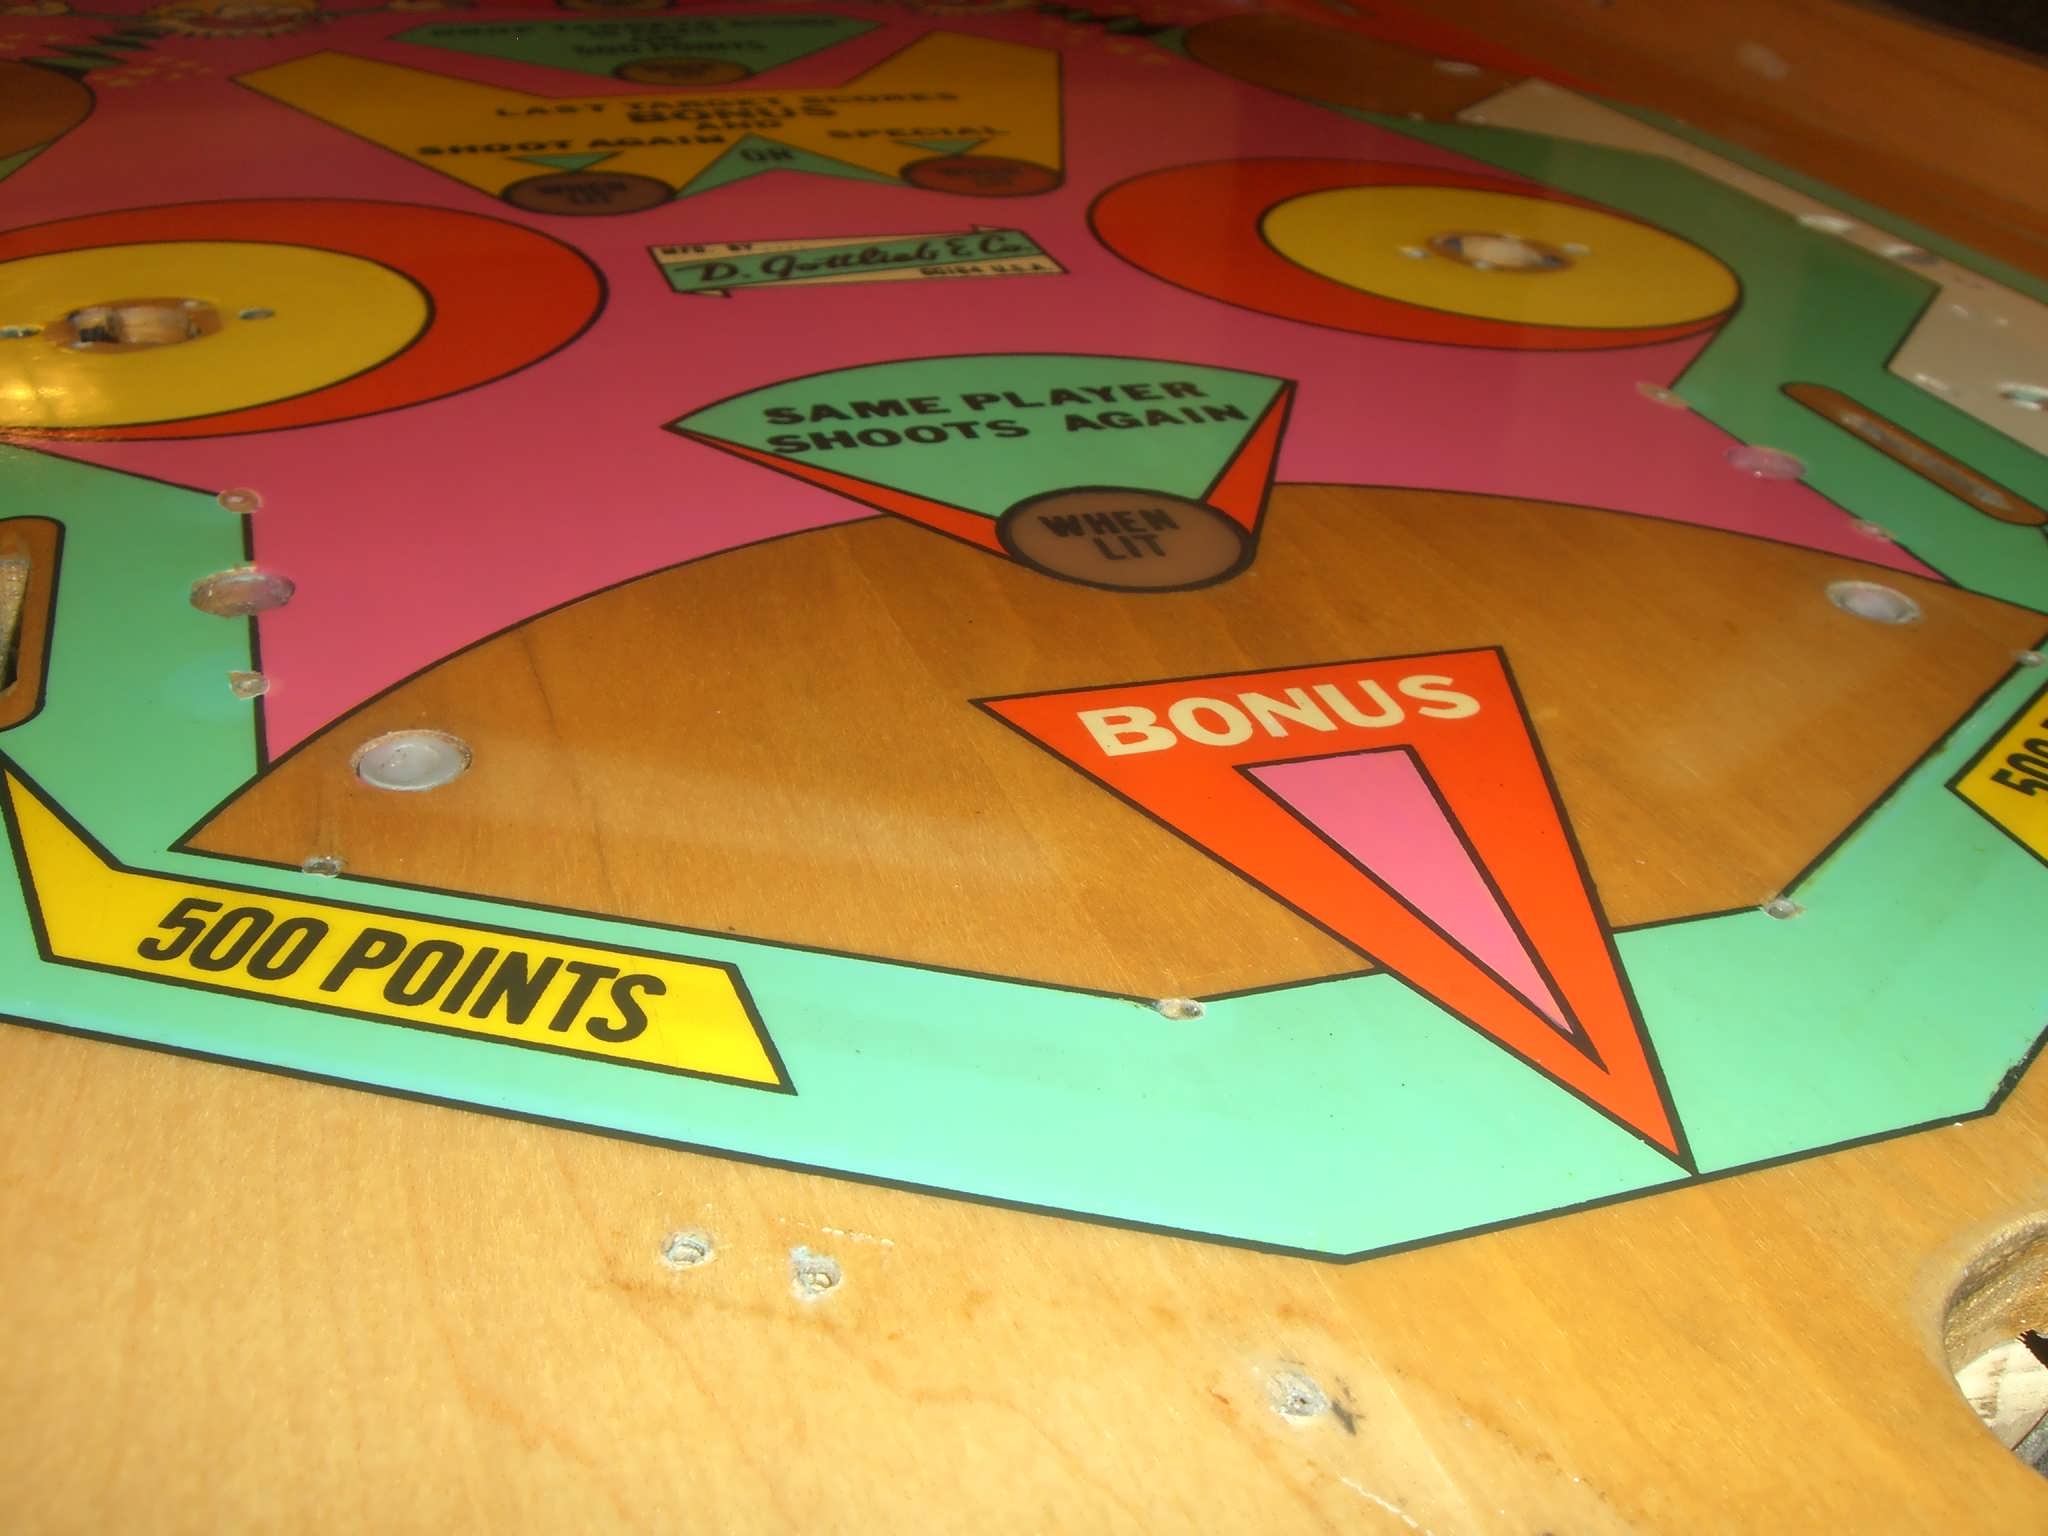
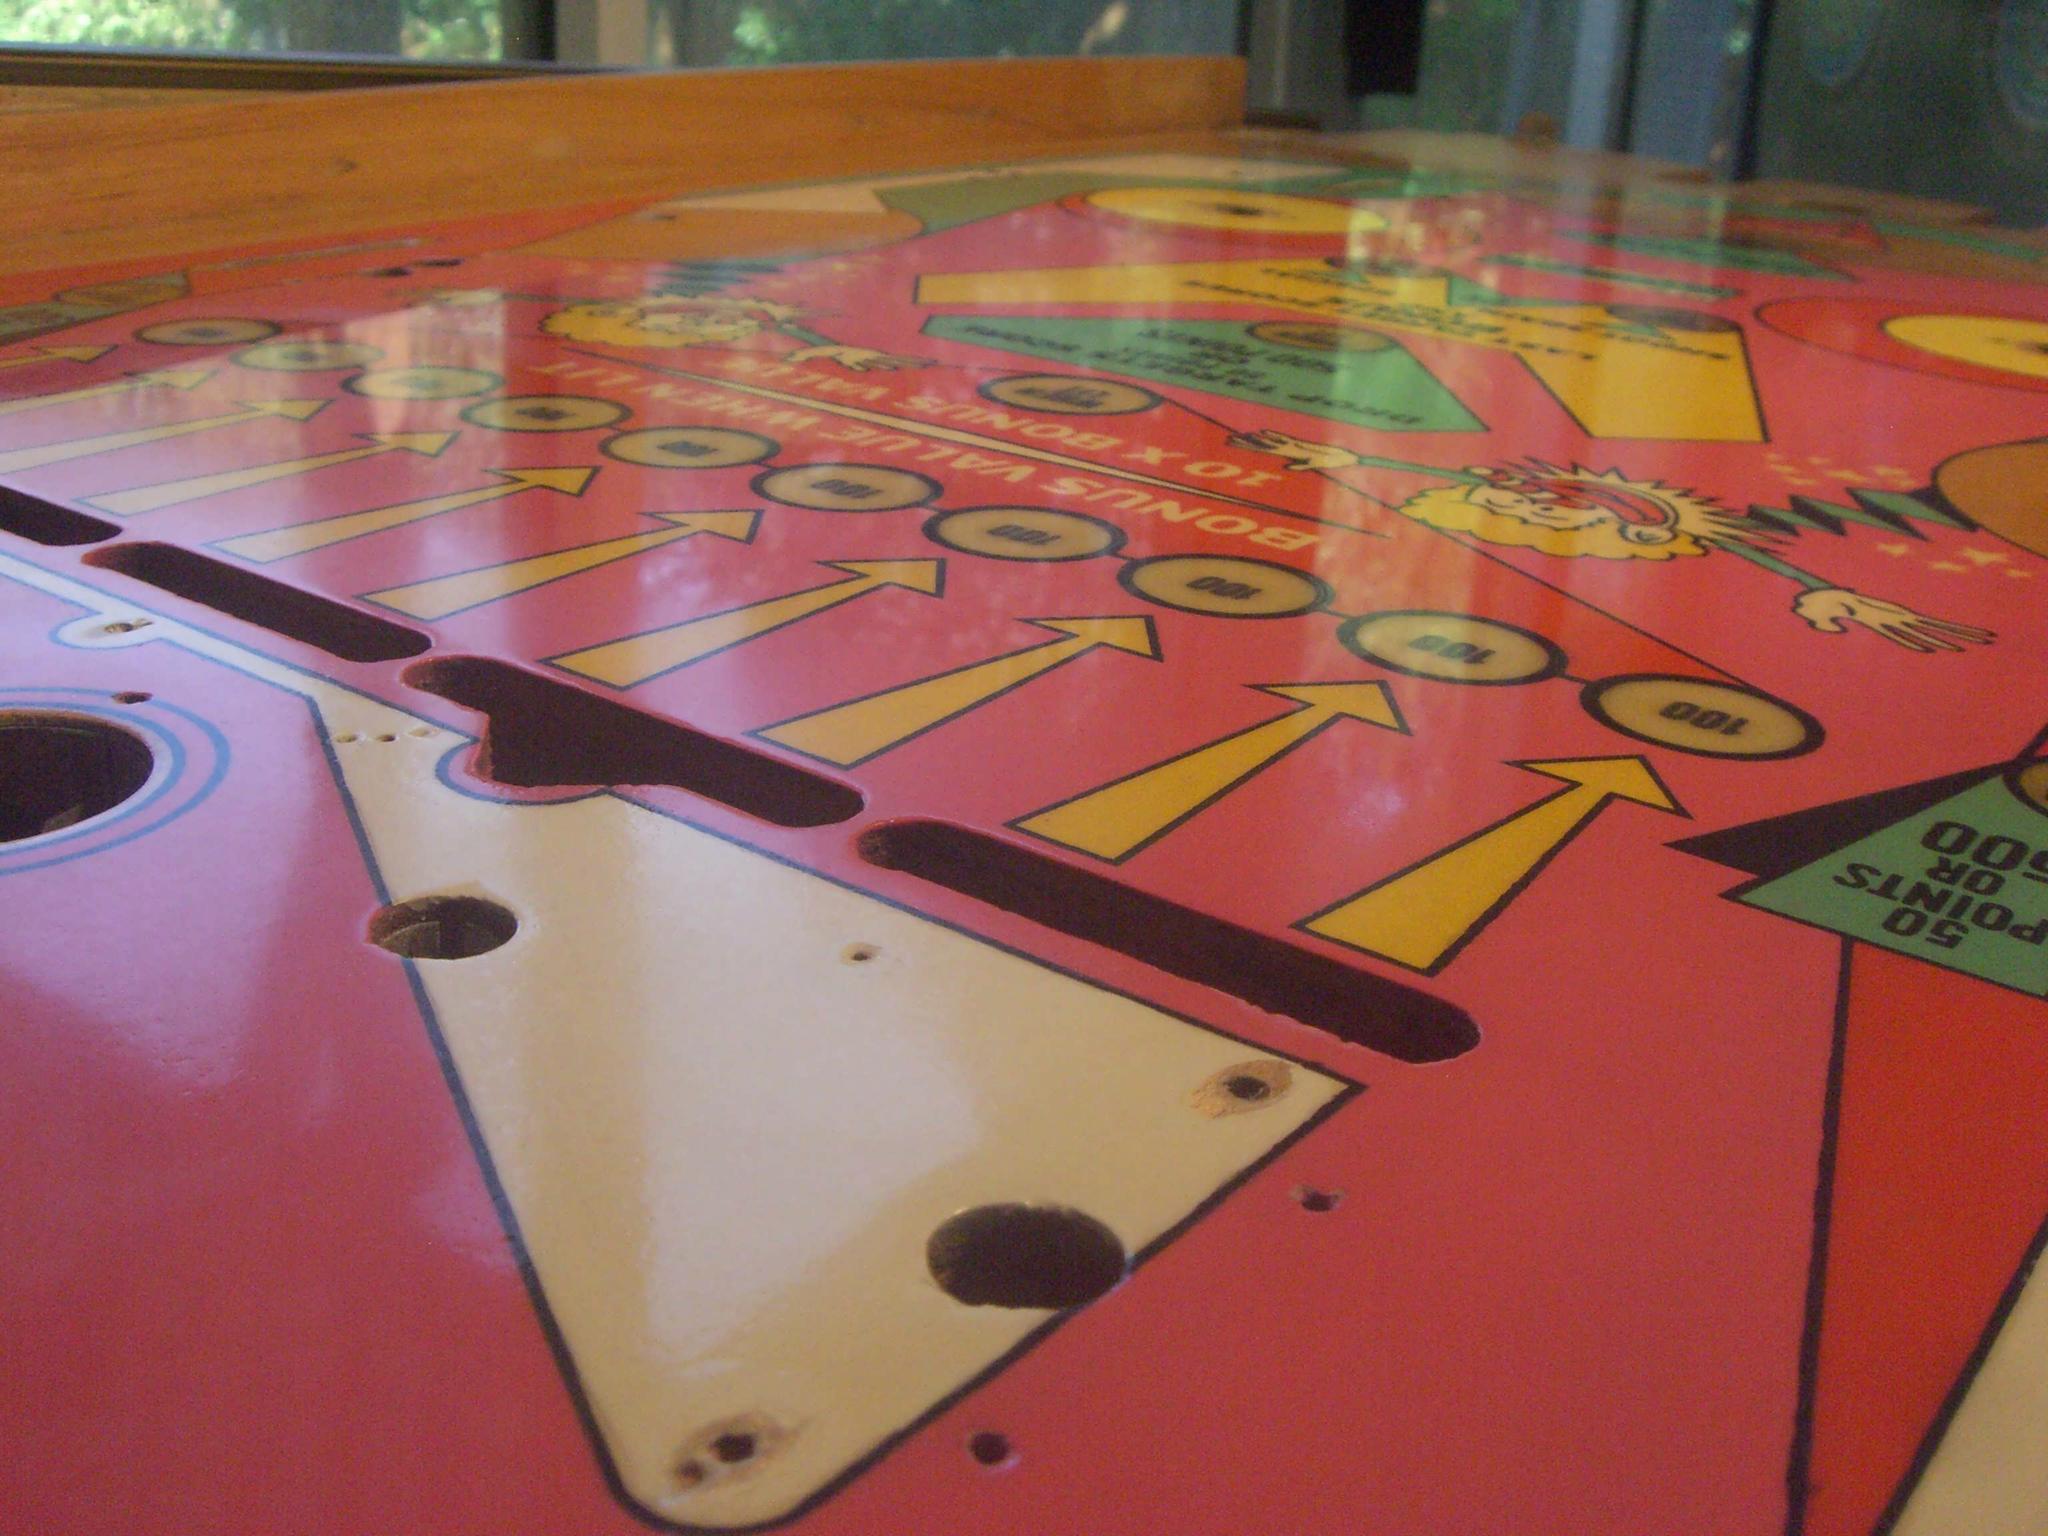
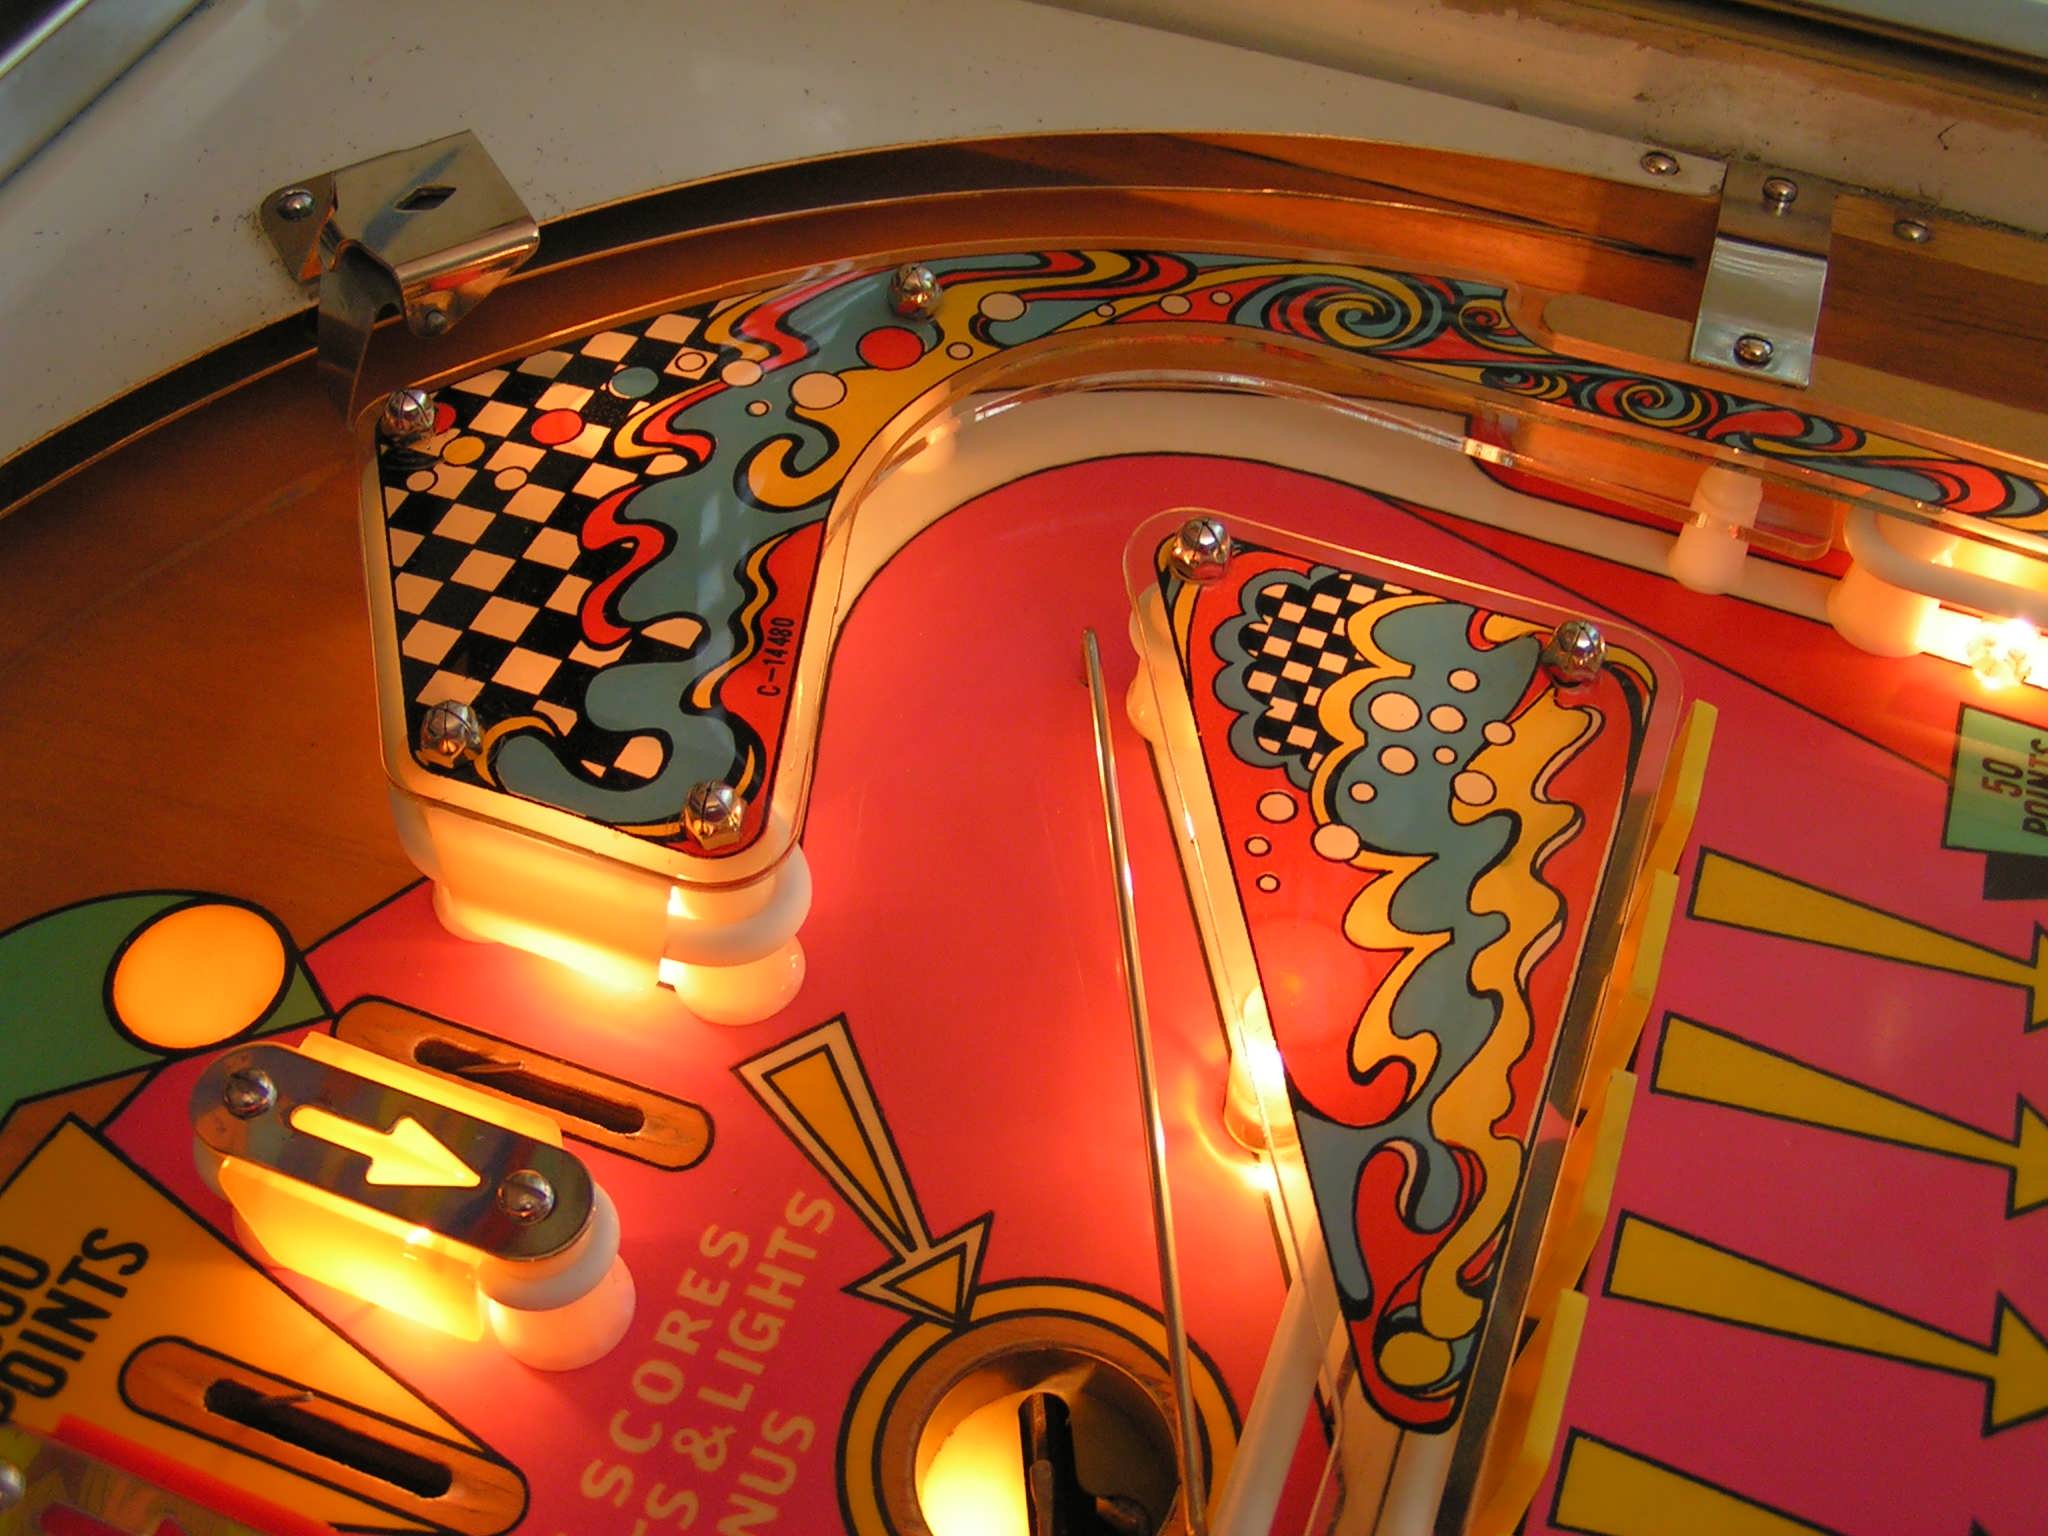
You should see a progression in these pictures from initial
polish in the first pics to the final lambs wool pad polish in the last several.
This playfield is a far cry from what I started with, that's for sure! :) Let it
breathe overnight and we'll assemble it tomorrow. Ready? Let's go :)
Now to put it all back together! Thanks to
Steve Young at Pinball Resource I was
able to get the bumper bodies, caps, flipper kits, cabinet and coin door
hardware. Like a dummy I forgot to order the adhesive pop bumper Mylar platters
but I was able to scan an old one, CAD it and have my friend Martin Reynolds
make a set for me on his killer laser. While I had him burning I drew the two
clear plastics and had him make those for me in gorgeous high impact acrylic as
well as my originals were horribly yellowed. Watch for them in the pics and if
you need some, talk to Pam and Martin!
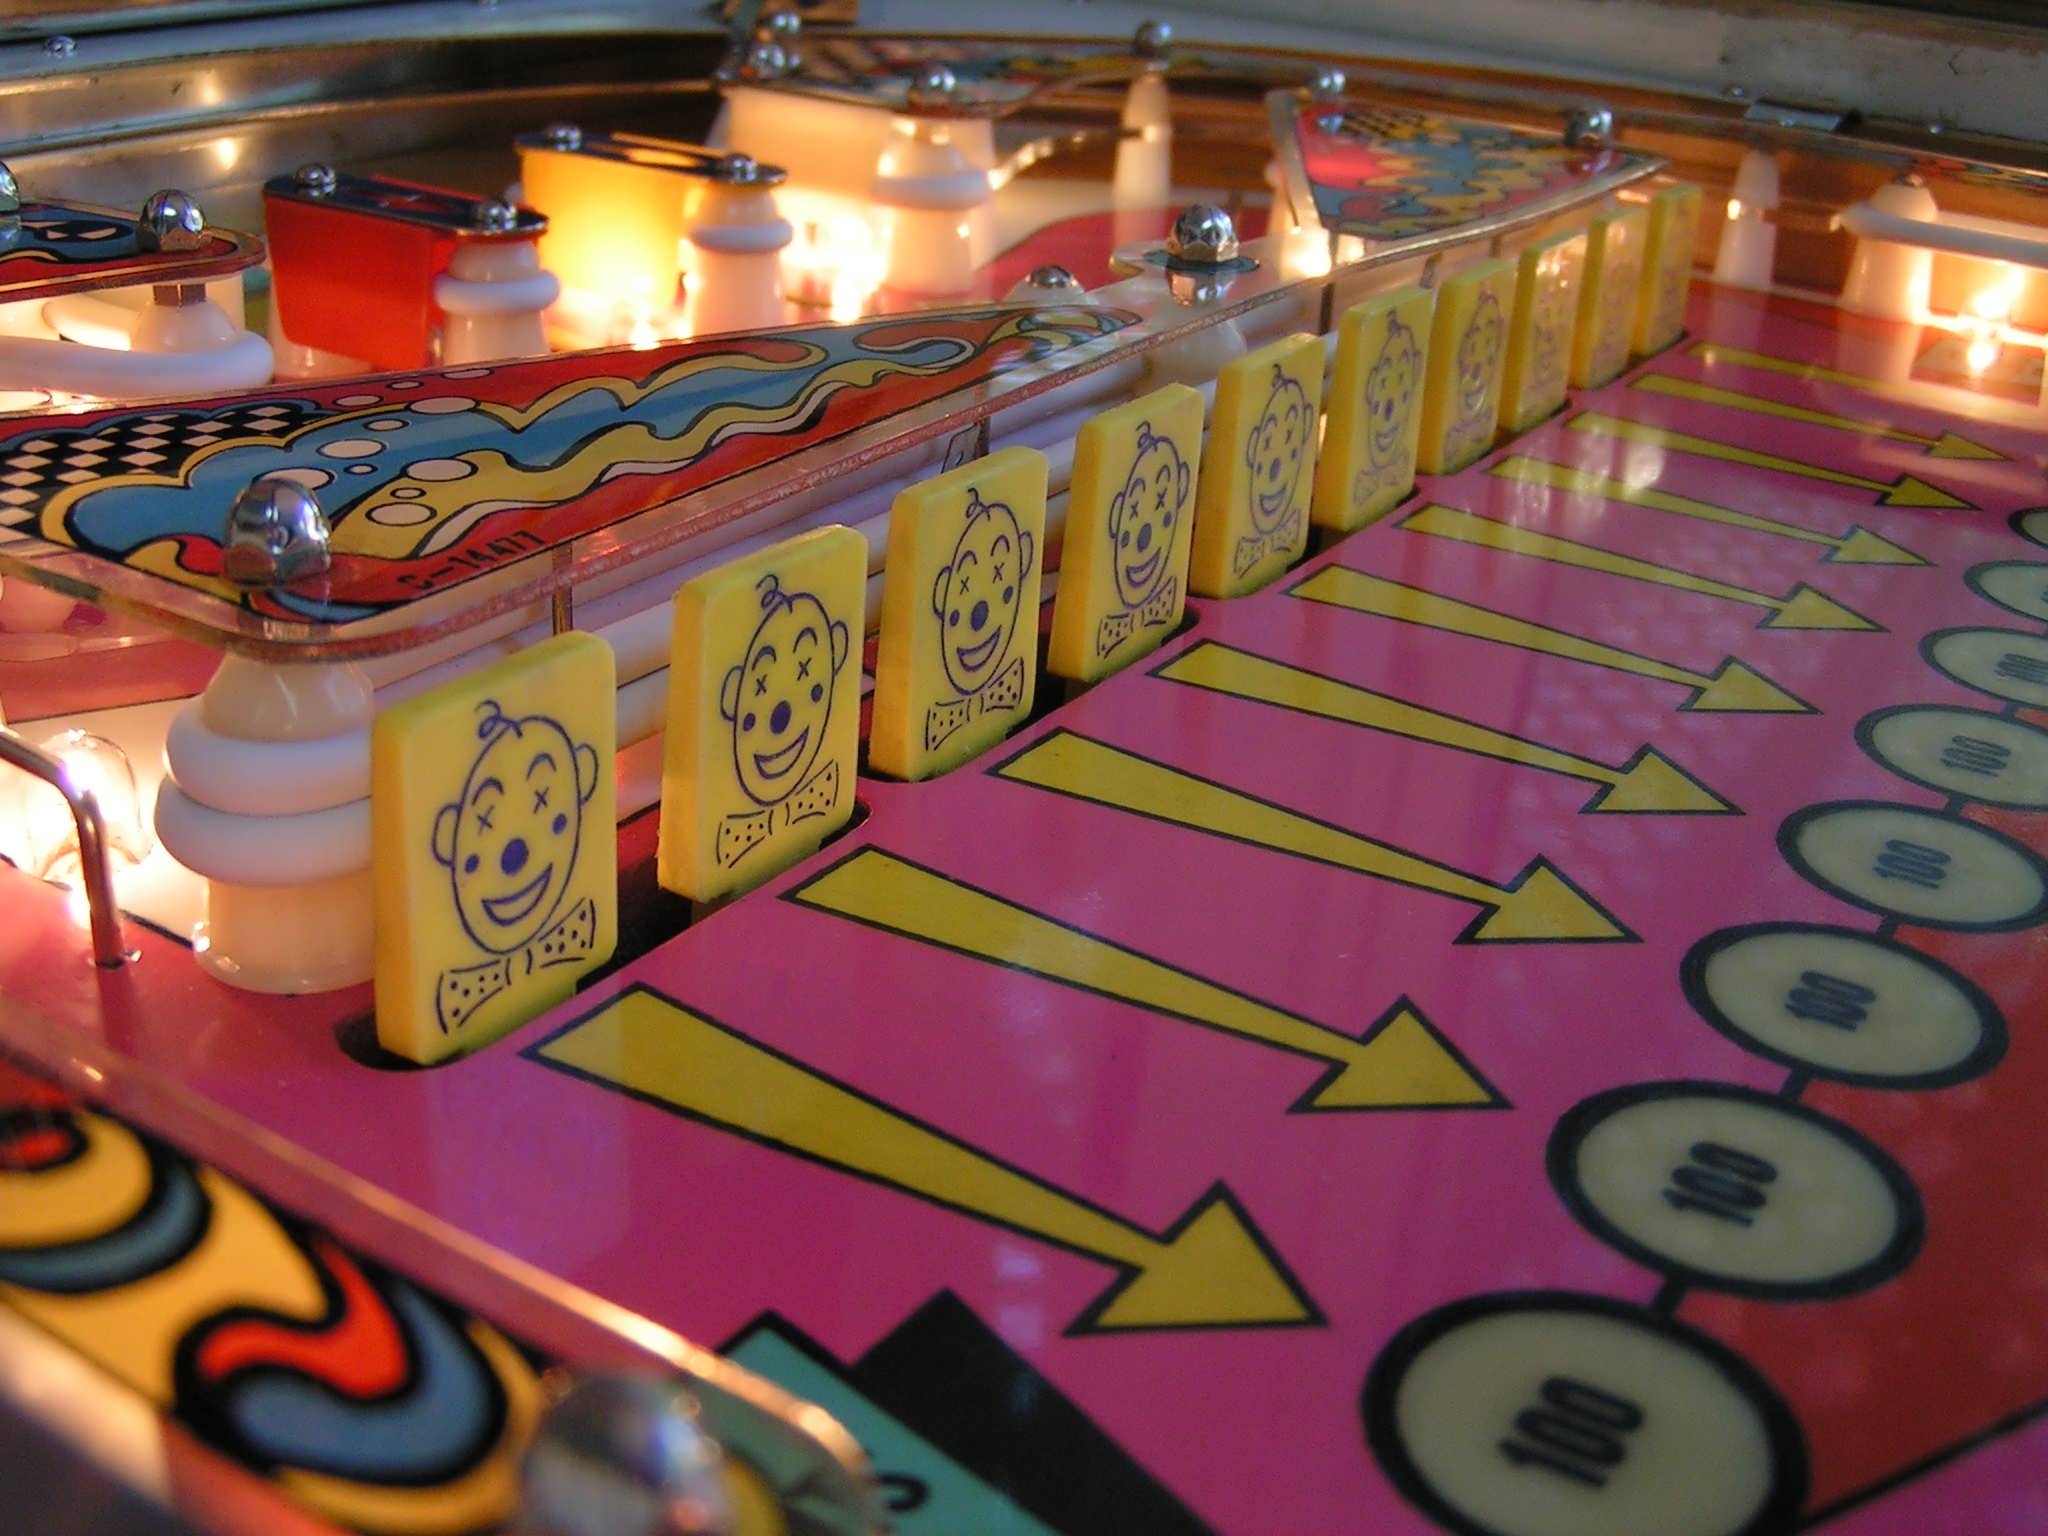
Another thing I neglected to buy from Pinball Resource was a set of clown drop
targets! Darn it! Now, I could have ordered again and waited but I really wanted
to get this thing back together quickly so I decided to hand paint all the drop
targets save one. There was one new target in the lot. The other 9 were toast. A
bit o' cleanin' and a lot o' painting and by golly I had a sweet set. The
magnificent magnifying headgear and a super fine brush made all the difference.
That and a steady hand :)
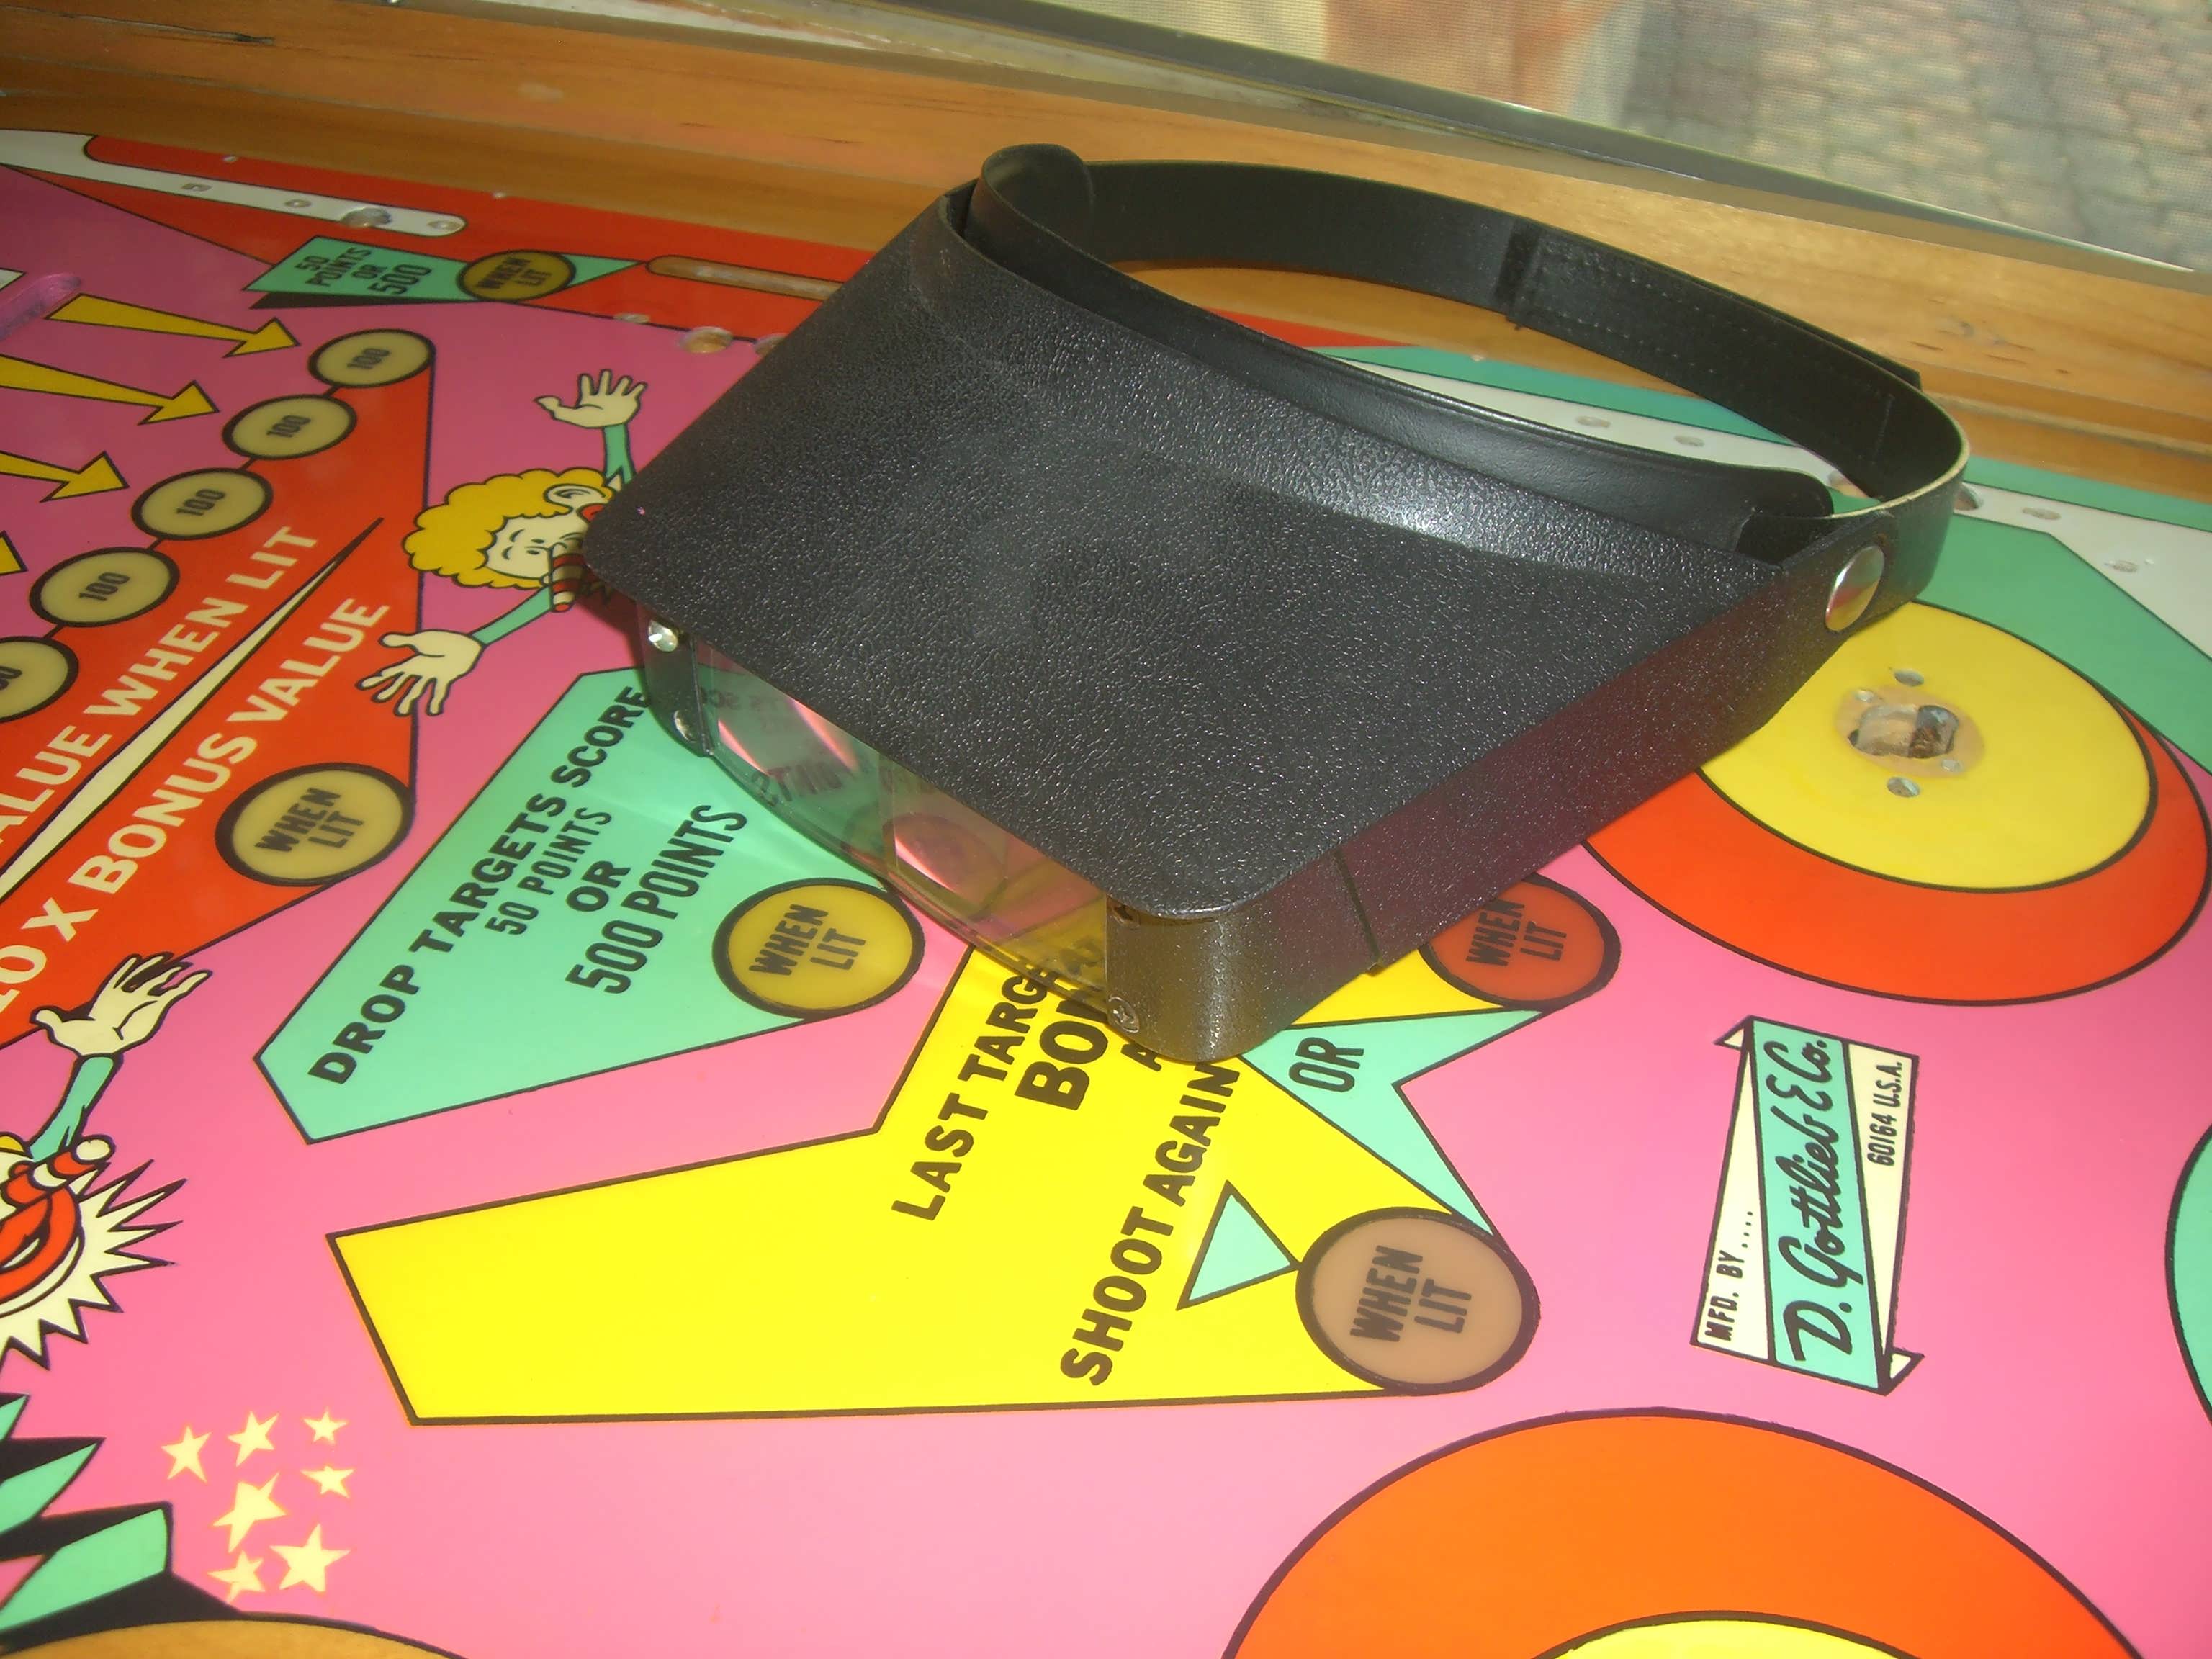
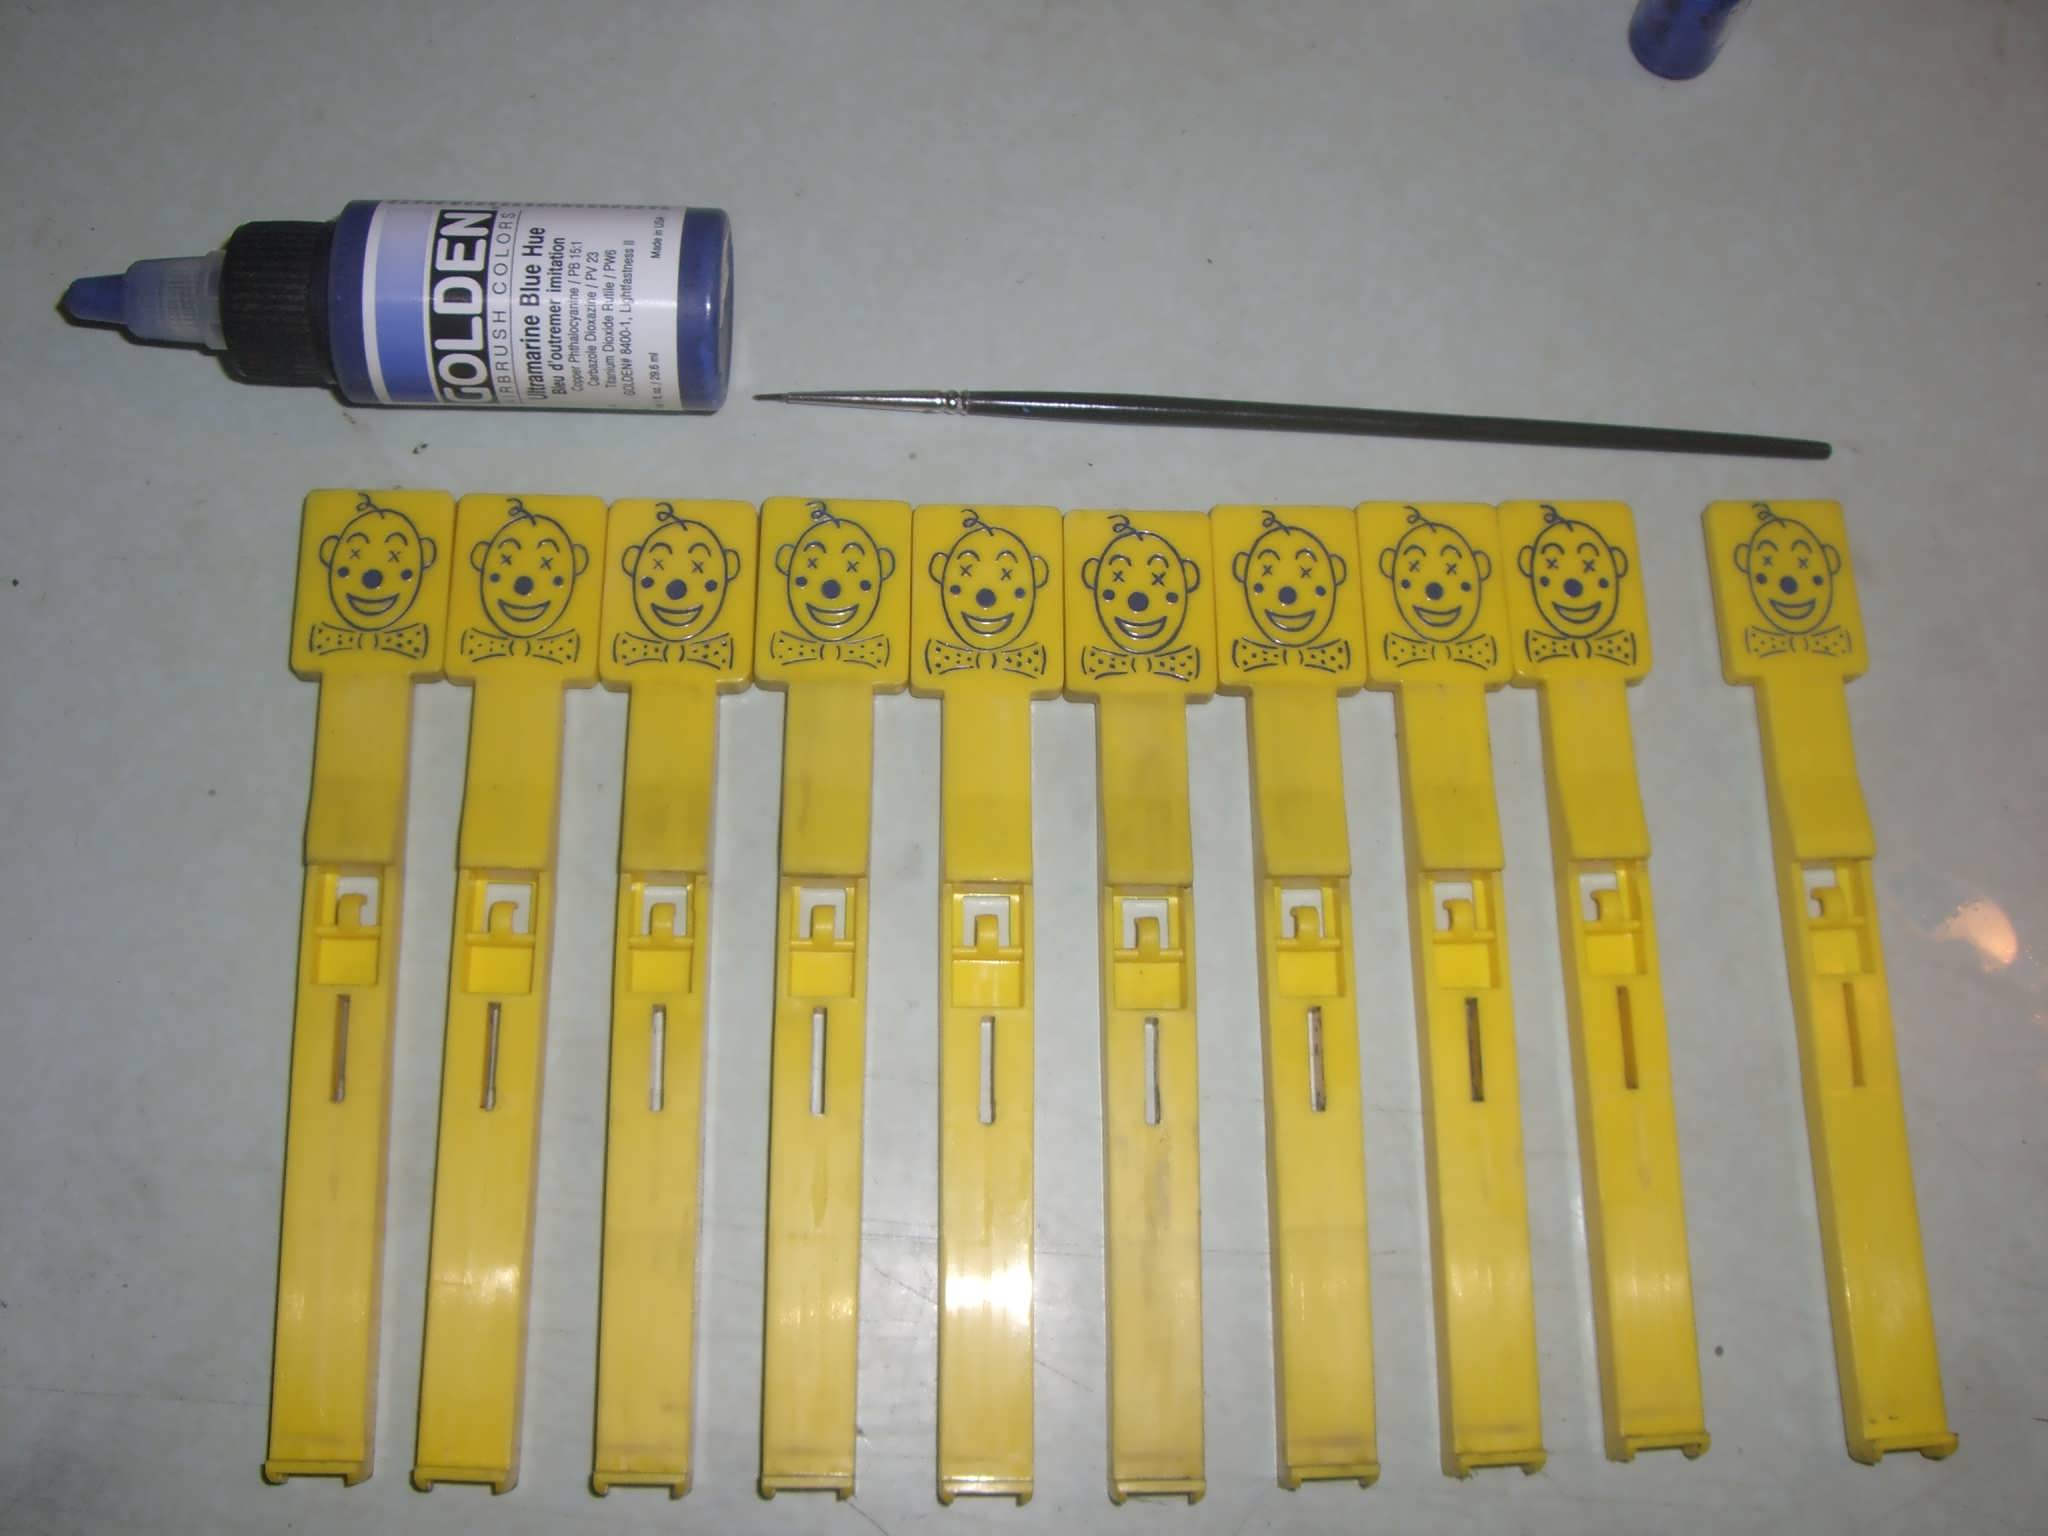 The legendary magnifying headgear and the repainted targets Can you tell the
original one? I've also found the dead on match for the deep blue as shown in
the picture. I cut Mylar squares and applied to protect them from ever wearing
off again.
The legendary magnifying headgear and the repainted targets Can you tell the
original one? I've also found the dead on match for the deep blue as shown in
the picture. I cut Mylar squares and applied to protect them from ever wearing
off again.
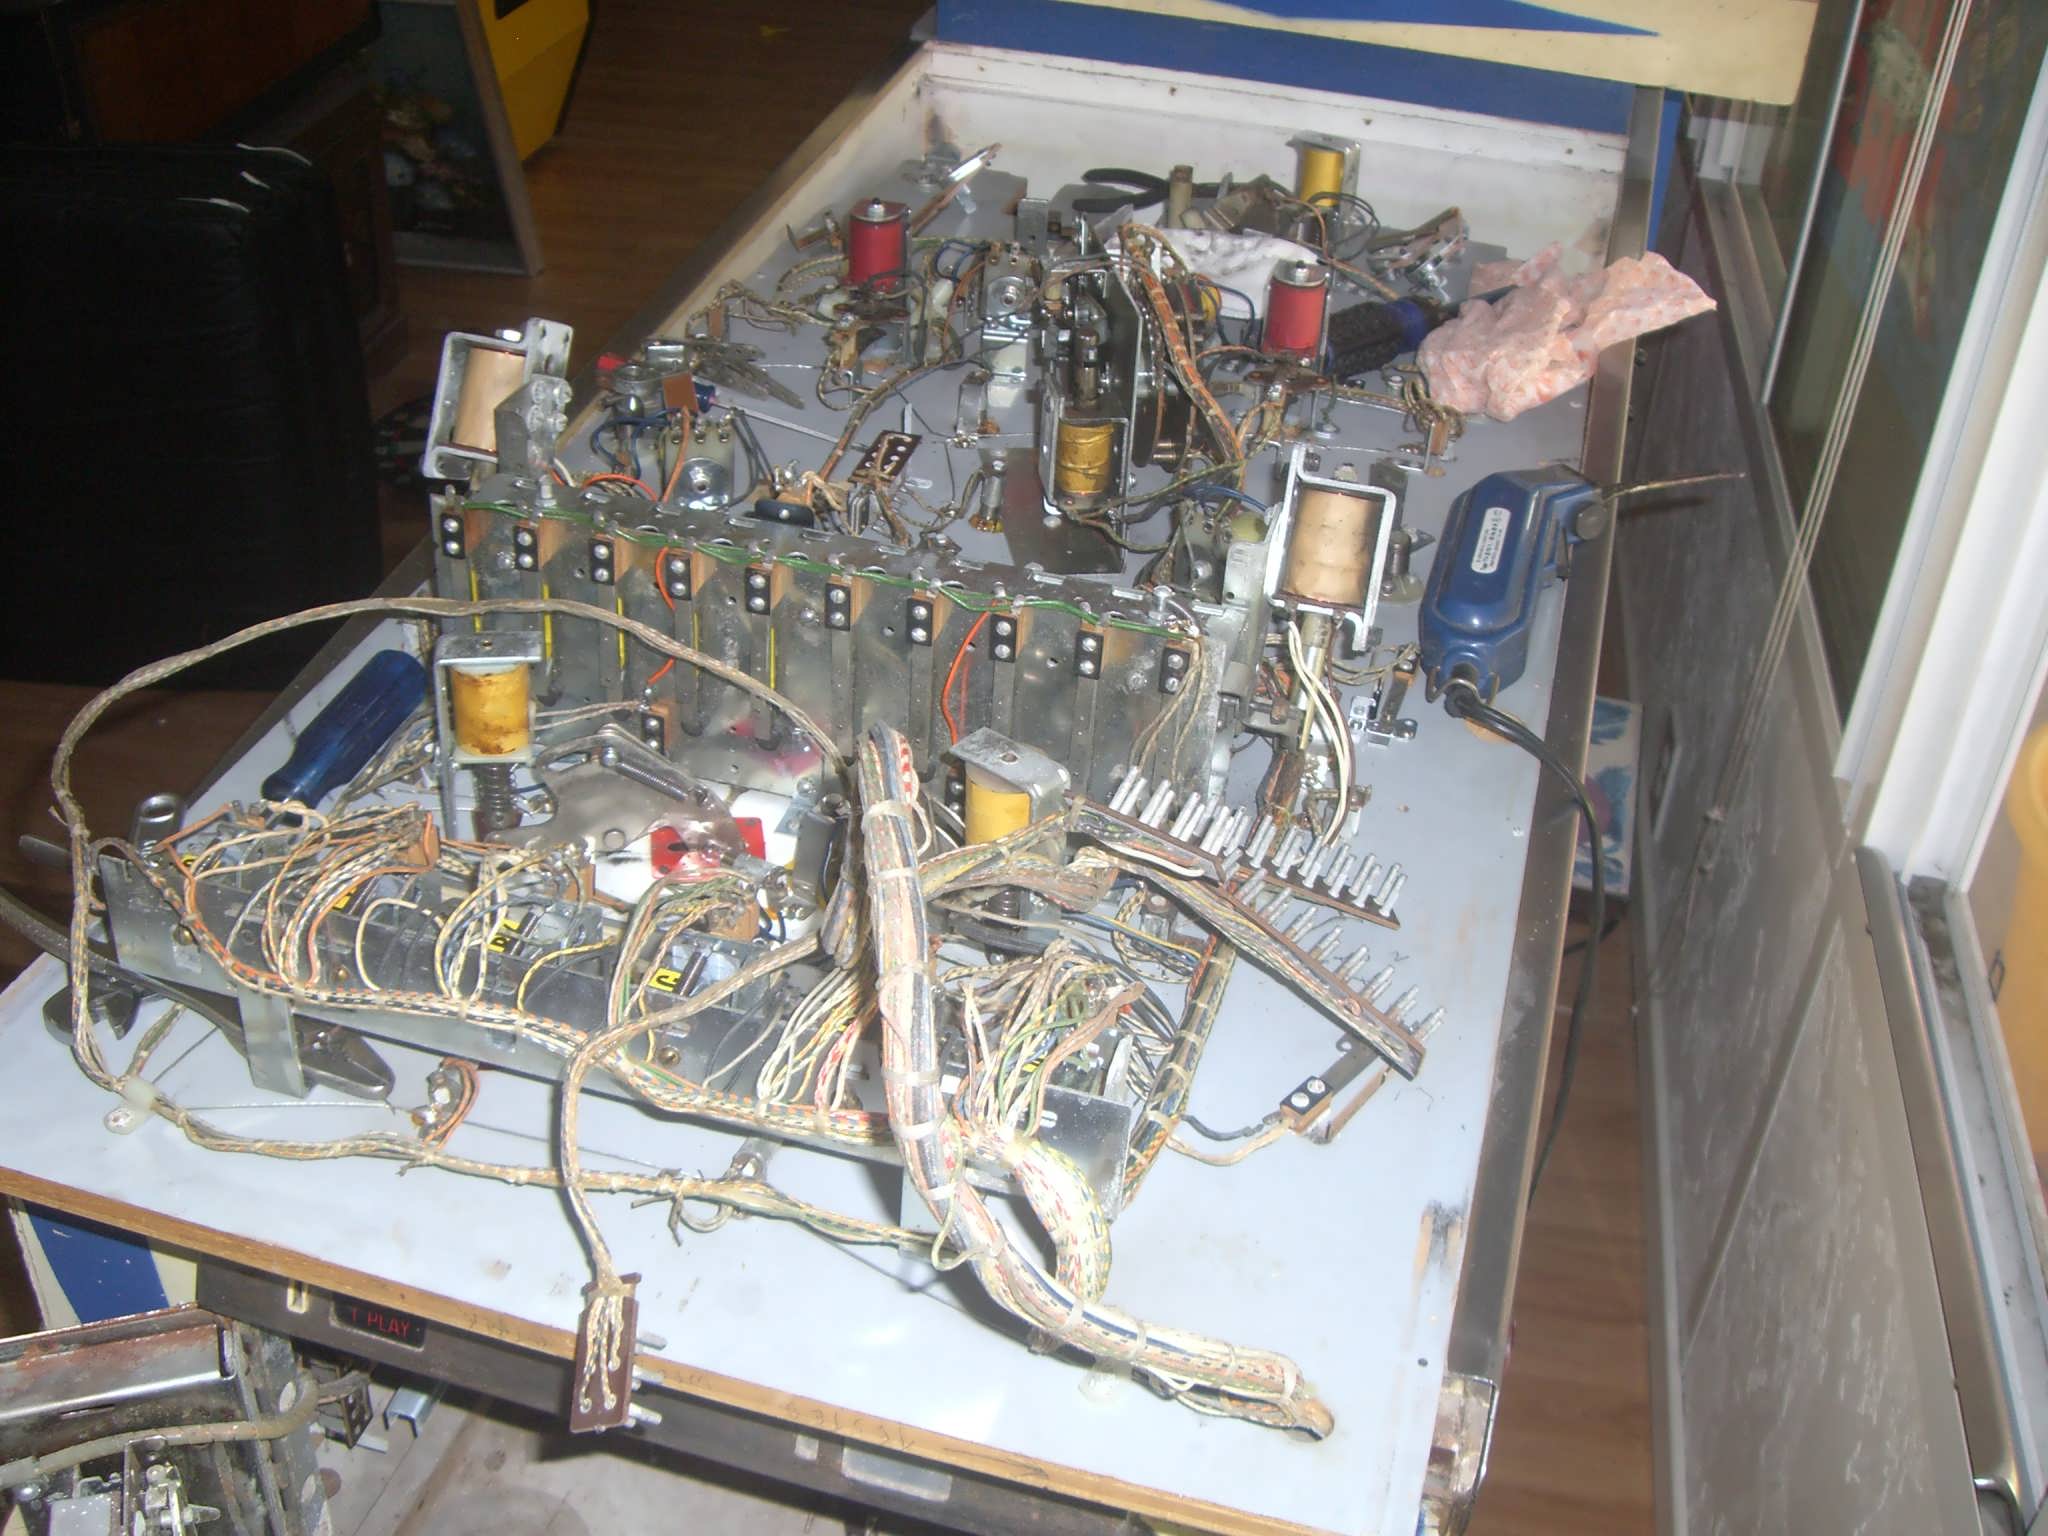
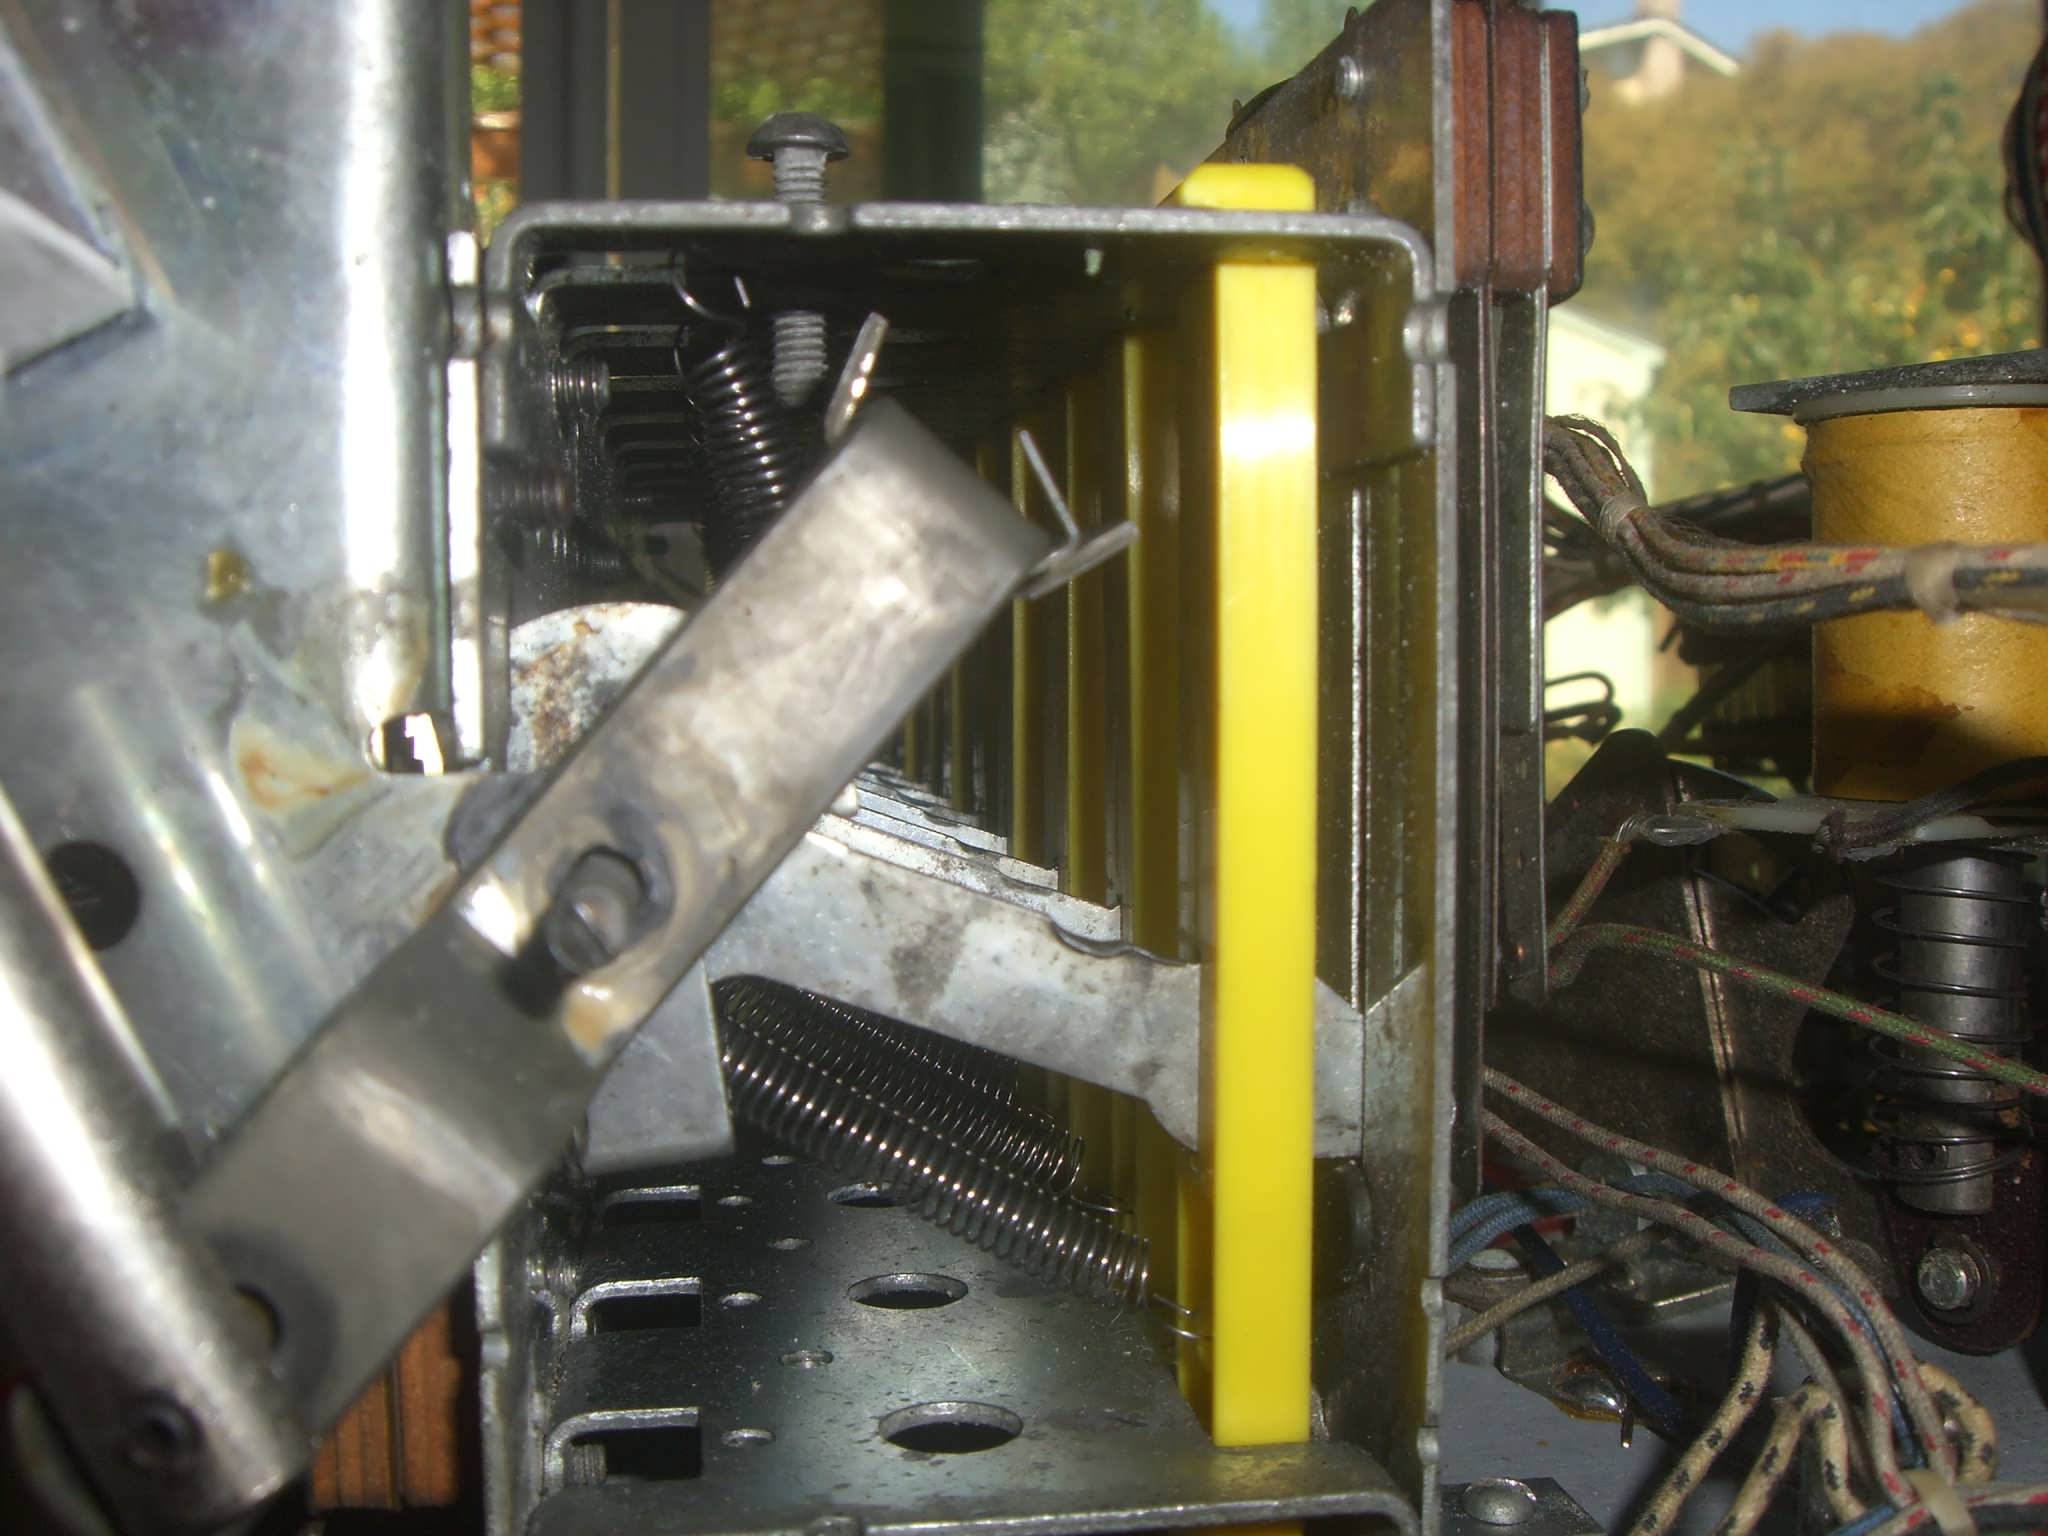
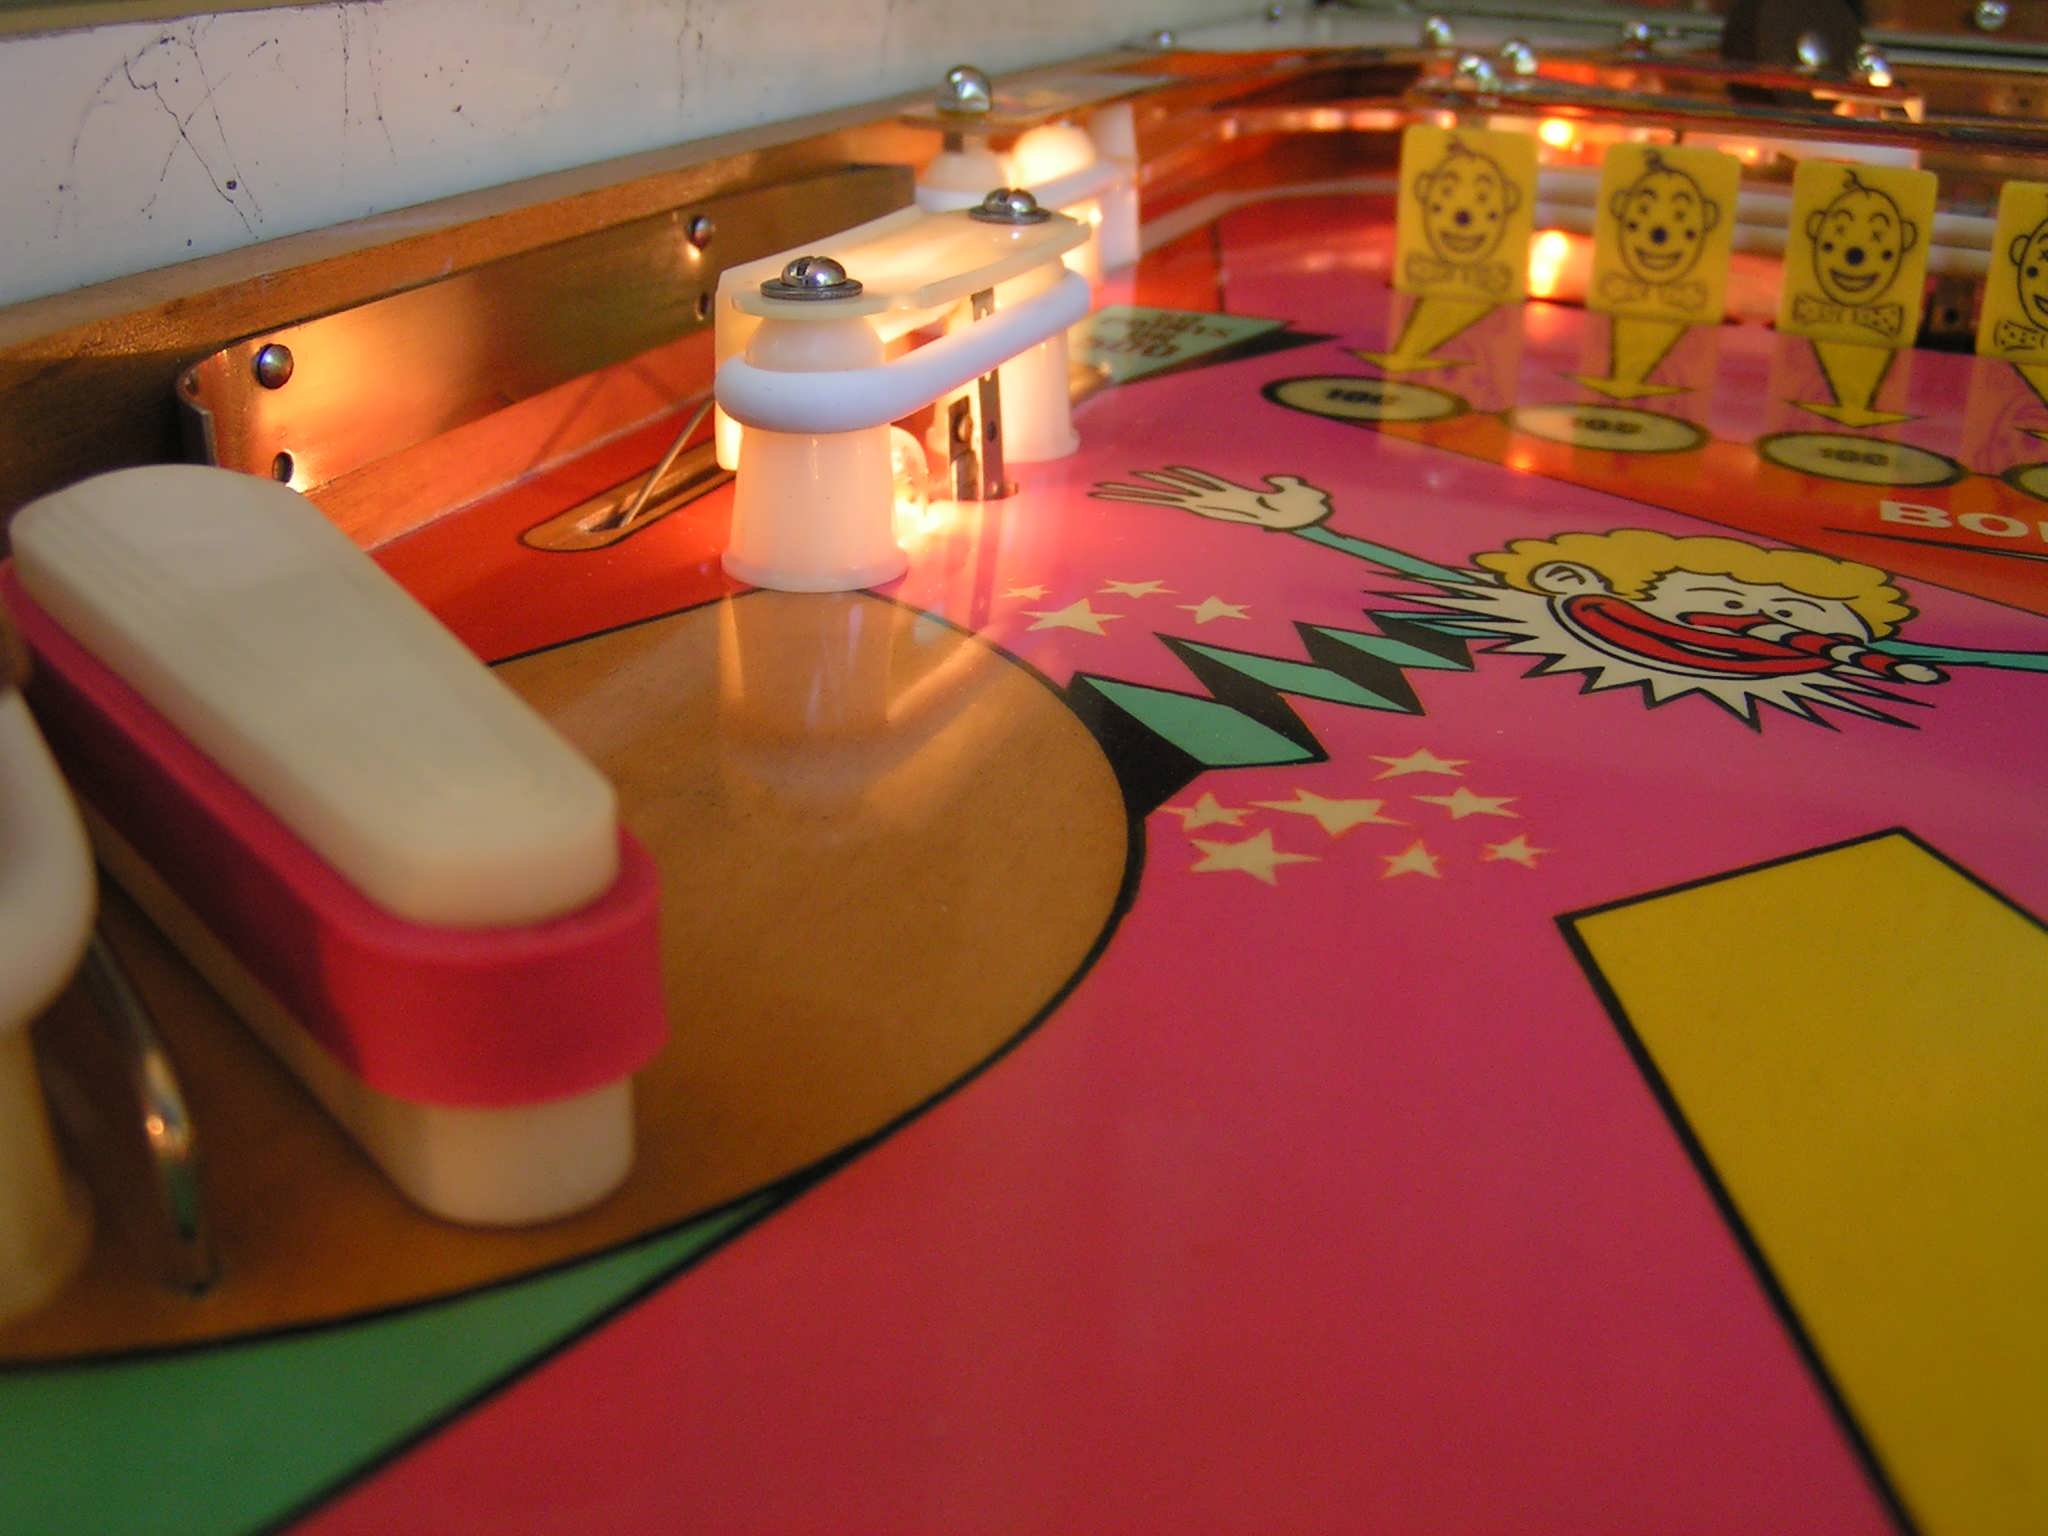
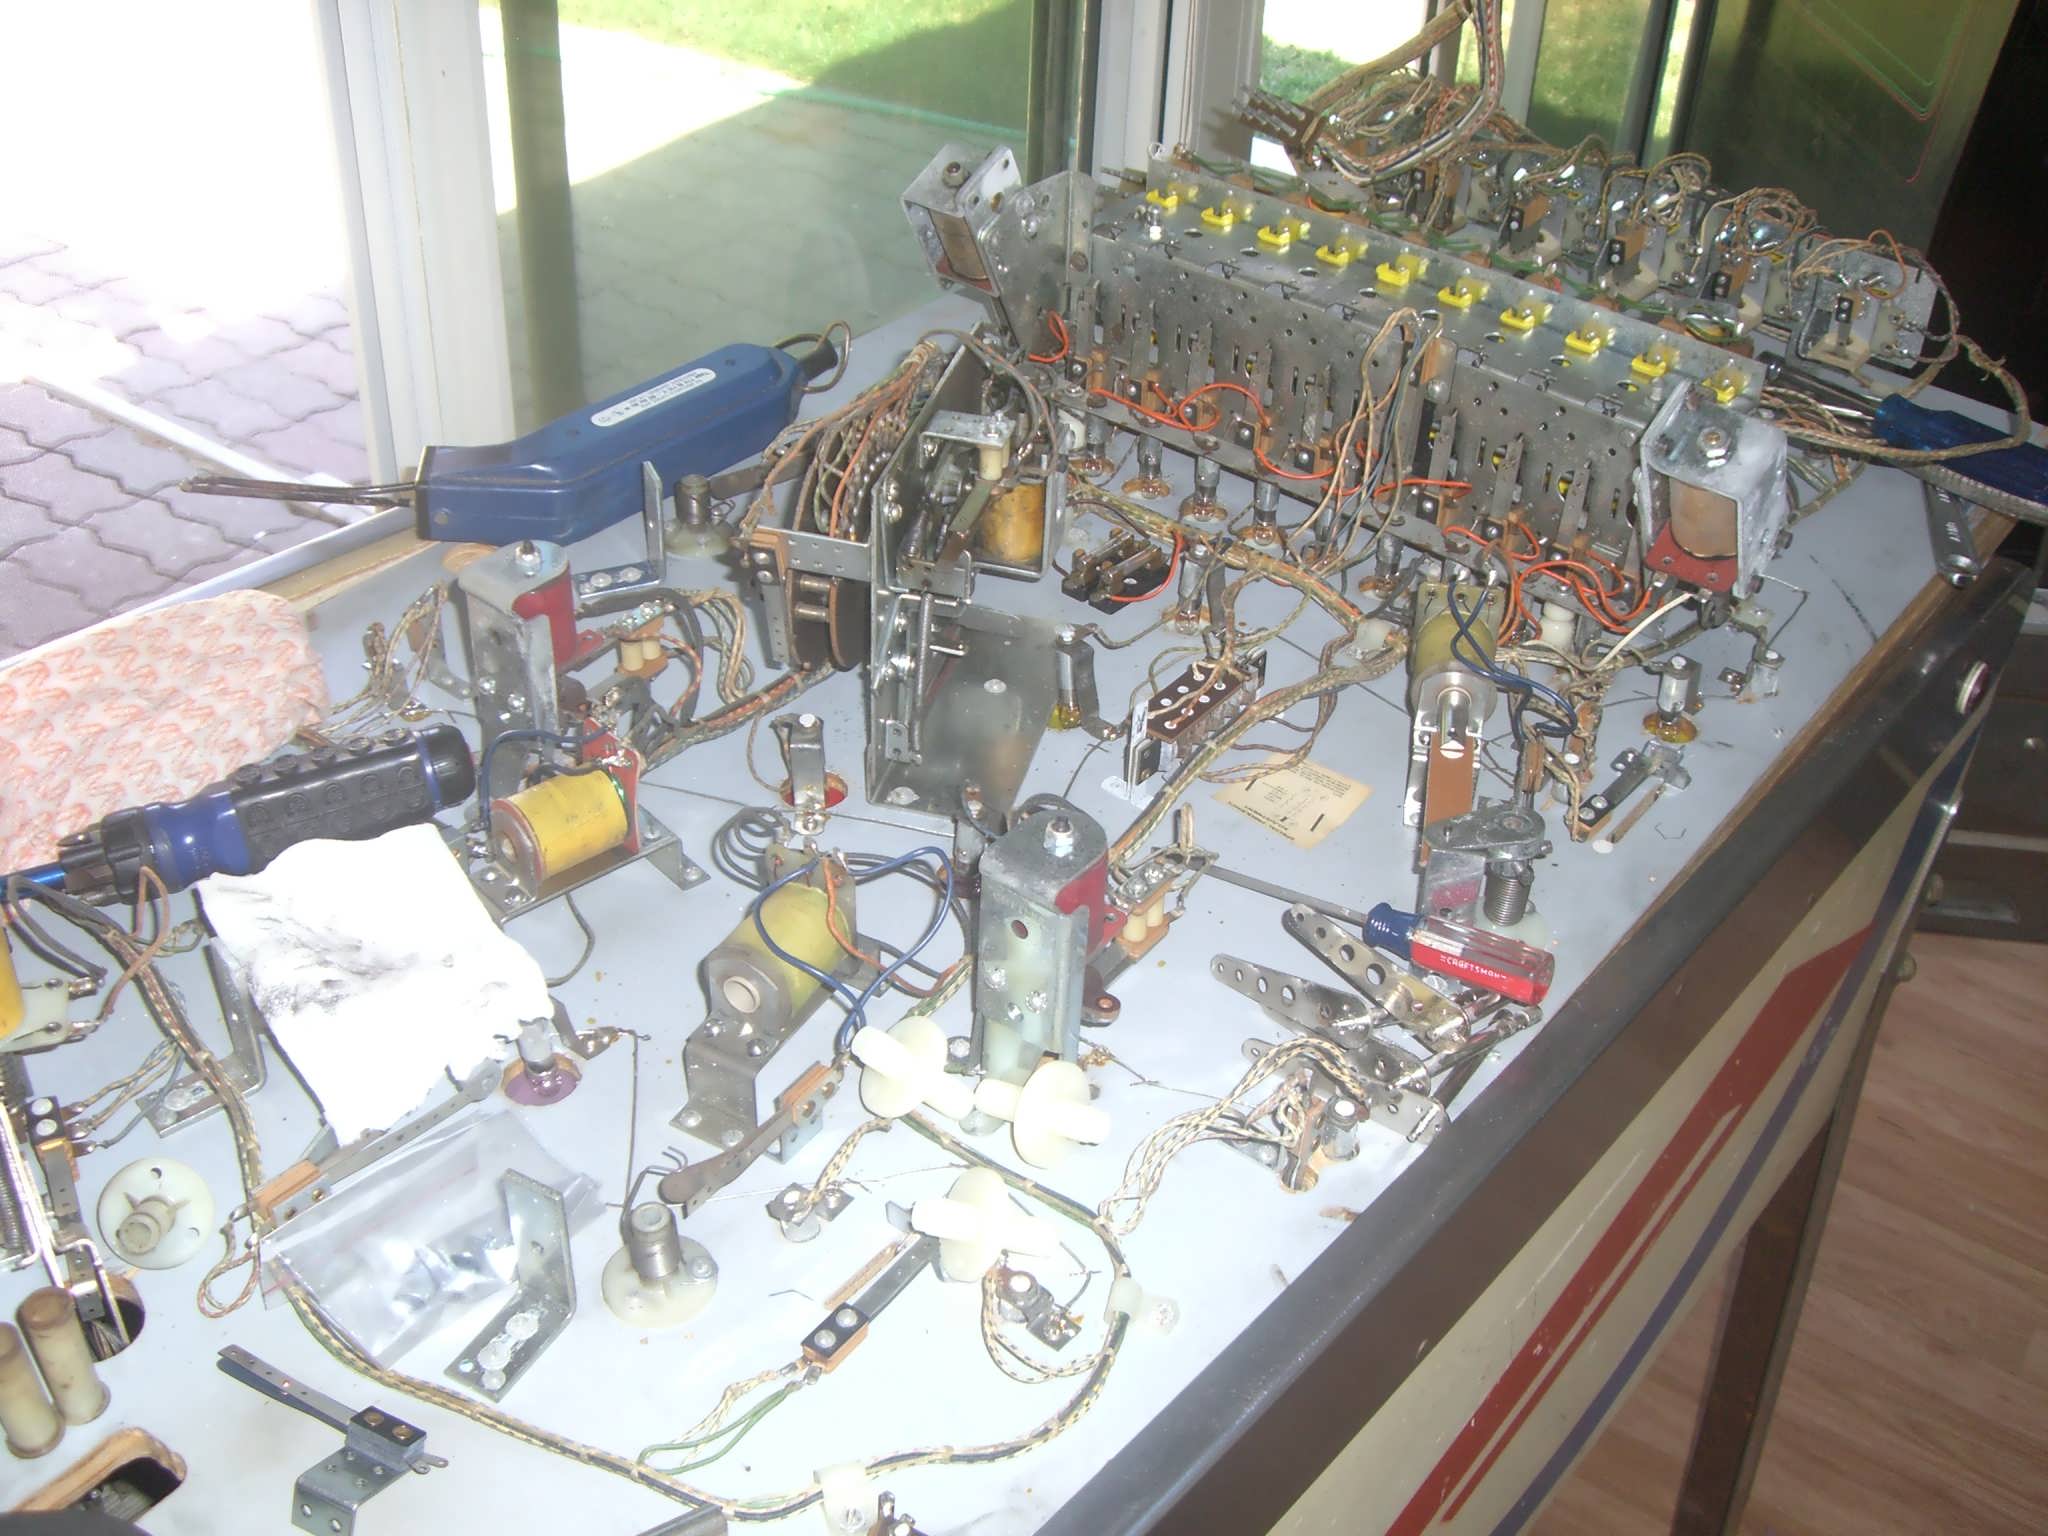 Rebuilding the flippers, drop mechanism and pop bumpers. All
the top side hardware has been tumbled and ready to install next.
Rebuilding the flippers, drop mechanism and pop bumpers. All
the top side hardware has been tumbled and ready to install next.
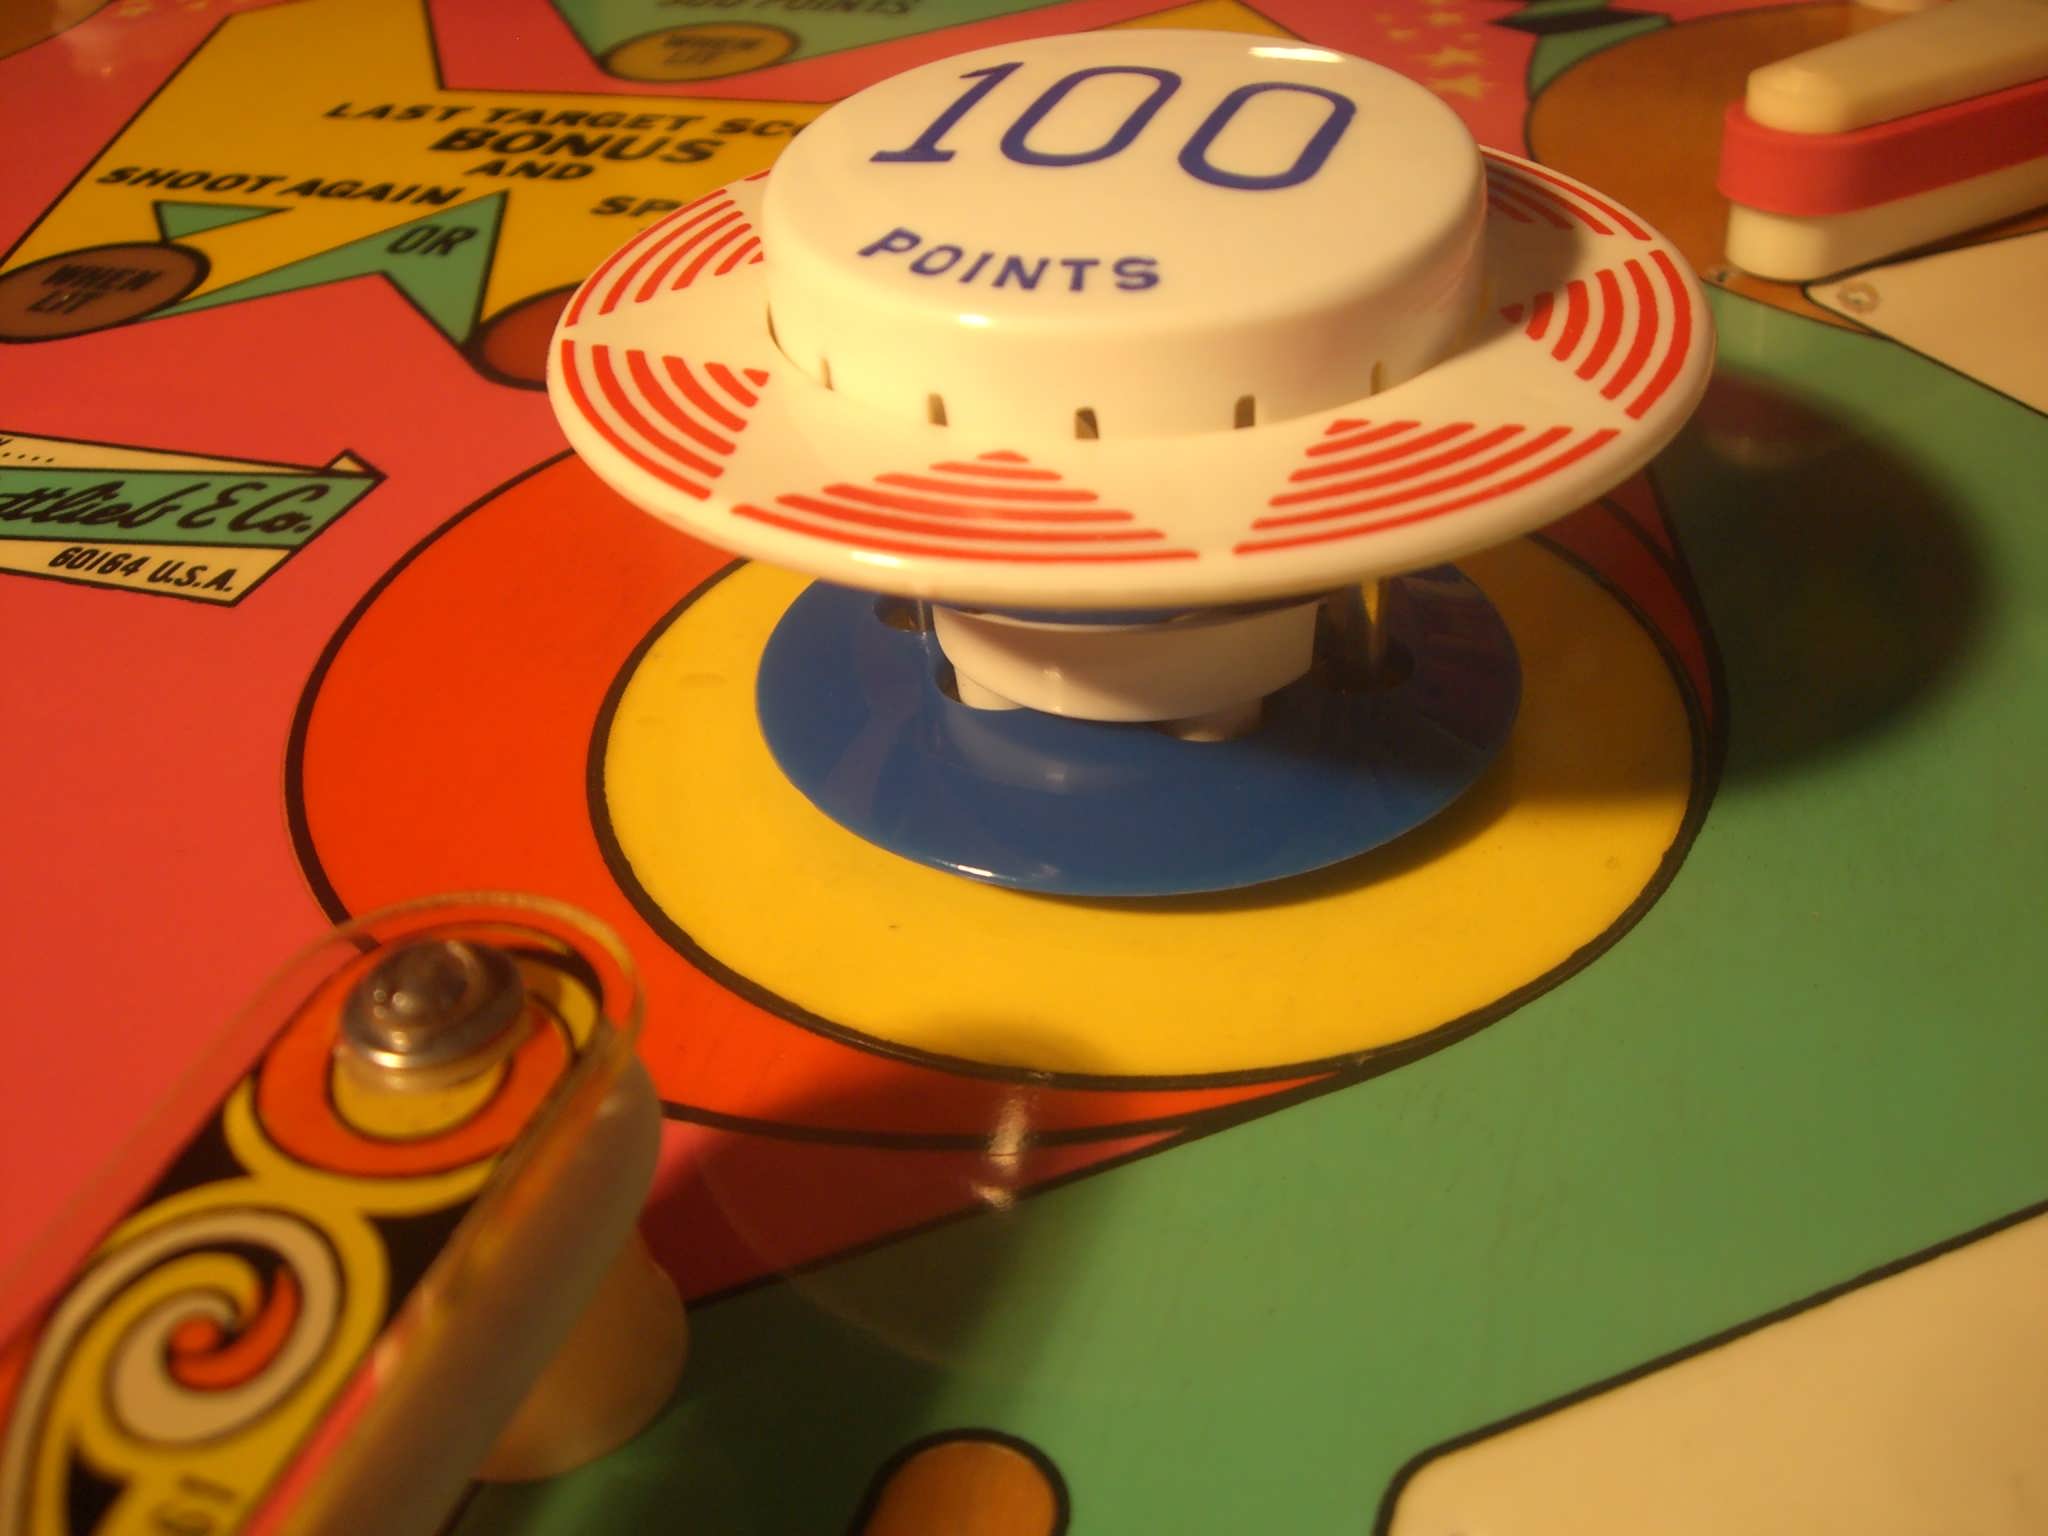
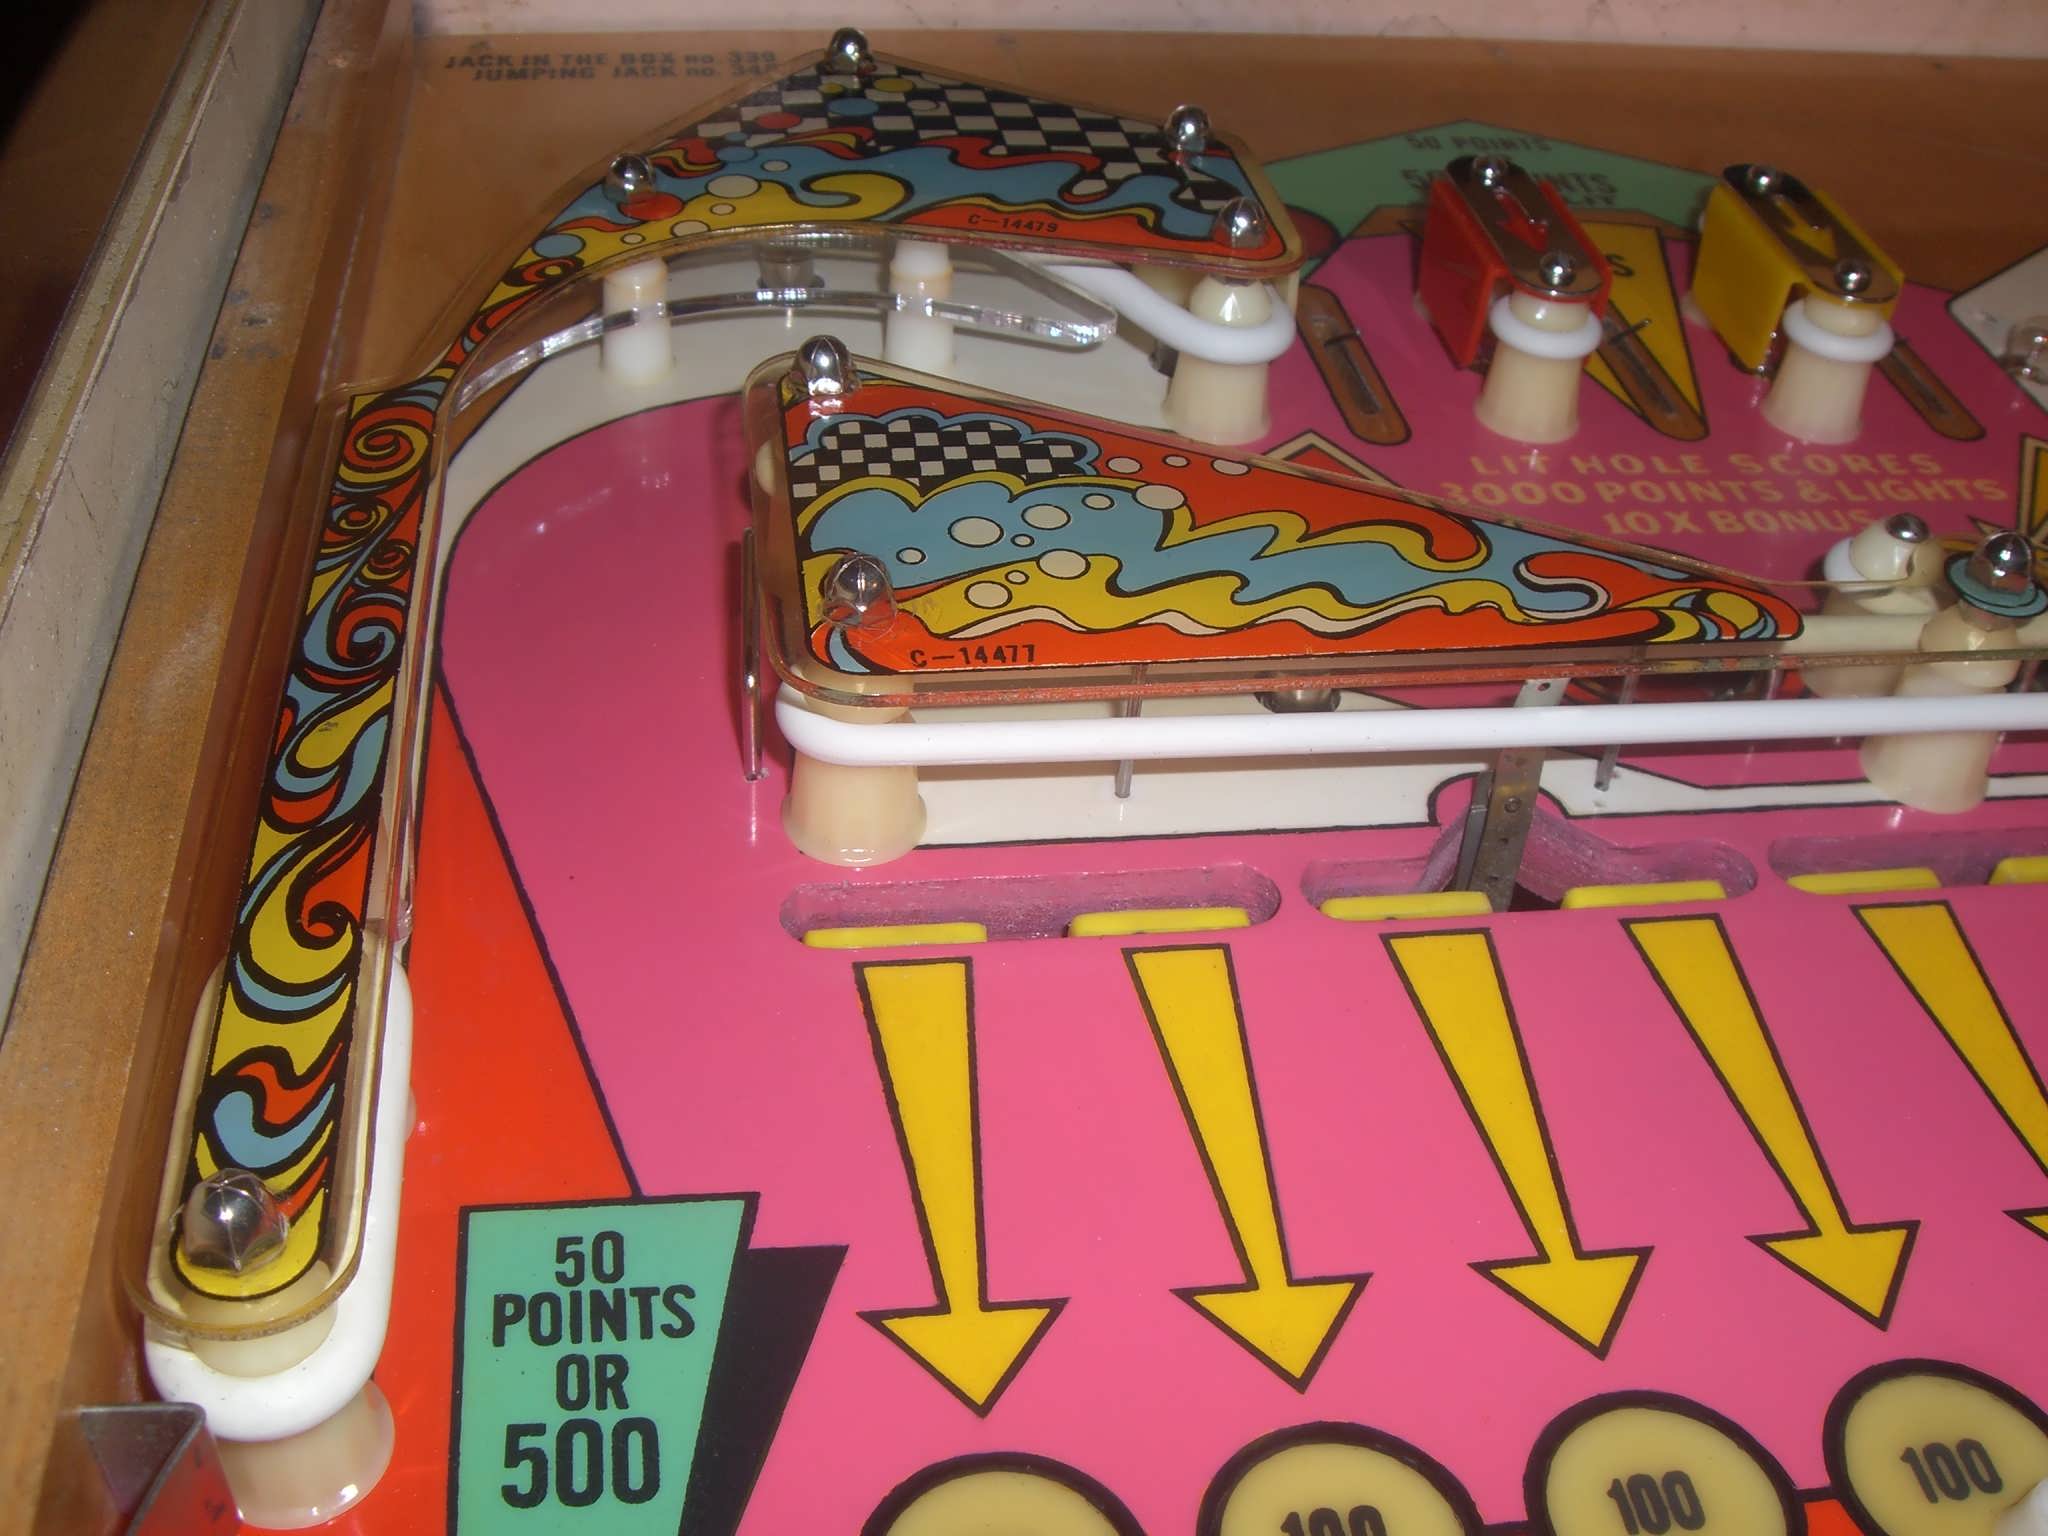
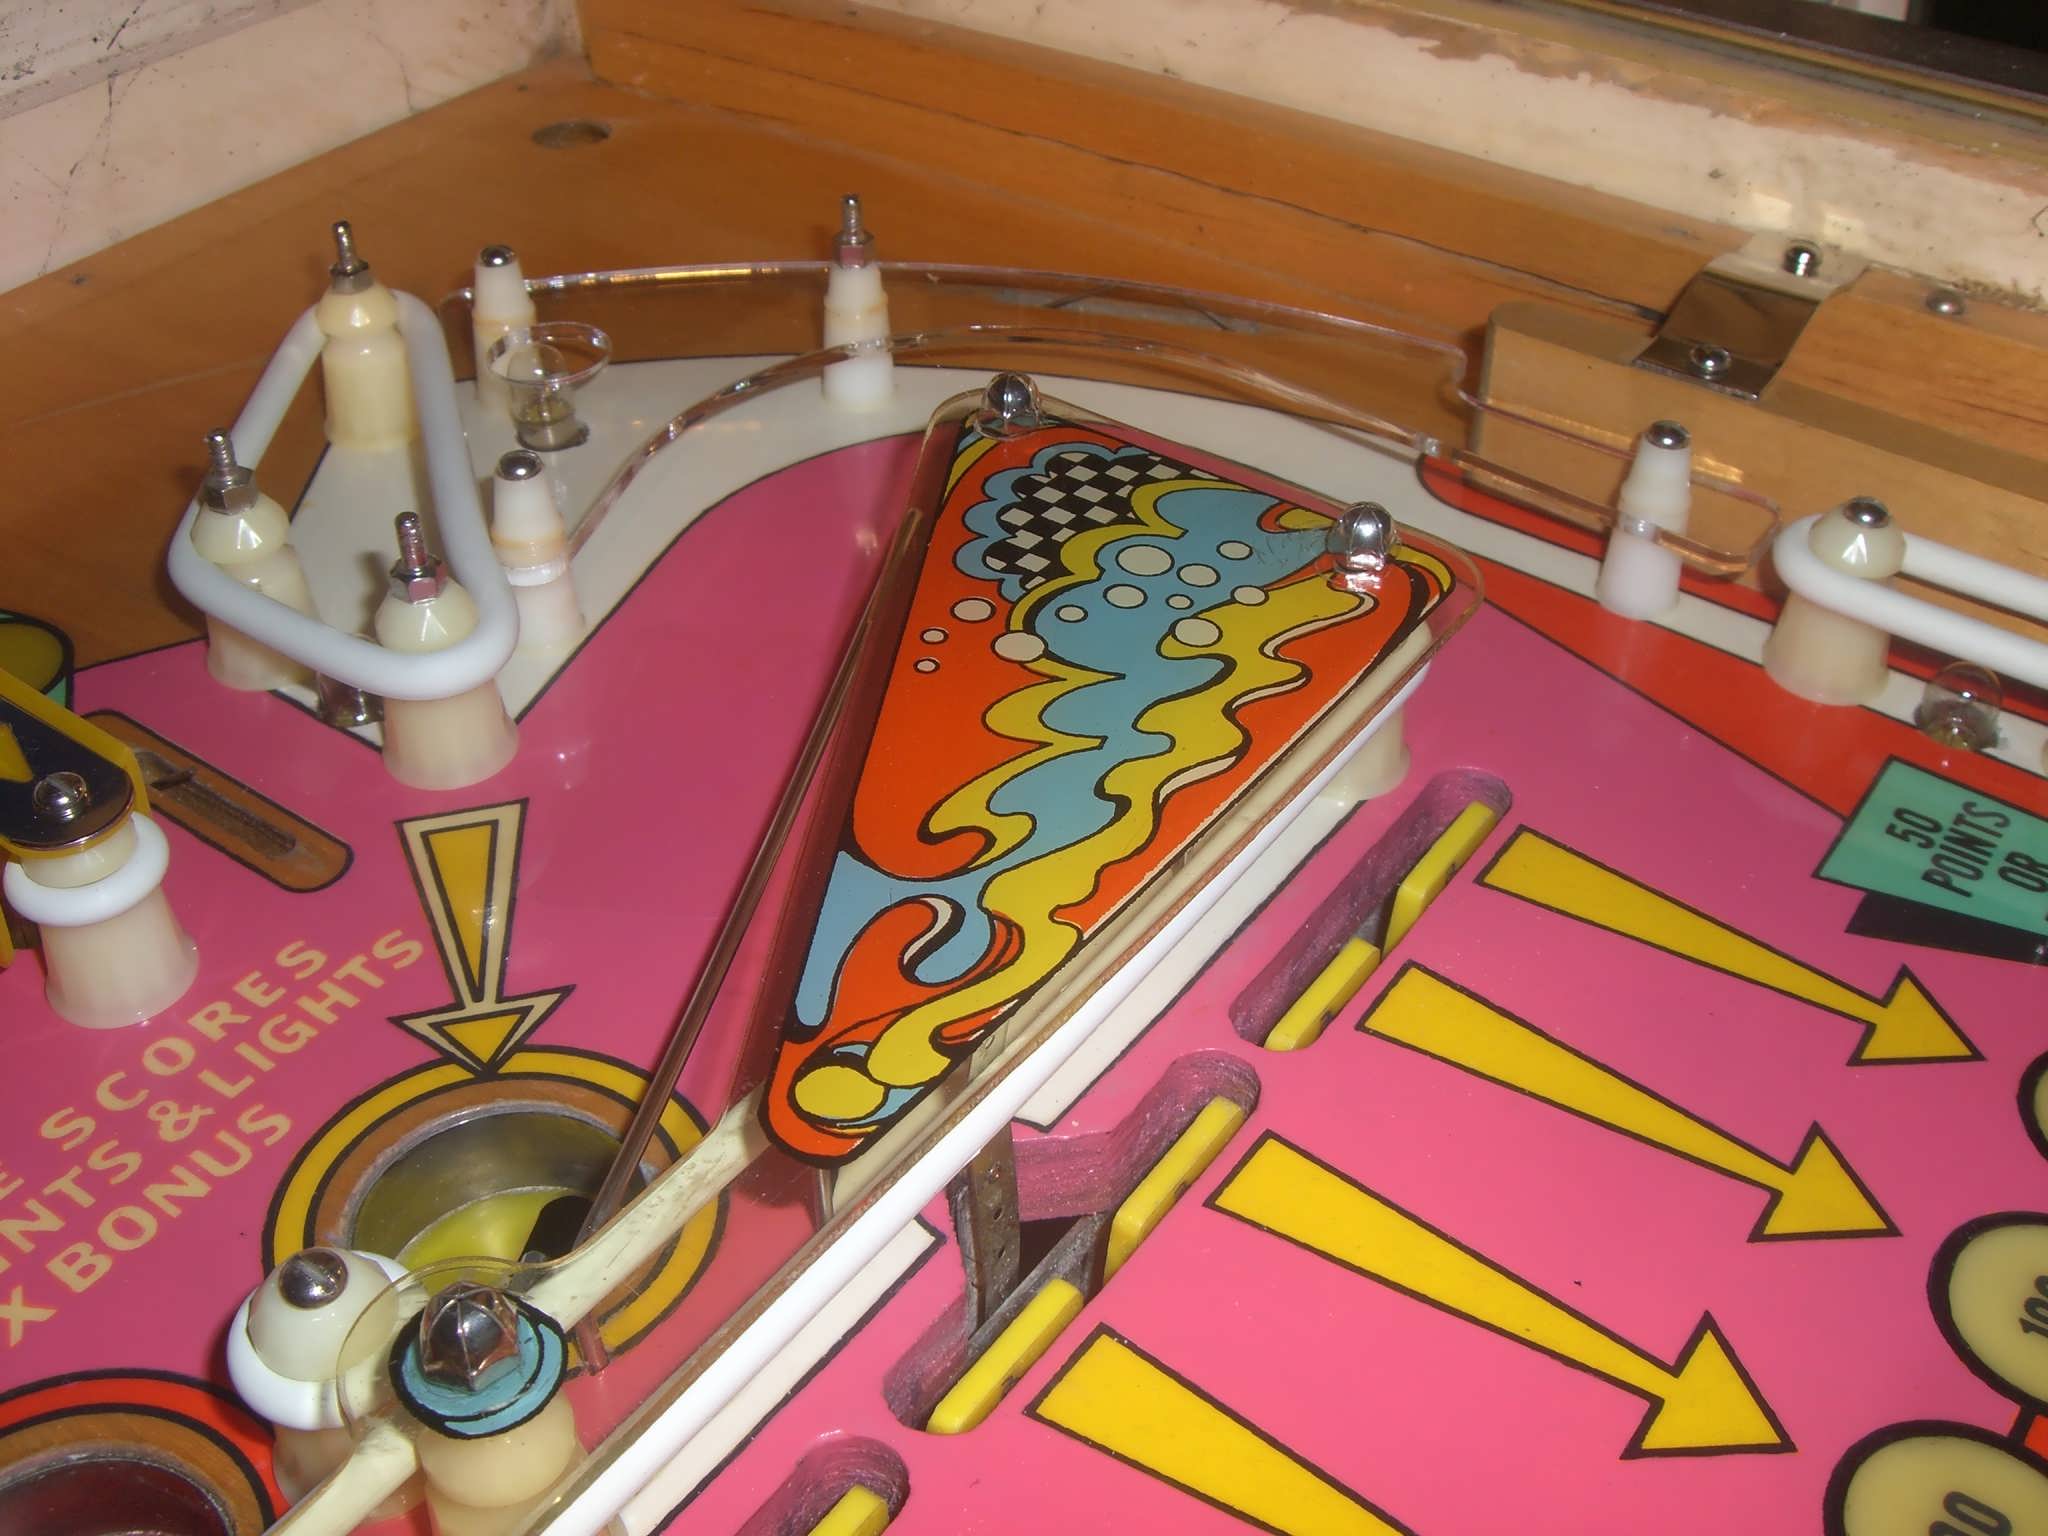
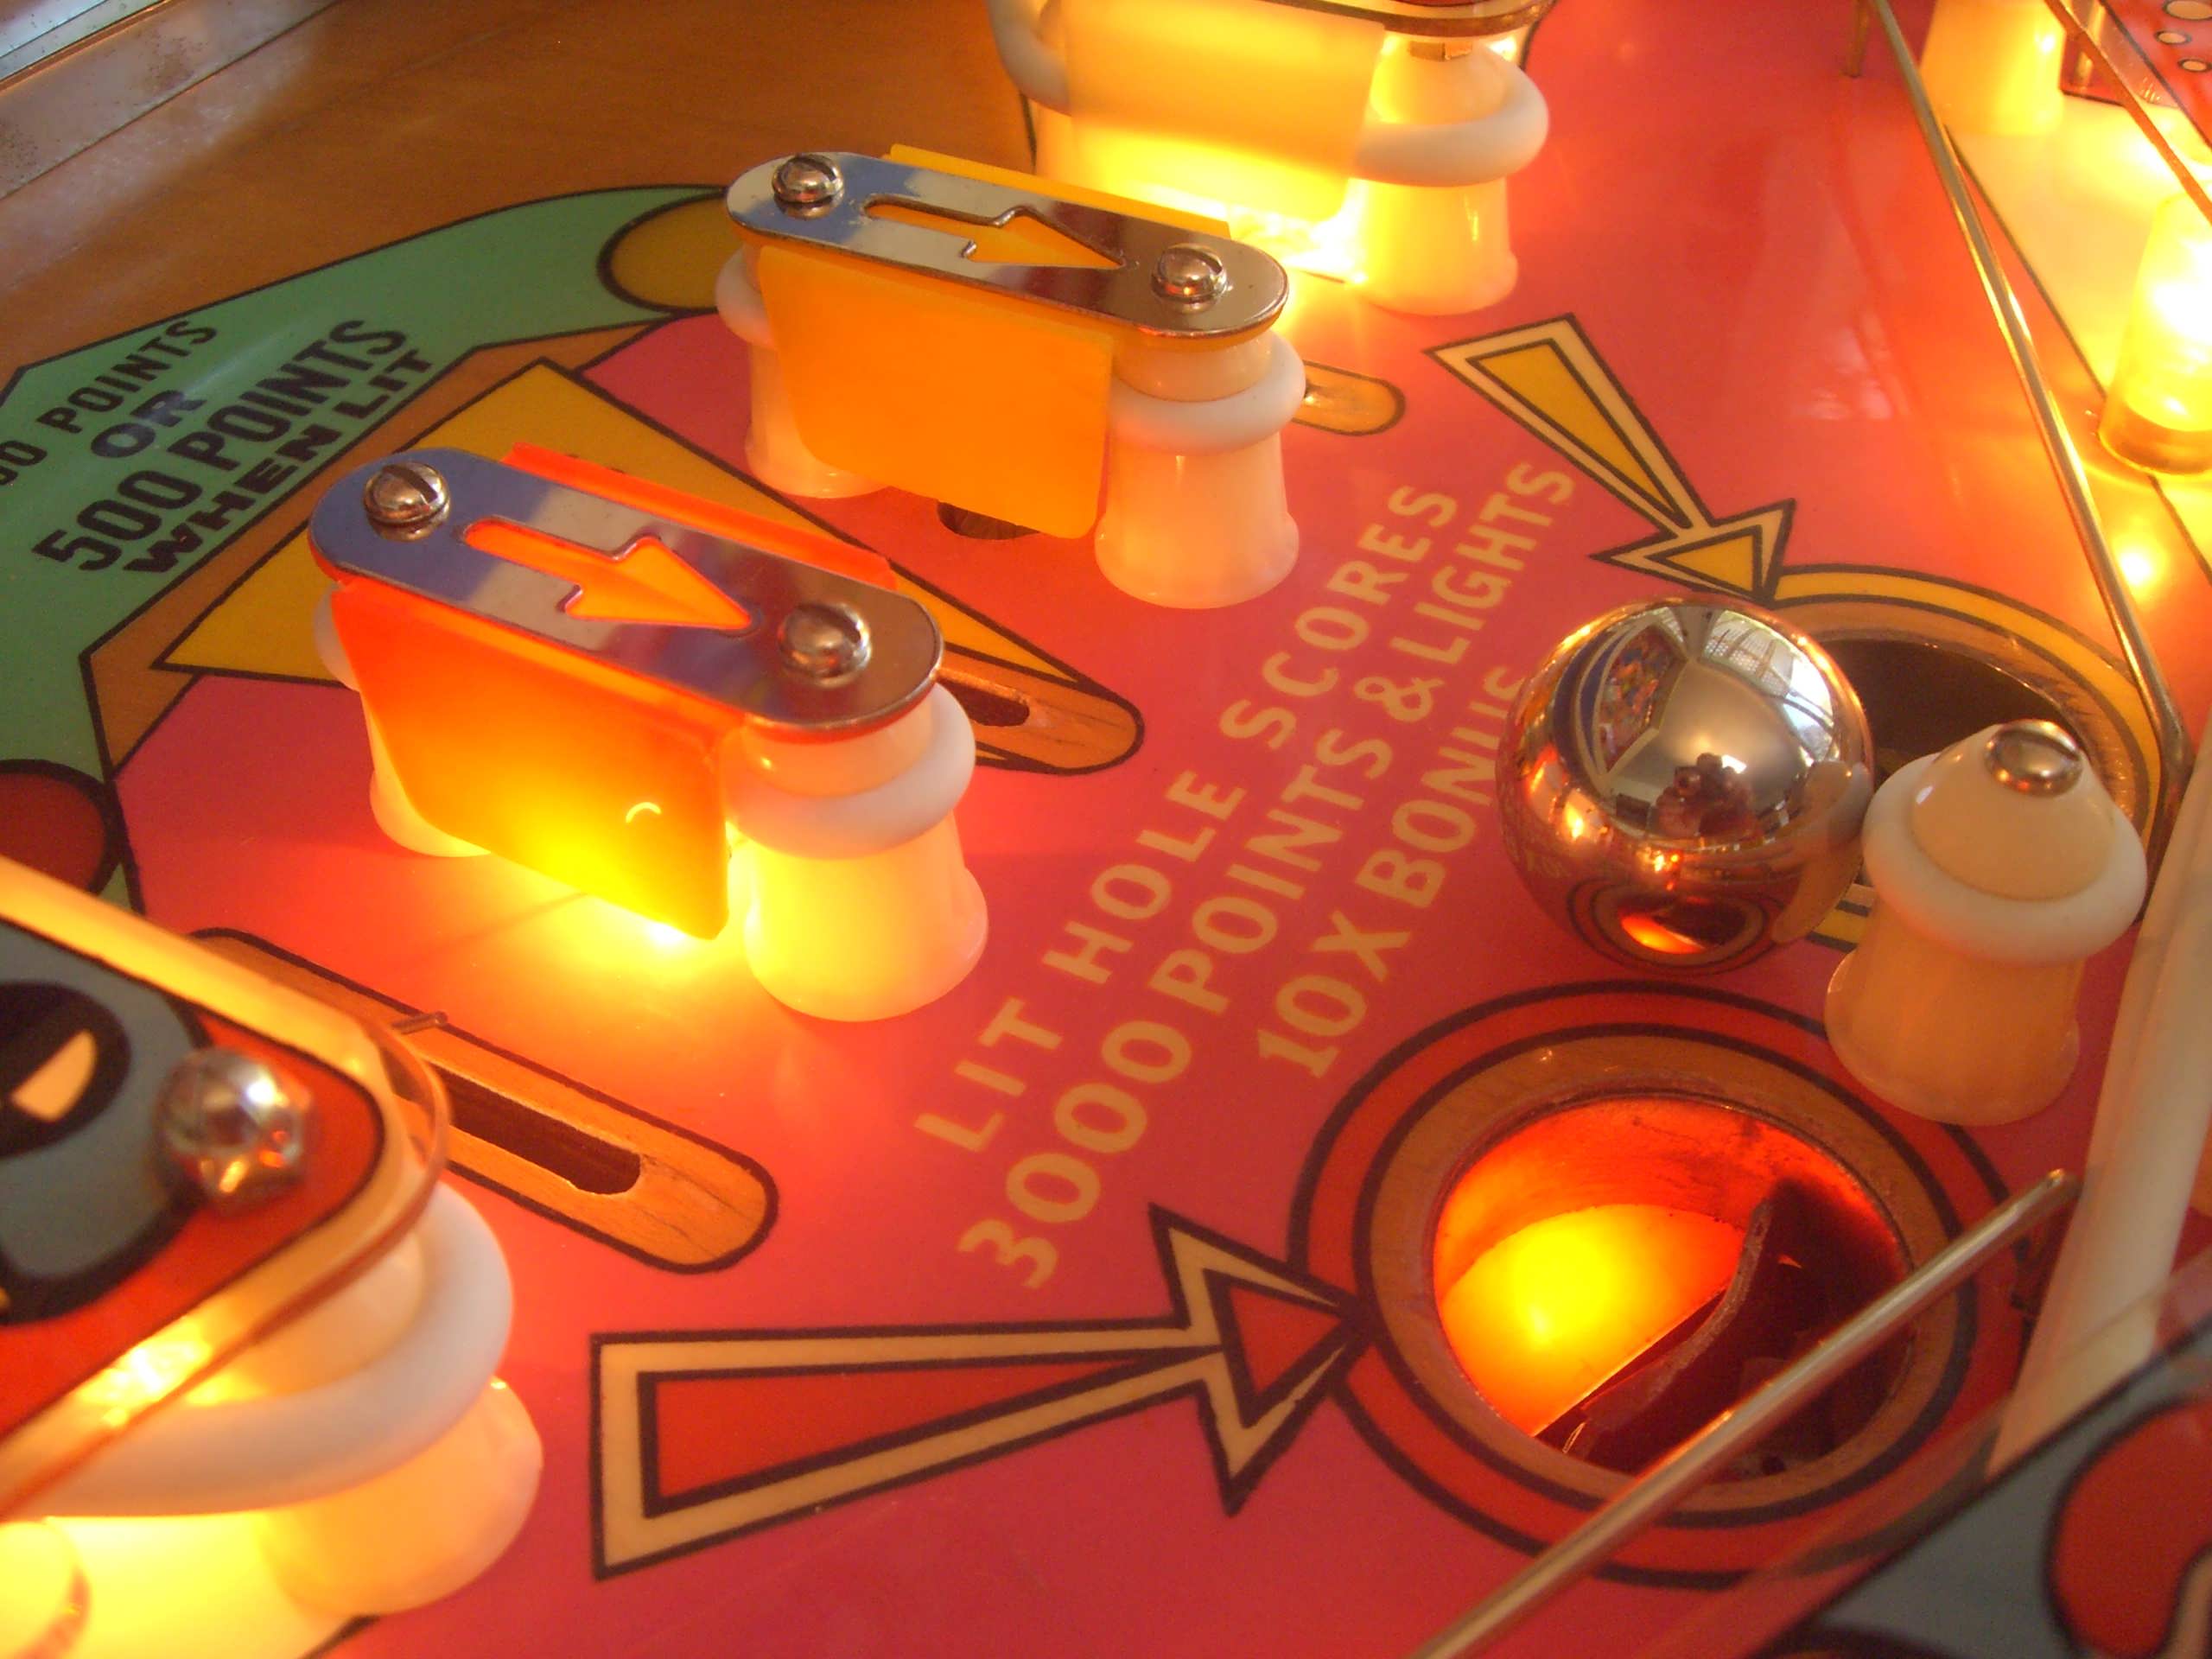
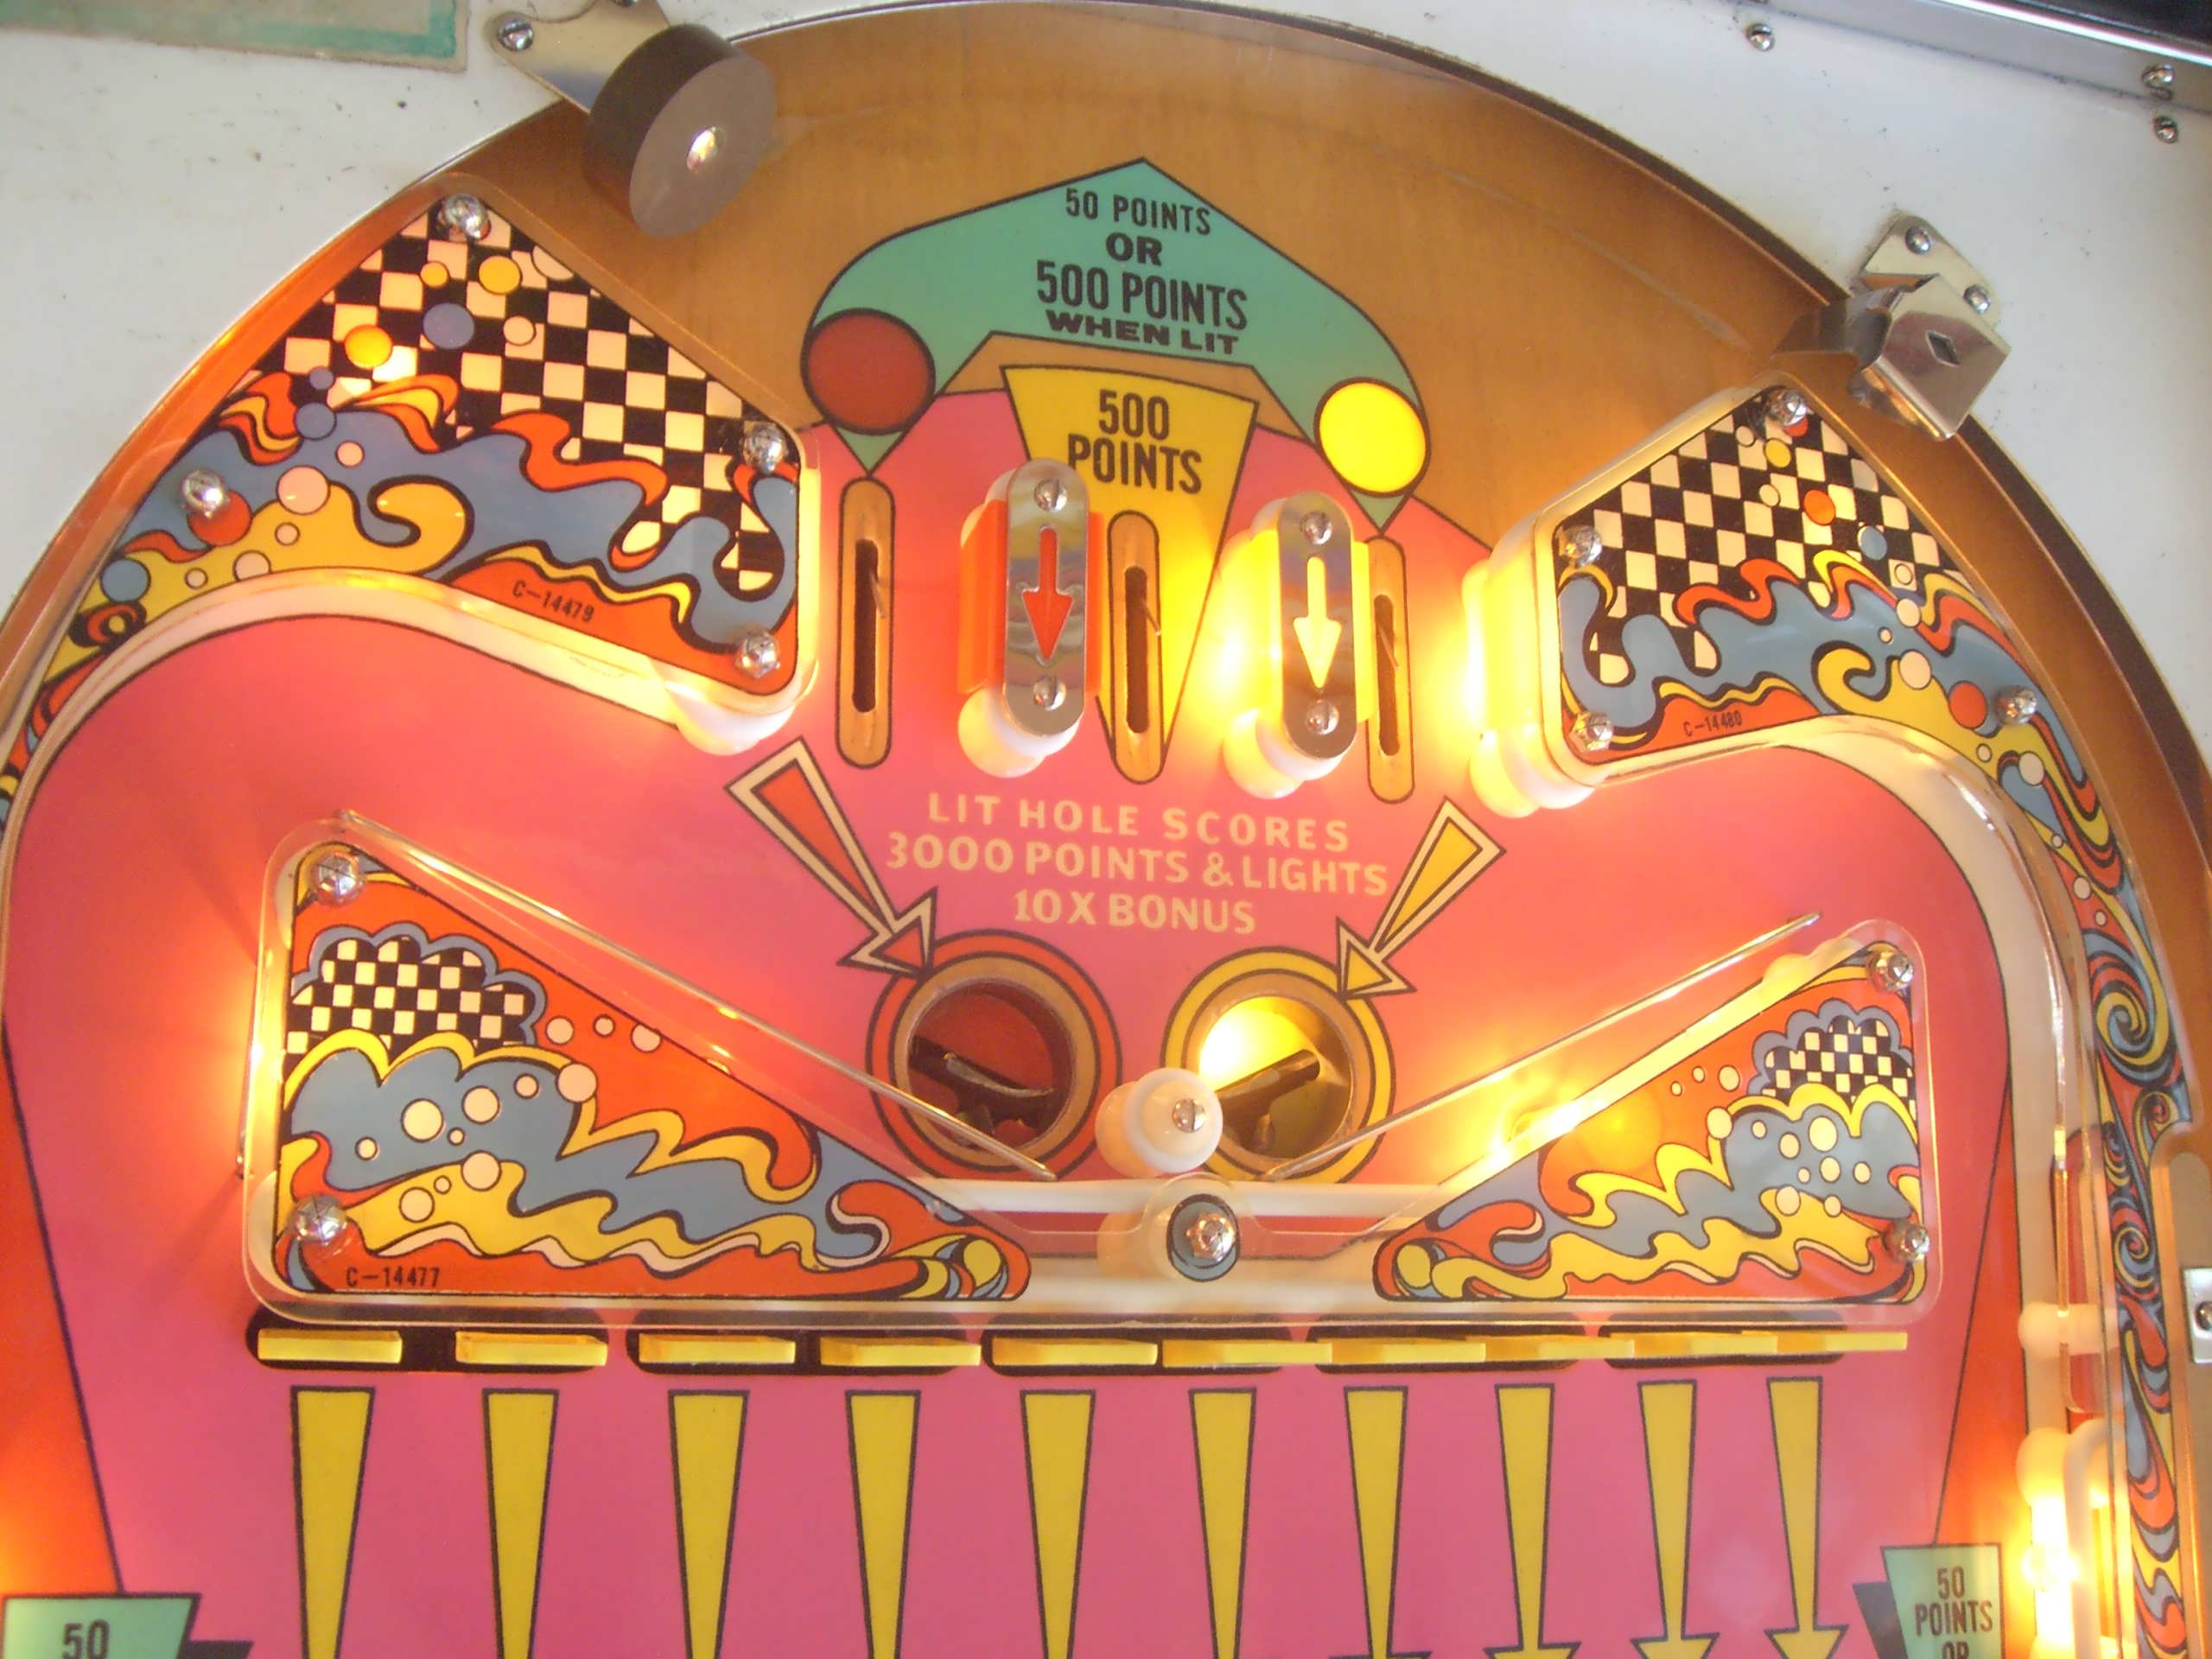
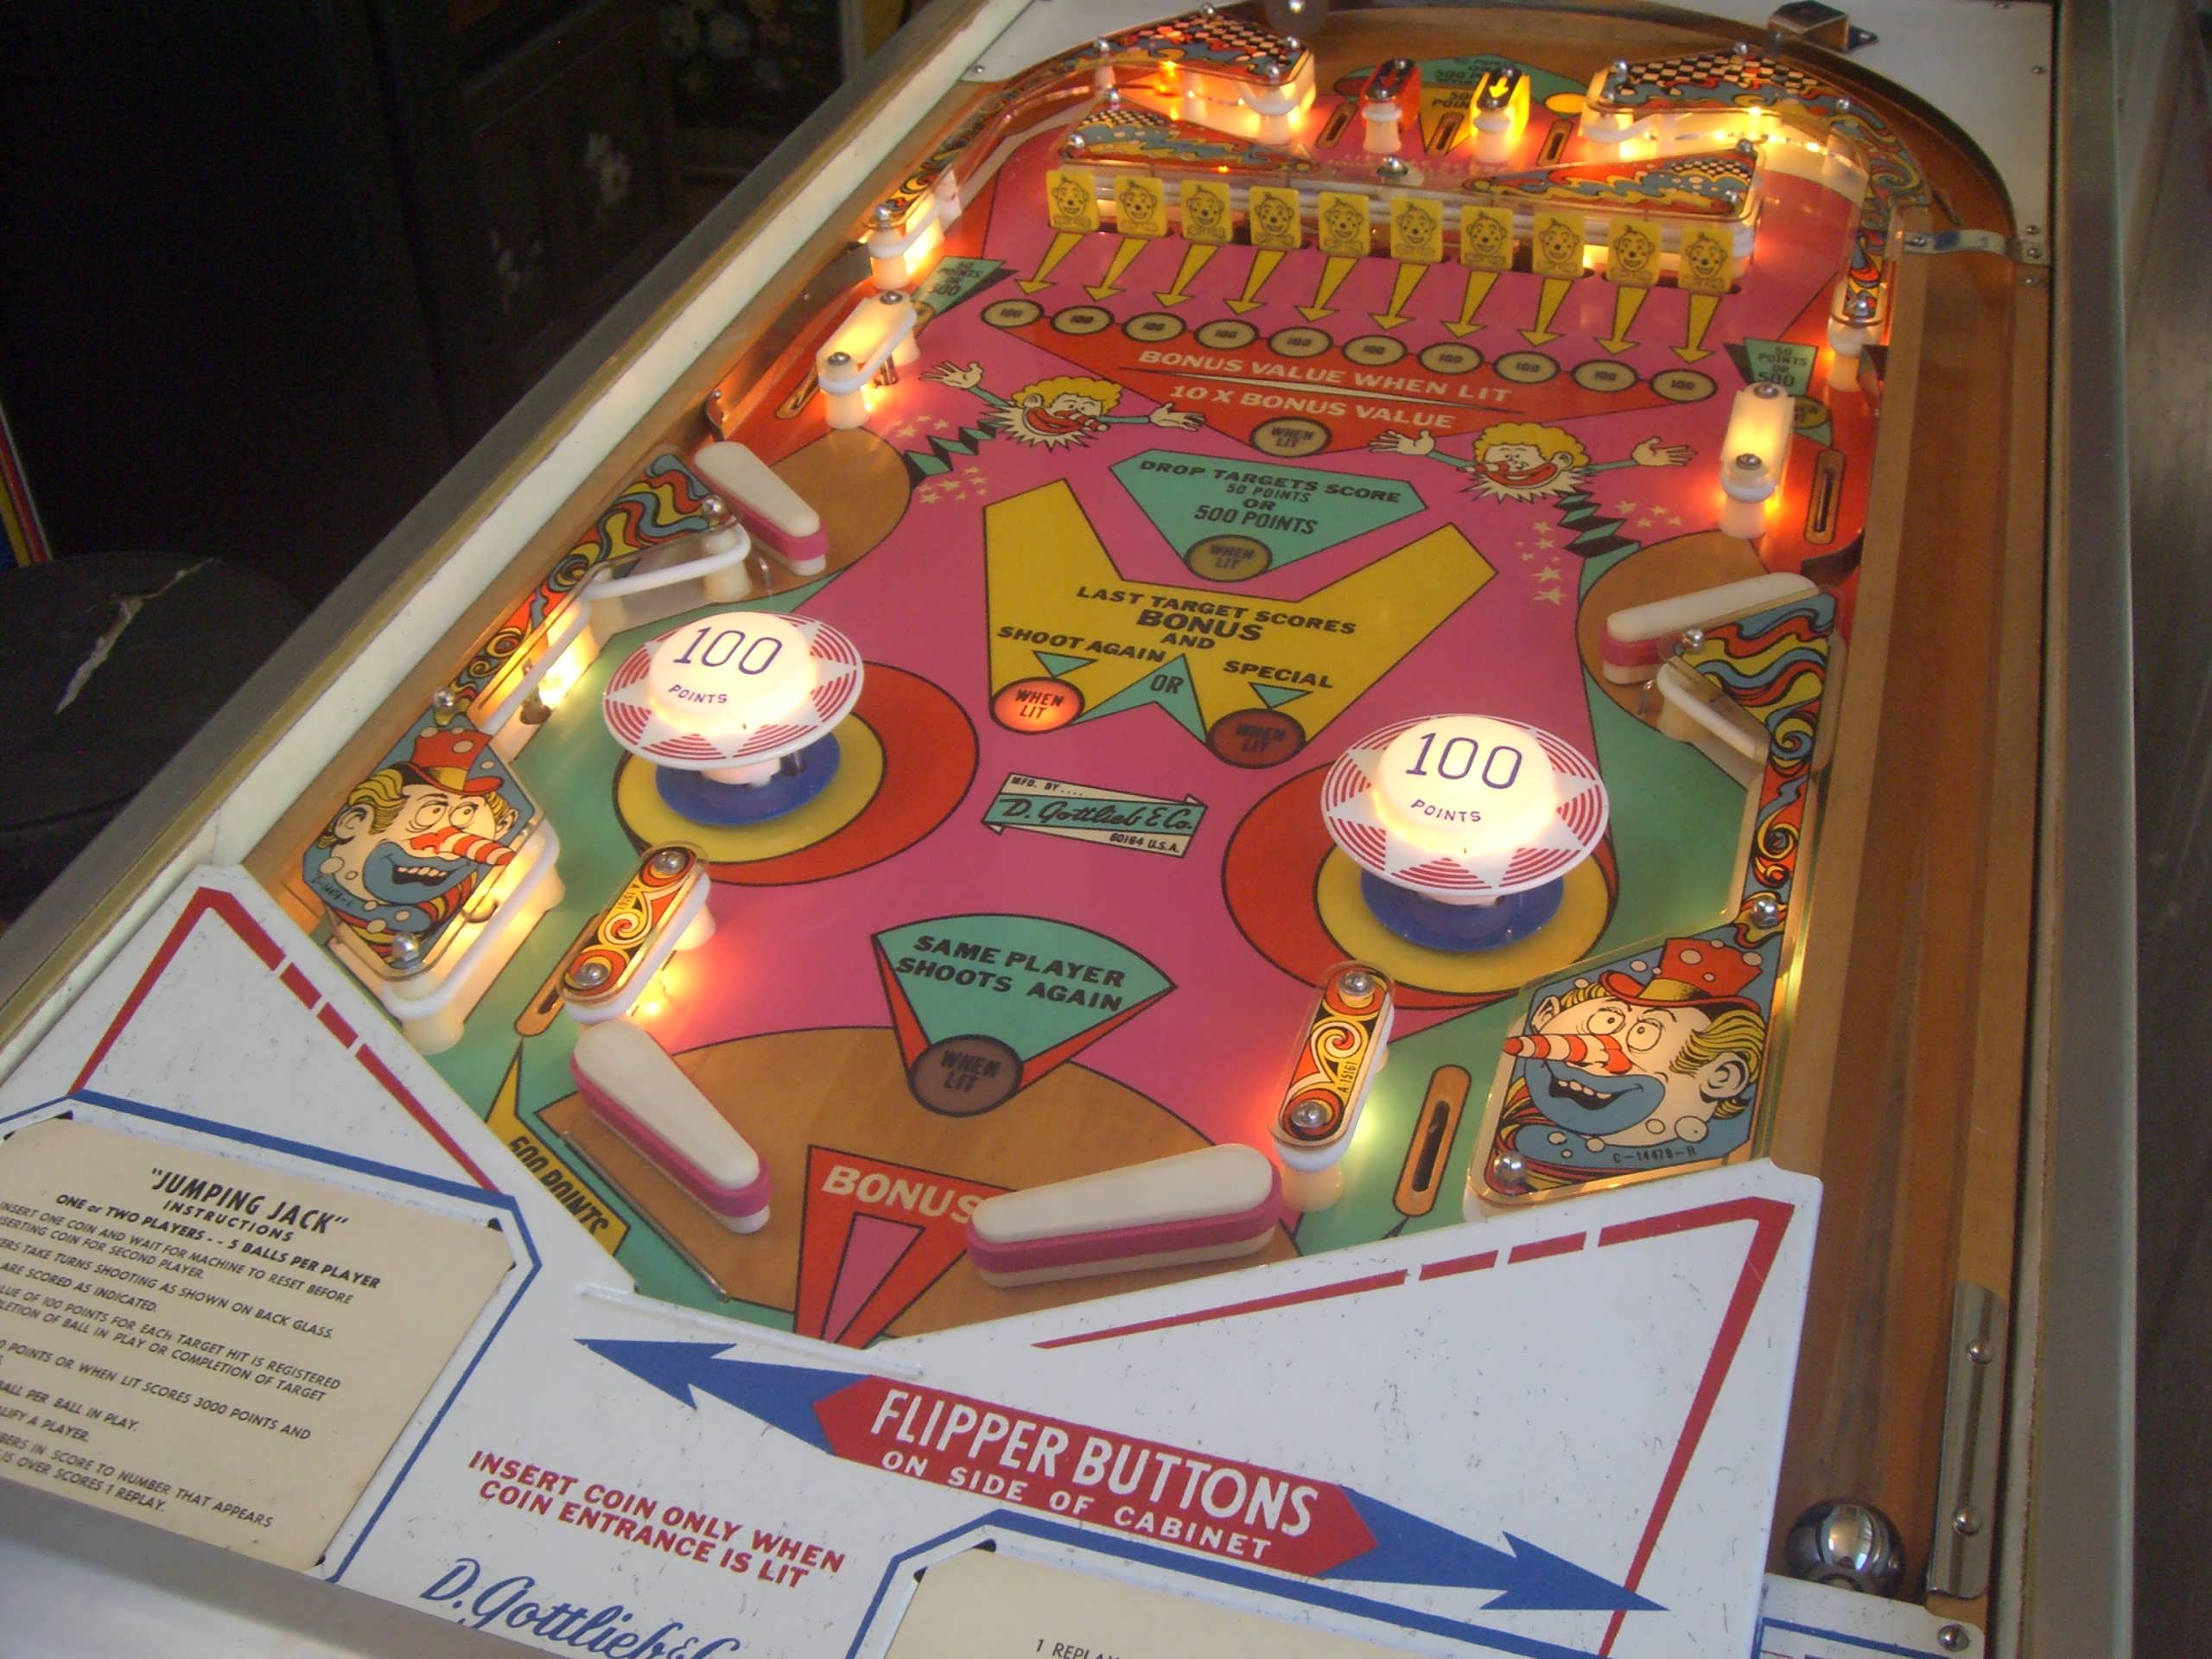
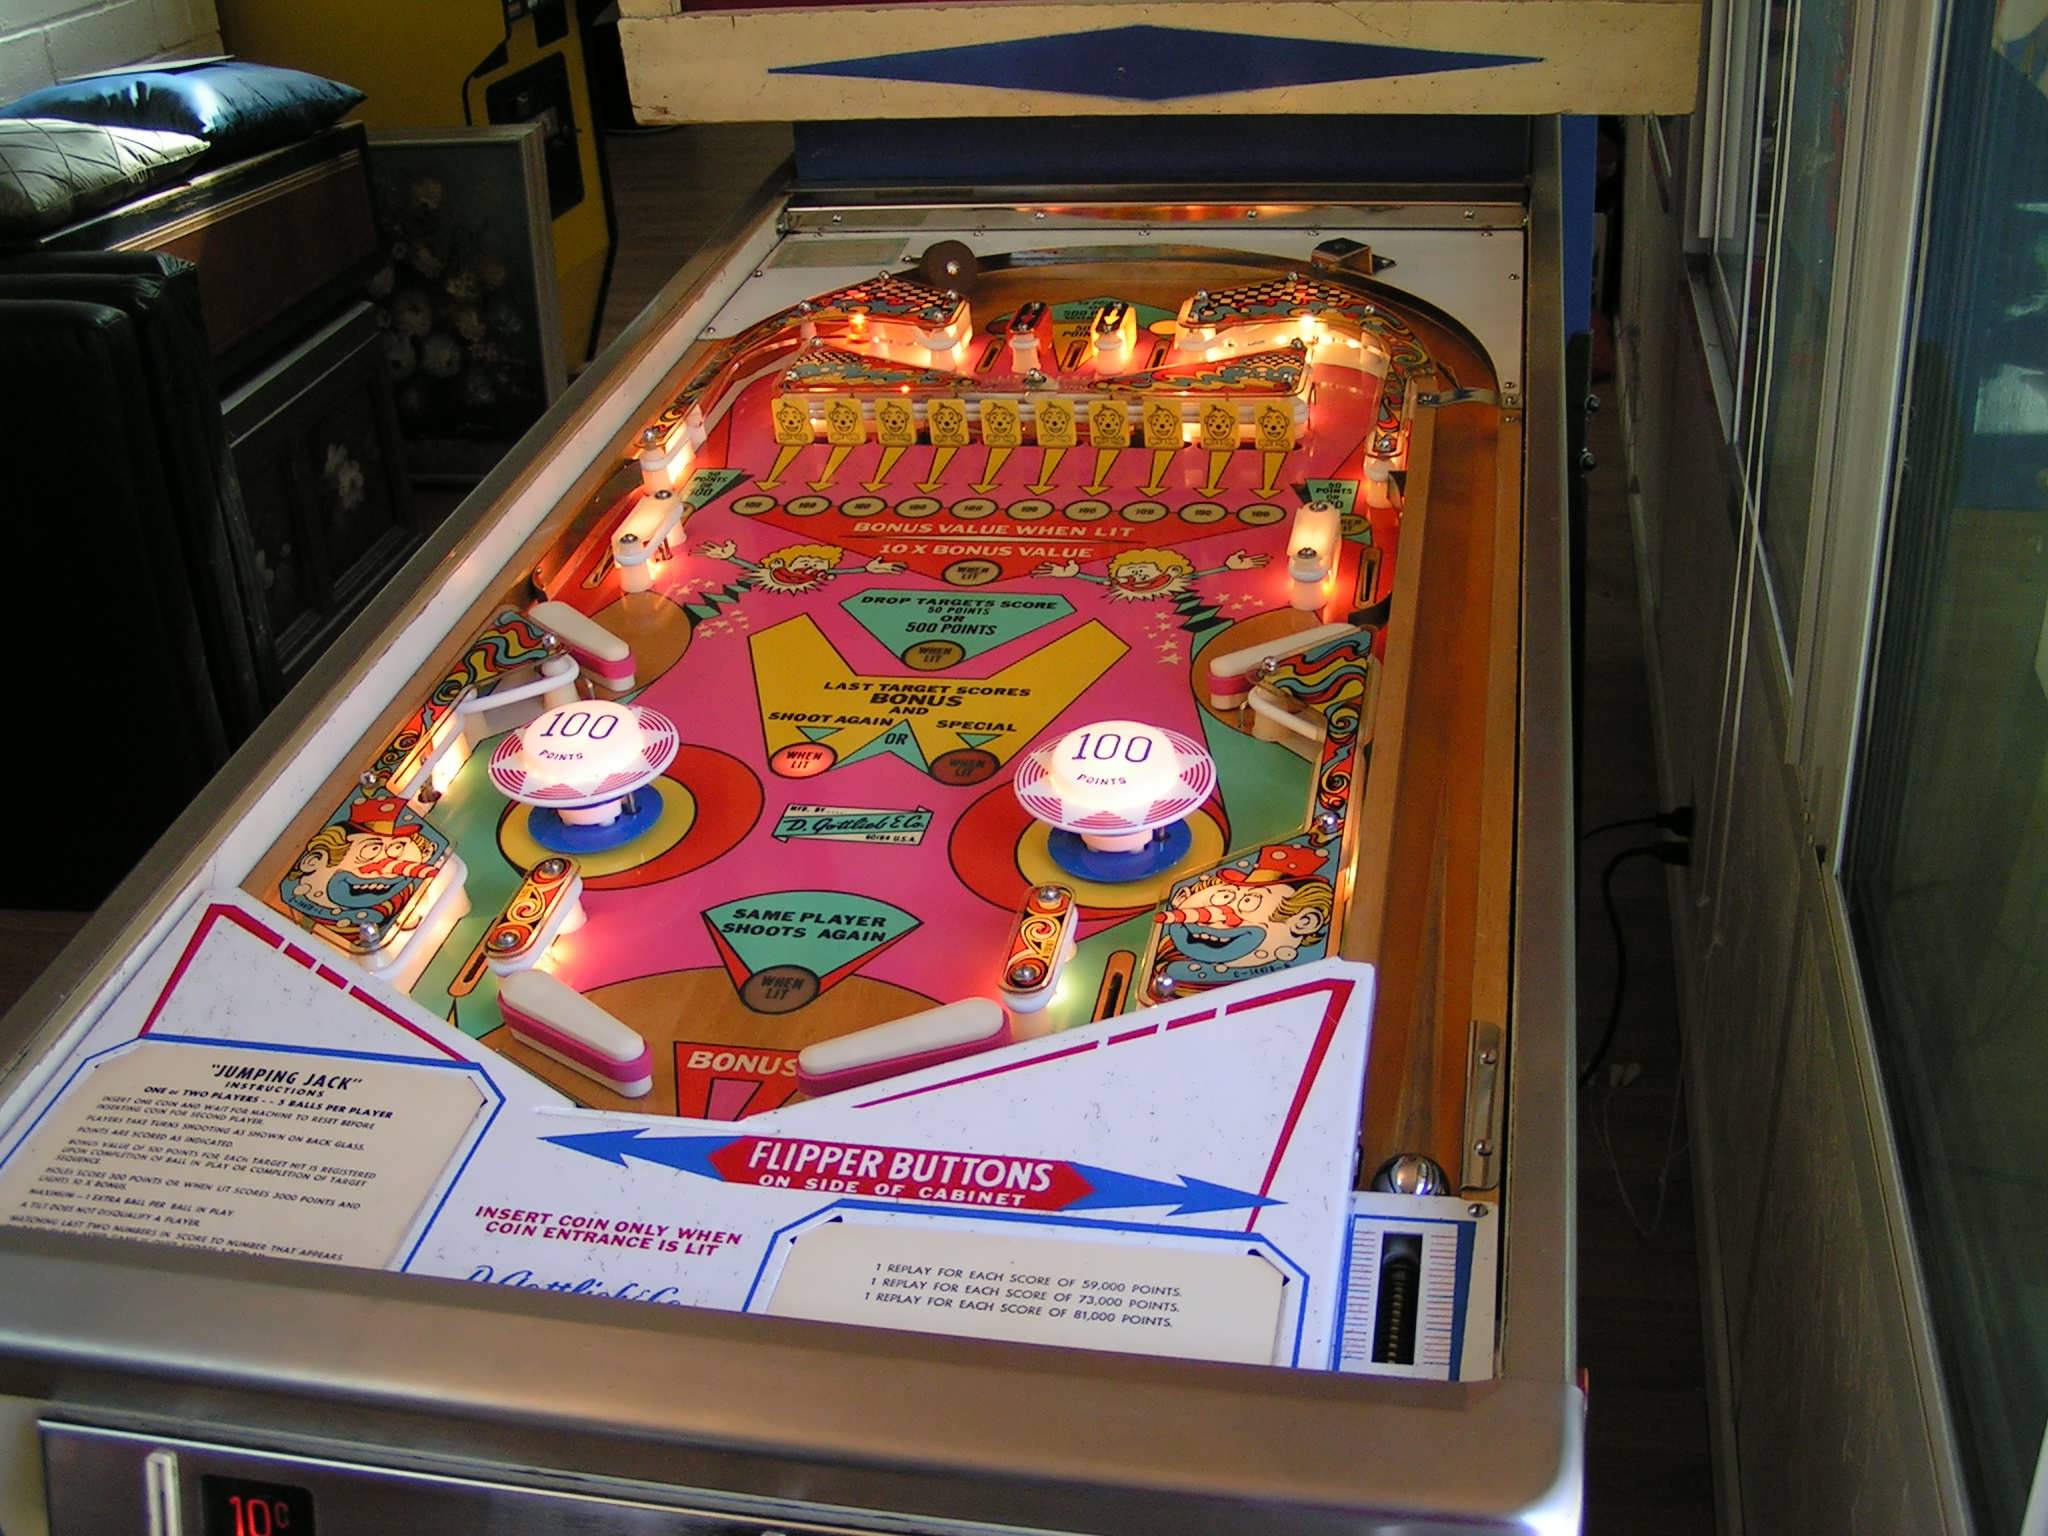
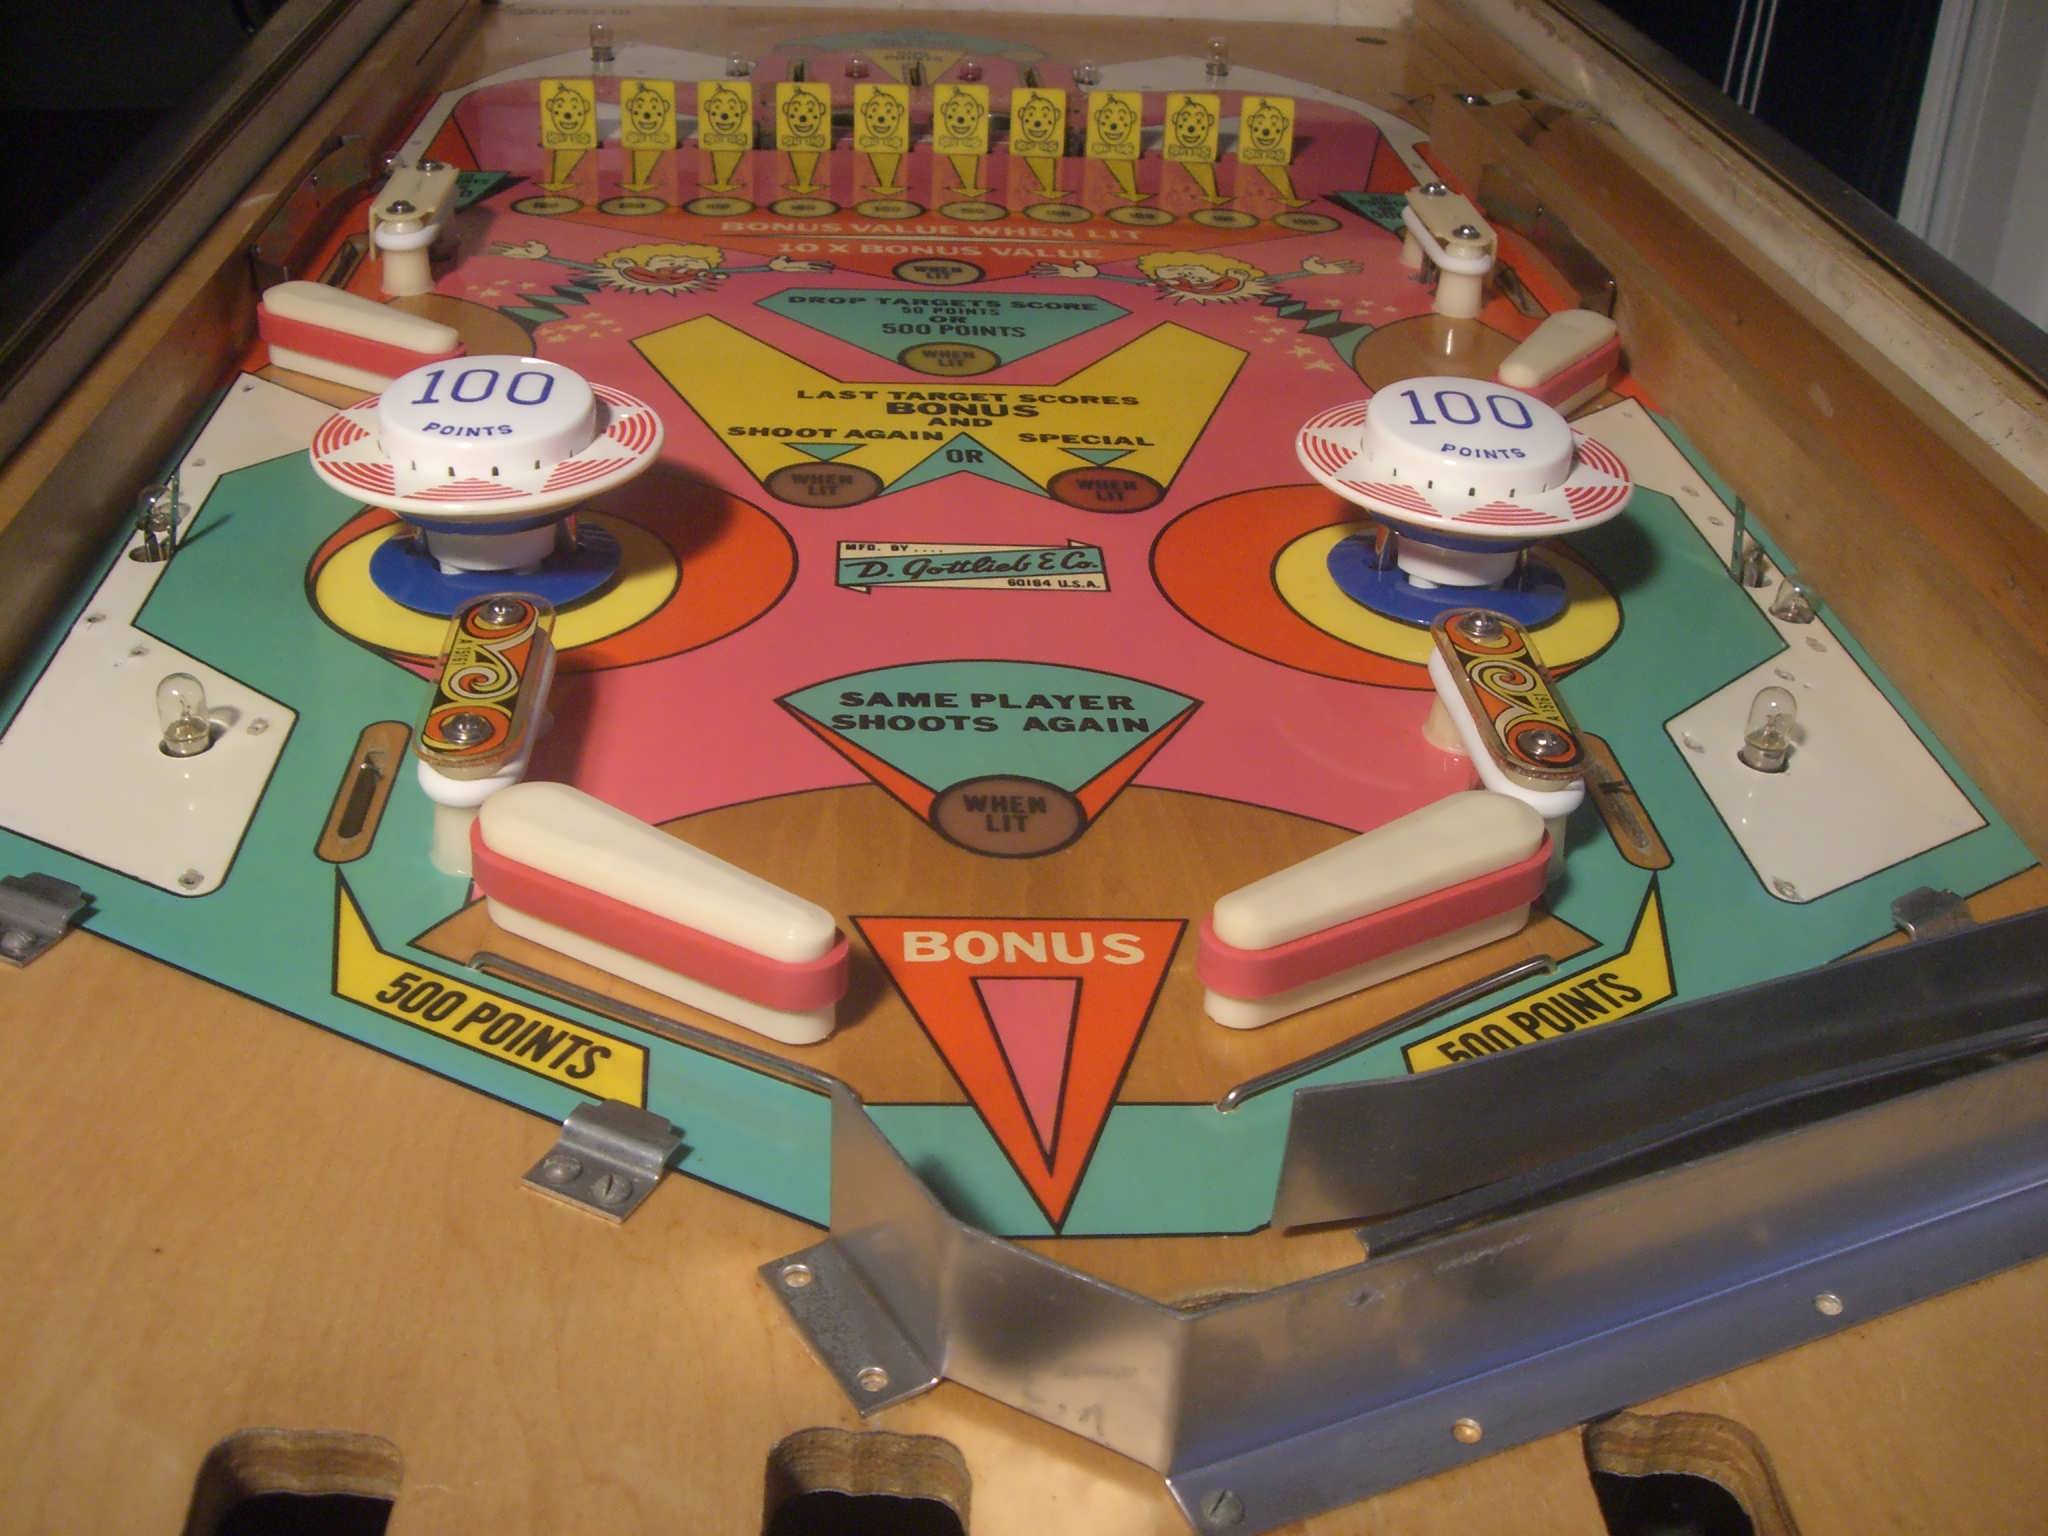 Coming together nicely and notice
Martin's super sweet acrylic clears!
Time for final assembly and beauty pics!
Coming together nicely and notice
Martin's super sweet acrylic clears!
Time for final assembly and beauty pics!
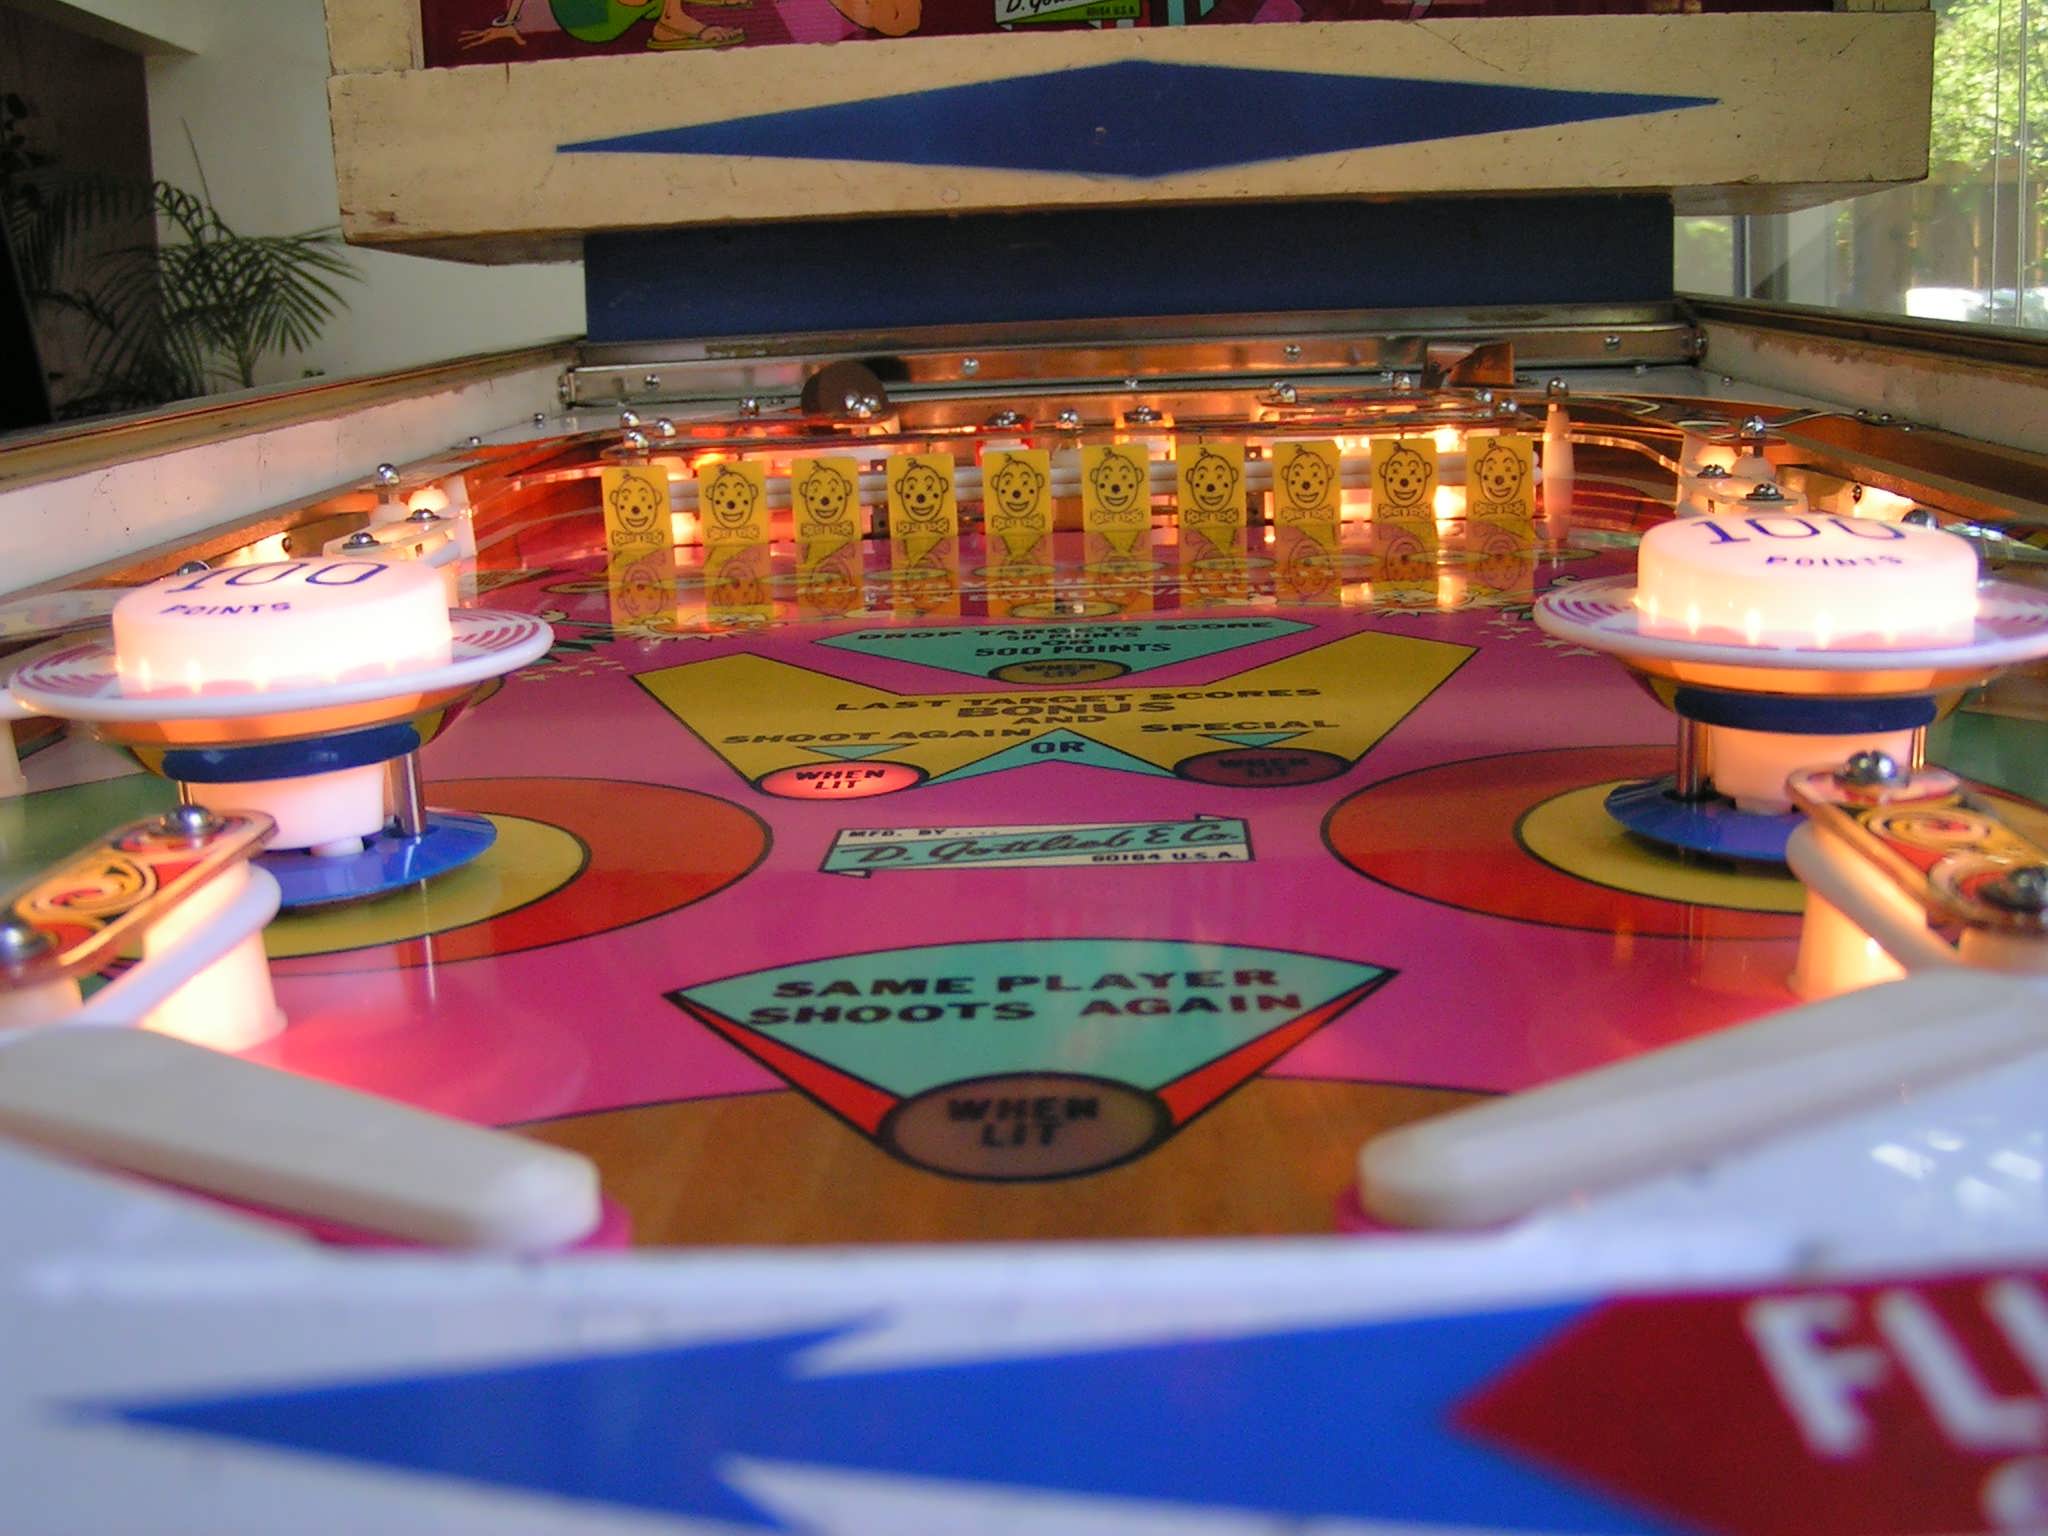


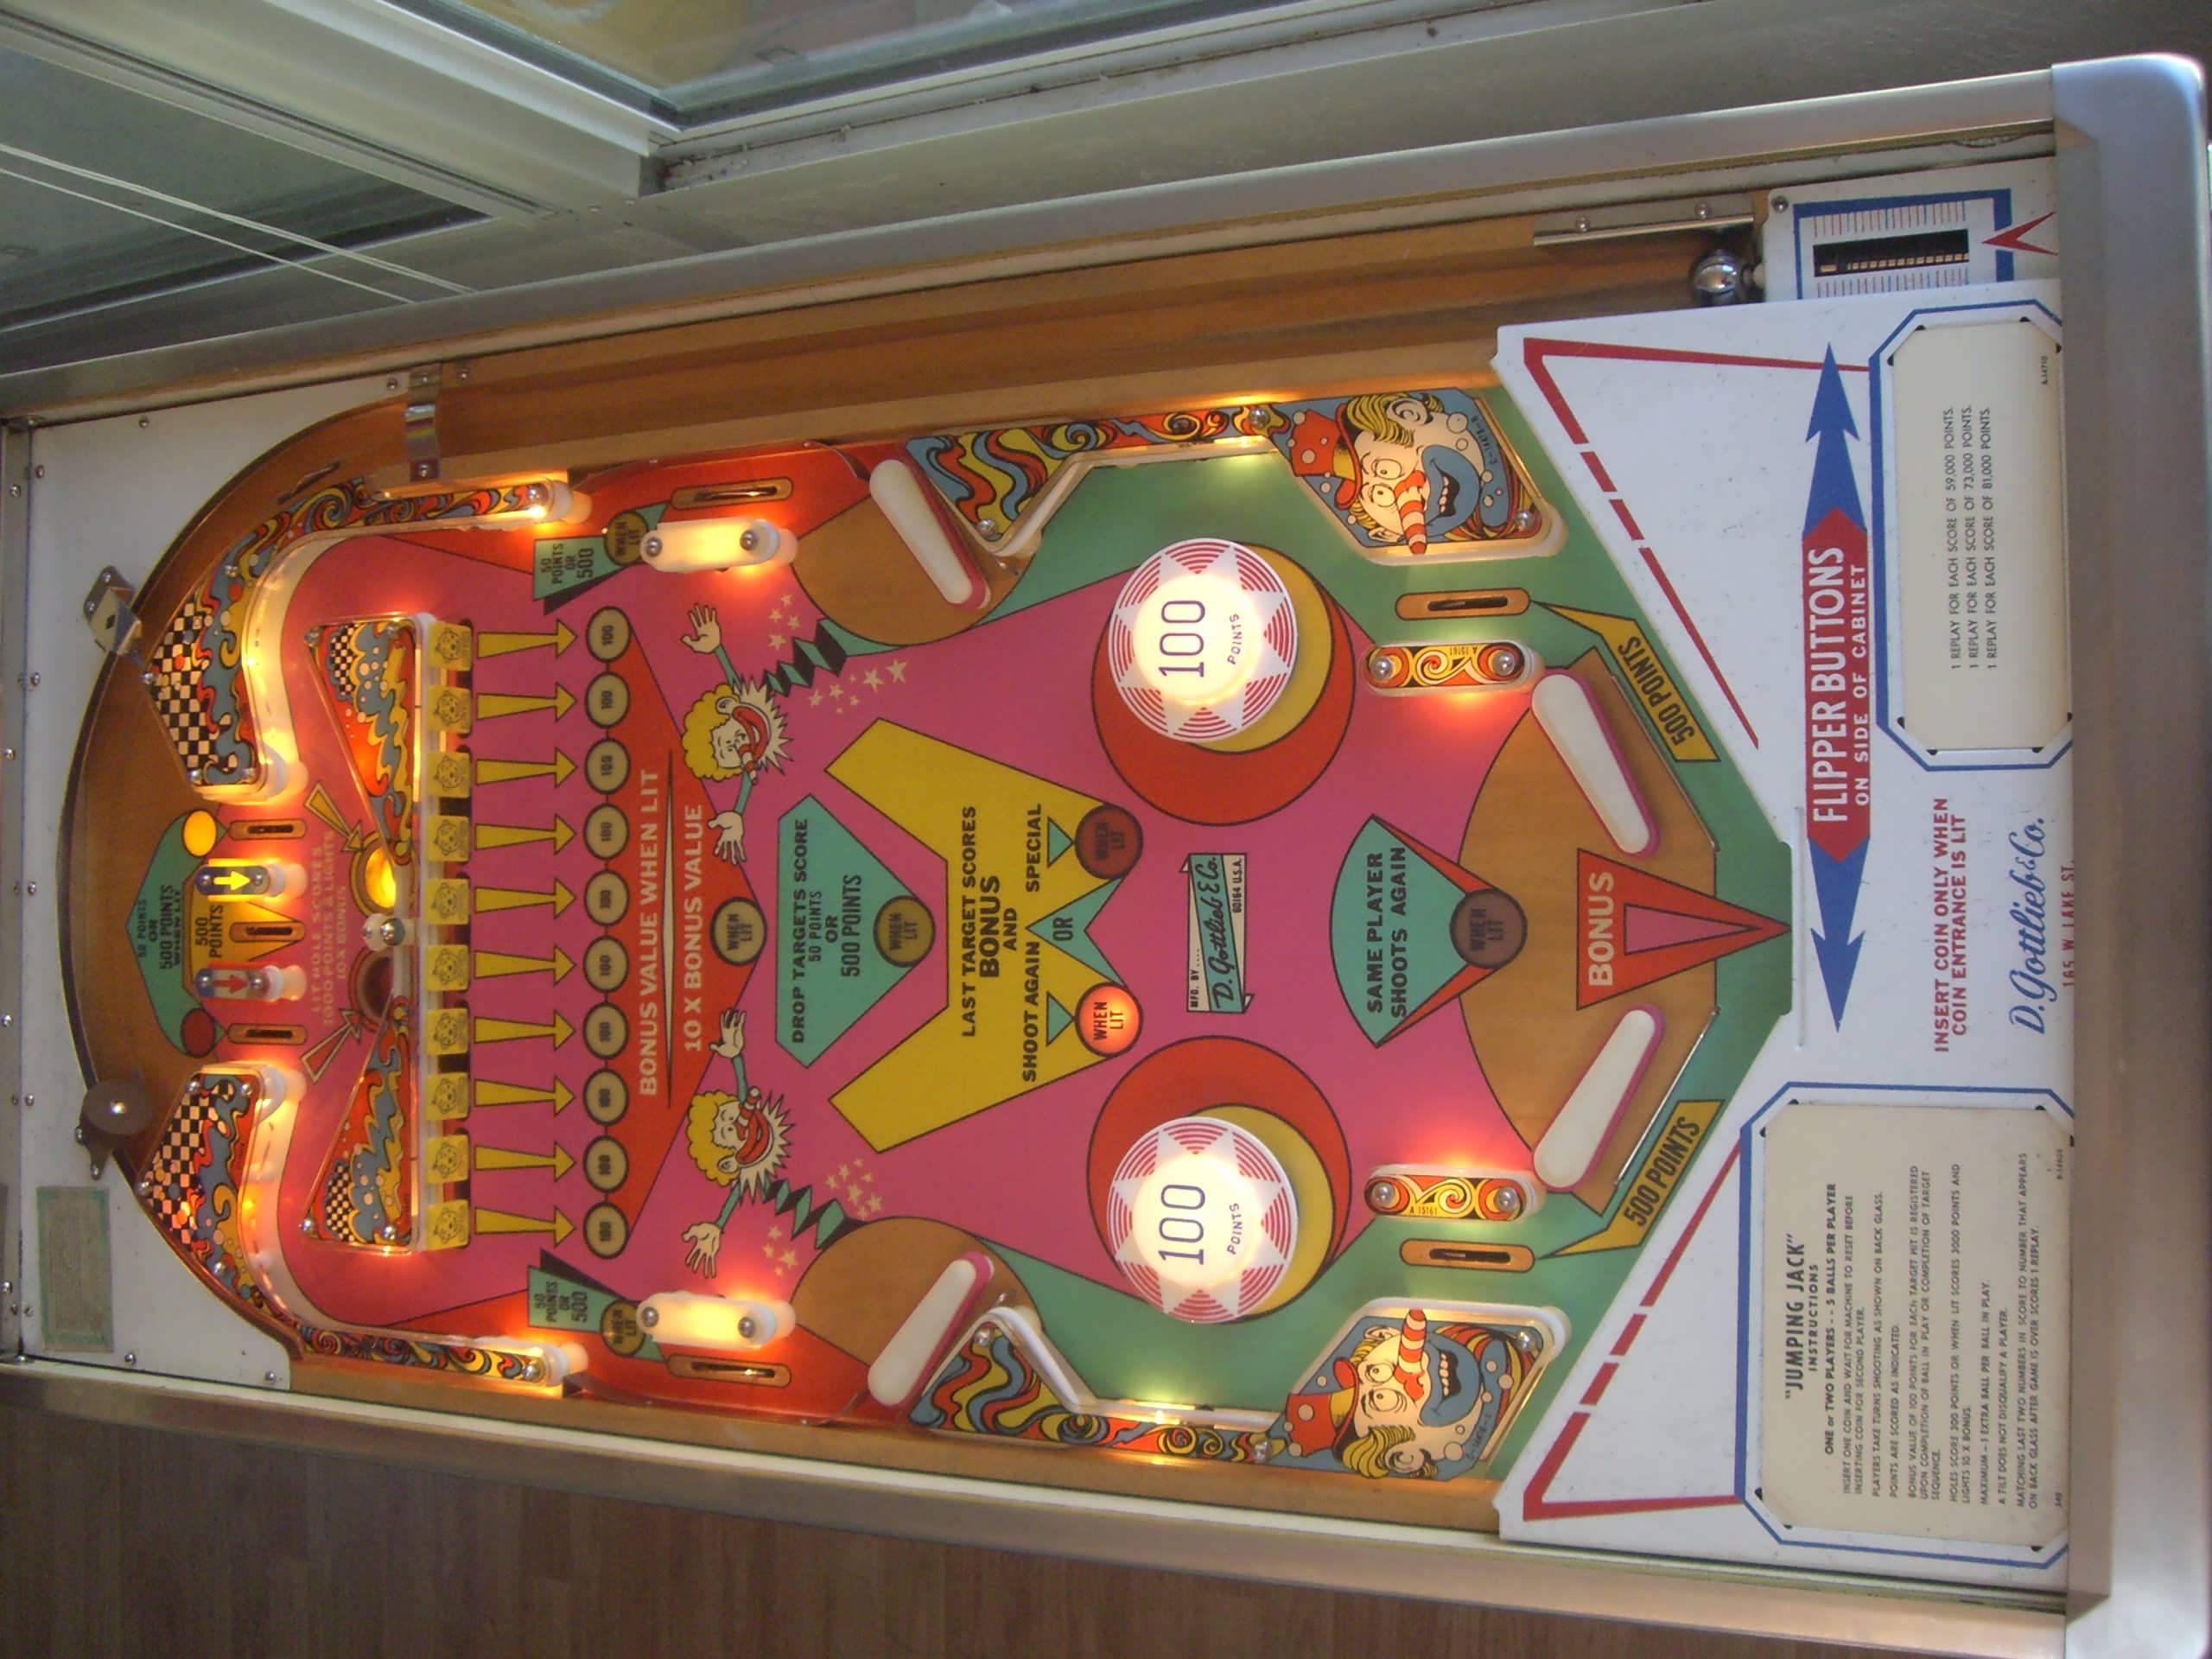

So there you have it! The restoration that should have been quick, almost didn't happen but was finally finished. I know the cab needs work and I need to find a correct 25 cent insert for the coin slot but those will come in due time. You may ask "Why didn't you sand out the ball track at the upper arch?" I actually started too! But I stopped because, to be honest, I didn't want people thinking I just did an NOS playfield swap. The wear there is proof this is a restored (somewhat) original :) I hope you've enjoyed this little journey and feel free to email me with comments or questions. Please read the text on these pages so you don't ask questions I've already answered here. Email HERE
Now for the thanks I owe to Steve Charland, Dwight Jaffee, Ron Chan, Martin and Pam Reynolds, my mates at Team-EM and of course my wife and family for letting me work mostly uninterrupted to finish this little gem. ENJOY!
Click HERE to go to my COLLECTION page