Protectors Installation guide
Follow along as we install Cliffy's set of protectors on a Stern The Walking Dead pinball. Click the pics to enlarge!
Magnet Protectors |
Make sure and clean the area around the magnet with Naphtha or Alcohol to remove any wax and contaminants. The protector will not adhere to wax.  |
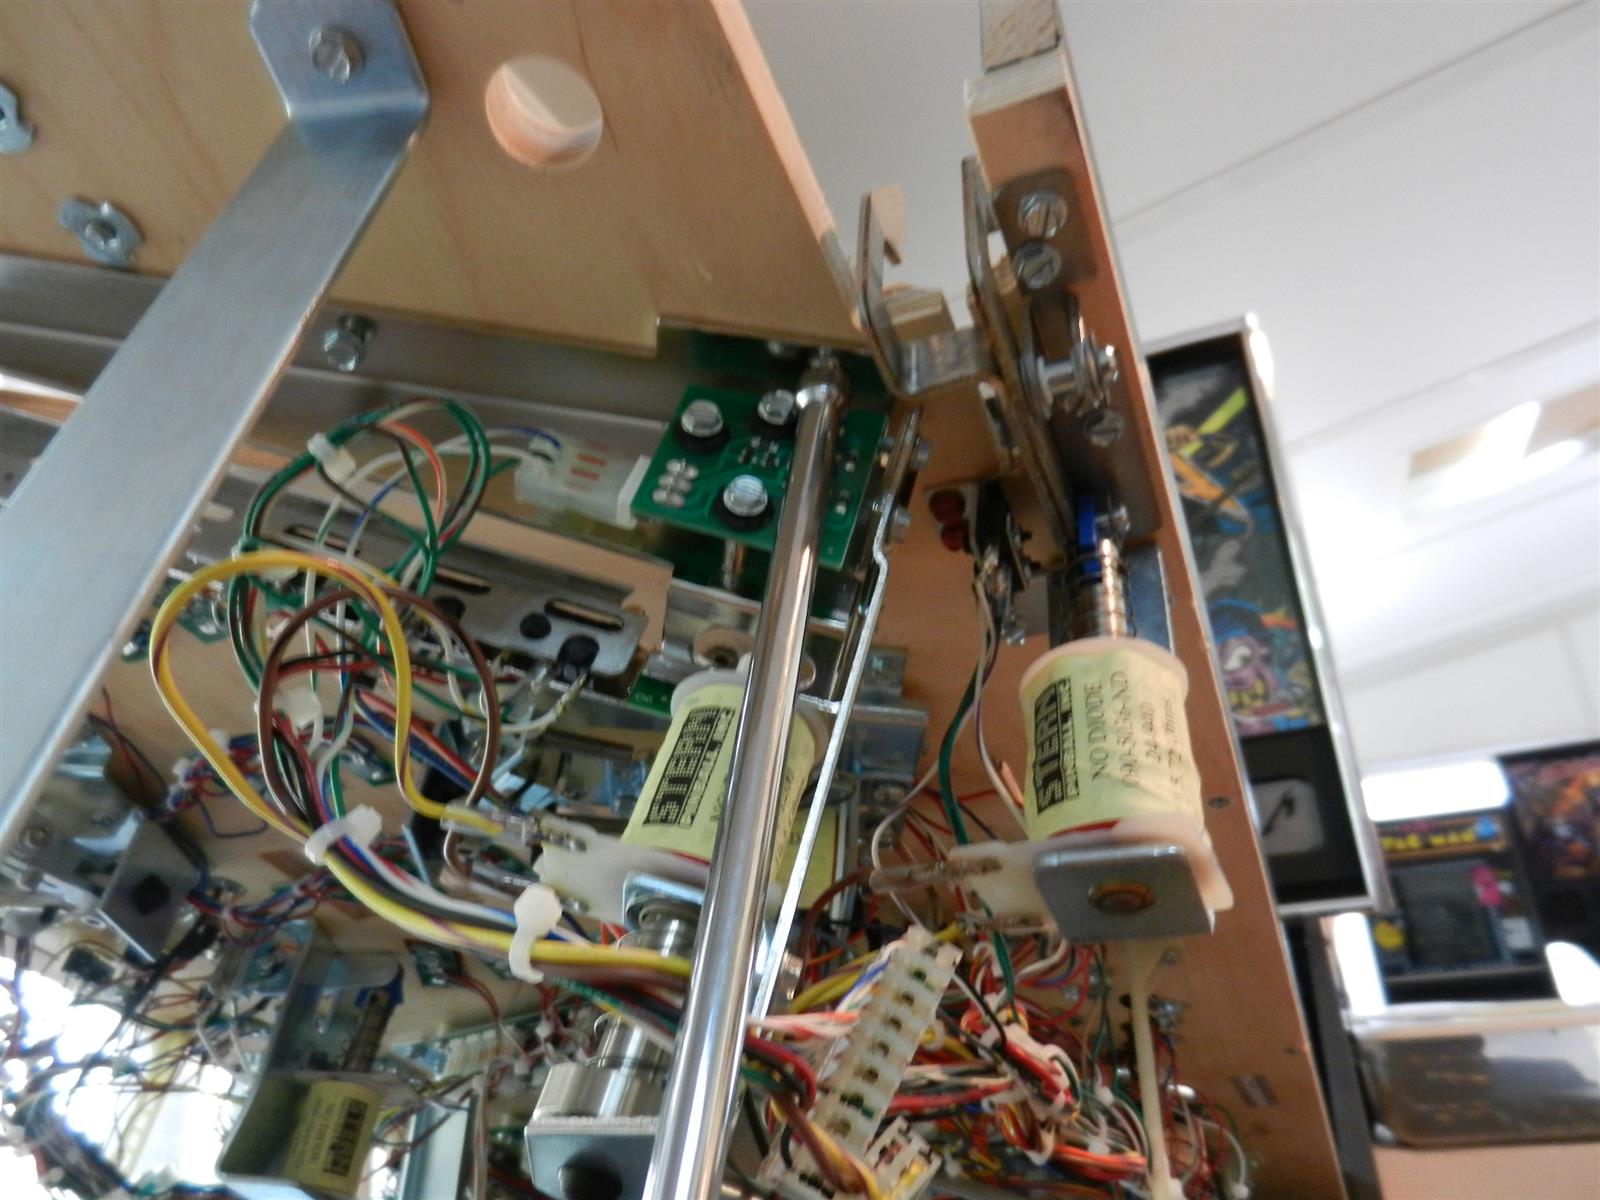
Locate the magnet pole below the playfield and loosen the big lock nut. 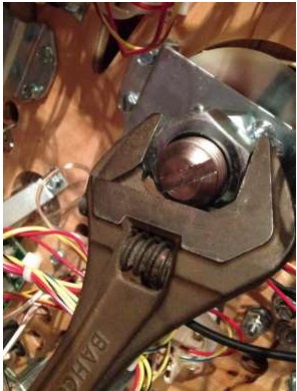 |
Turn the magnet pole to raise the magnet 1/8 inch. This makes it easier to align the protector. Thanks to Adam Fowler for the tip! |
Test fit the protector around the magnet with the paper backing intact. |
| Peel the paper from the protector and place it on the playfield around the magnet. Press it until it sticks all around and lays flat. |
Lower the magnet by turning the pole. Use a straight edge to make sure its flush. |
Tighten the magnet lock nut. |
Perfectly Protected! 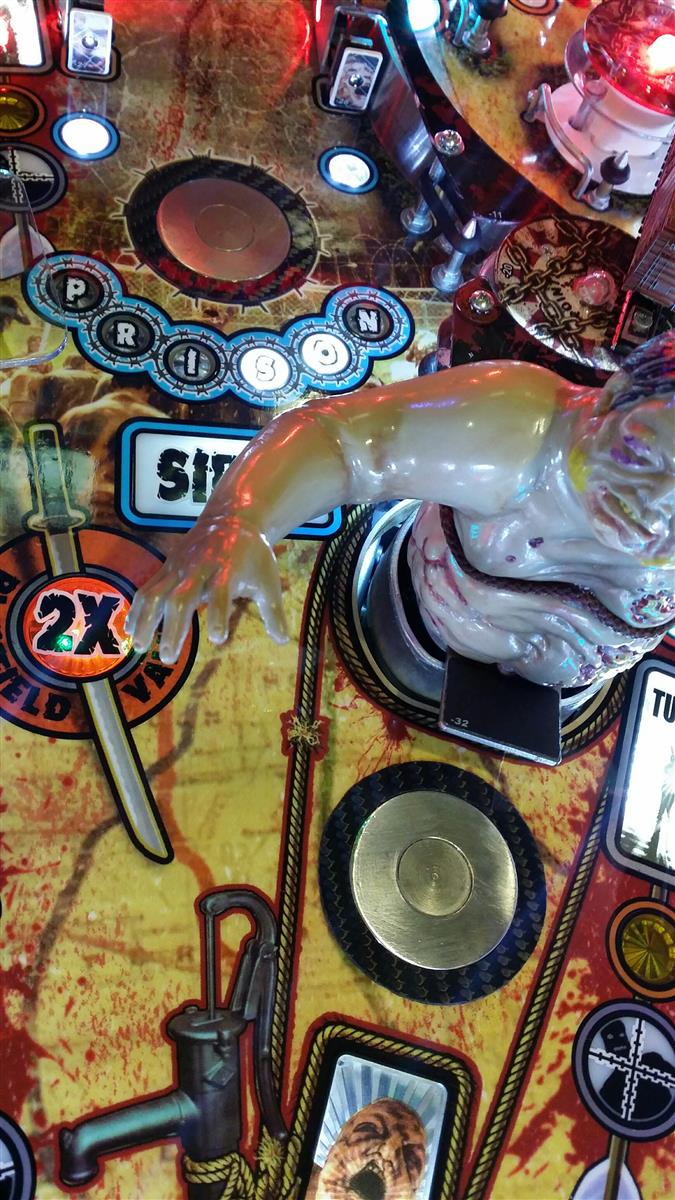 |
|
Bicycle Girl Ramp Protector |
Remove the plastic protector. |
Unscrew the posts from the playfield. |
Clean under the ramp flap to remove any contaminants. |
Gently lift the ramp and slid the protector in position. Lower the ramp. |
| Replace the posts through the provided holes in the protector. |
Reinstall the plastic protector. |
That's it!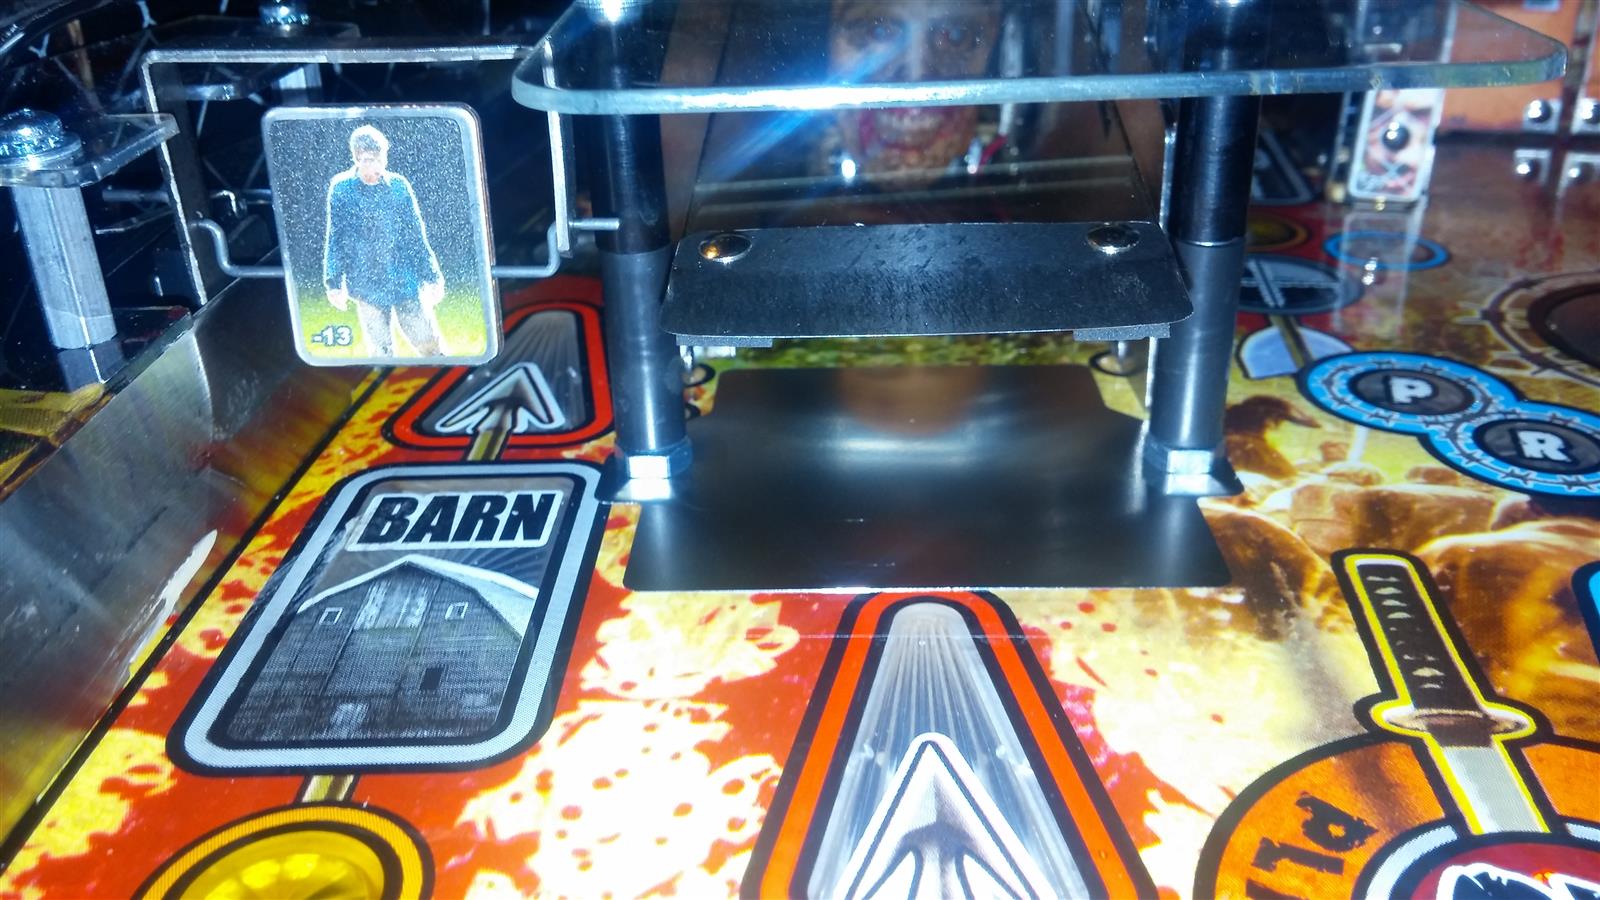  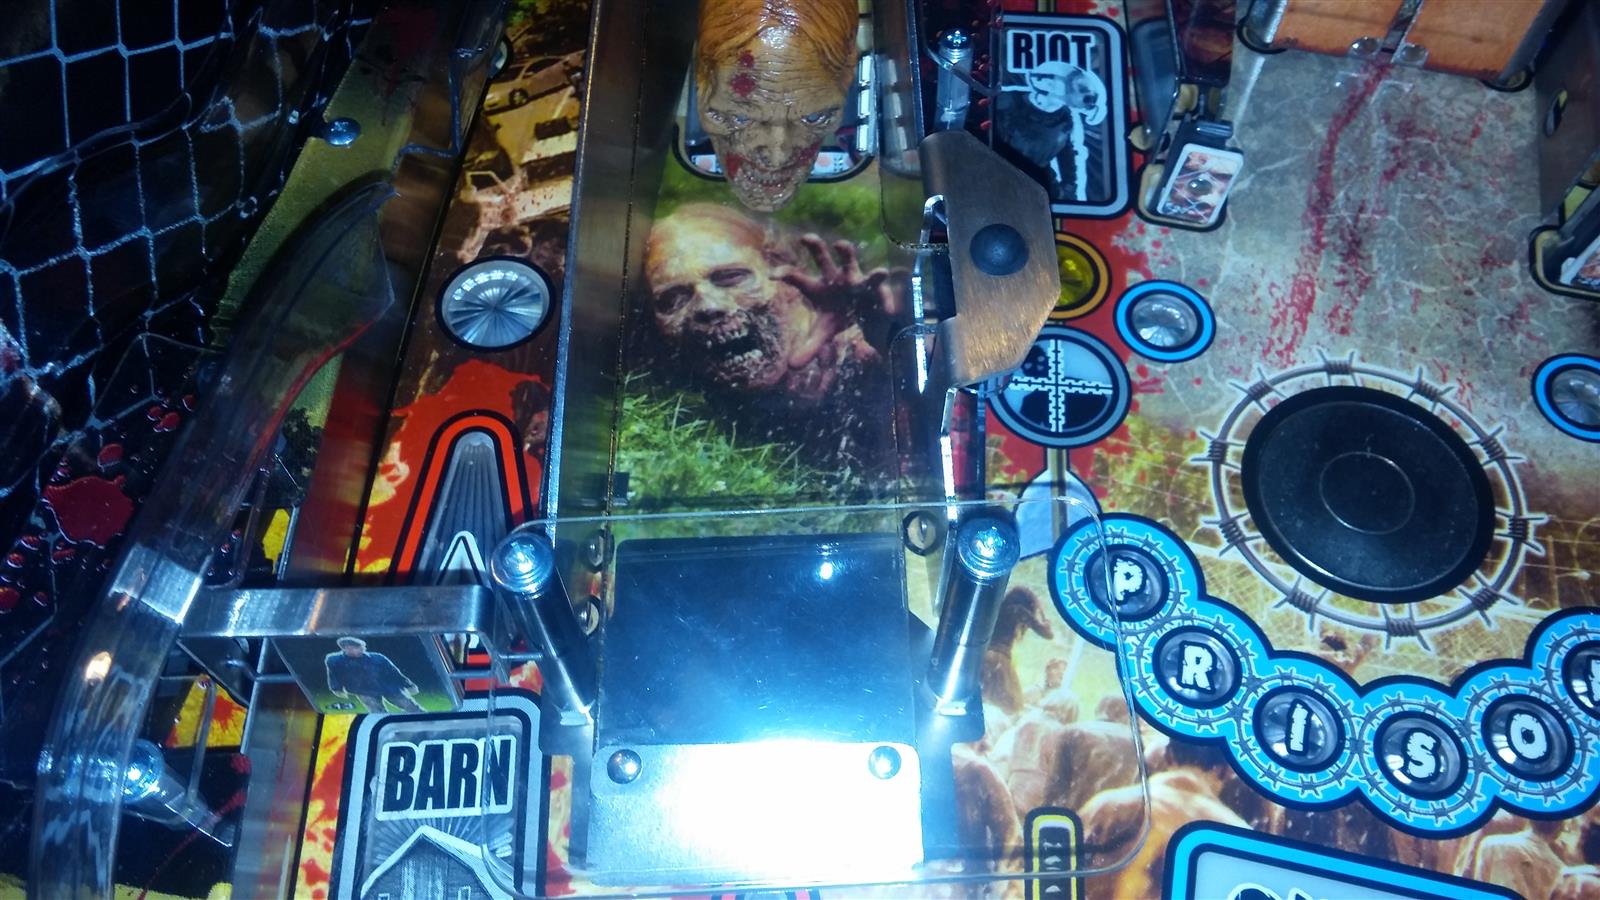 |
||
Stern 3 Piece Multi-Fit Eject ProtectorsNOTE: Instructions displayed on a Stern Metallica. |
Pull the playfield up and rest the
playfield supports on the lockbar receiver. Remove the scorecard apron.
Two philips head screws on the end you see here..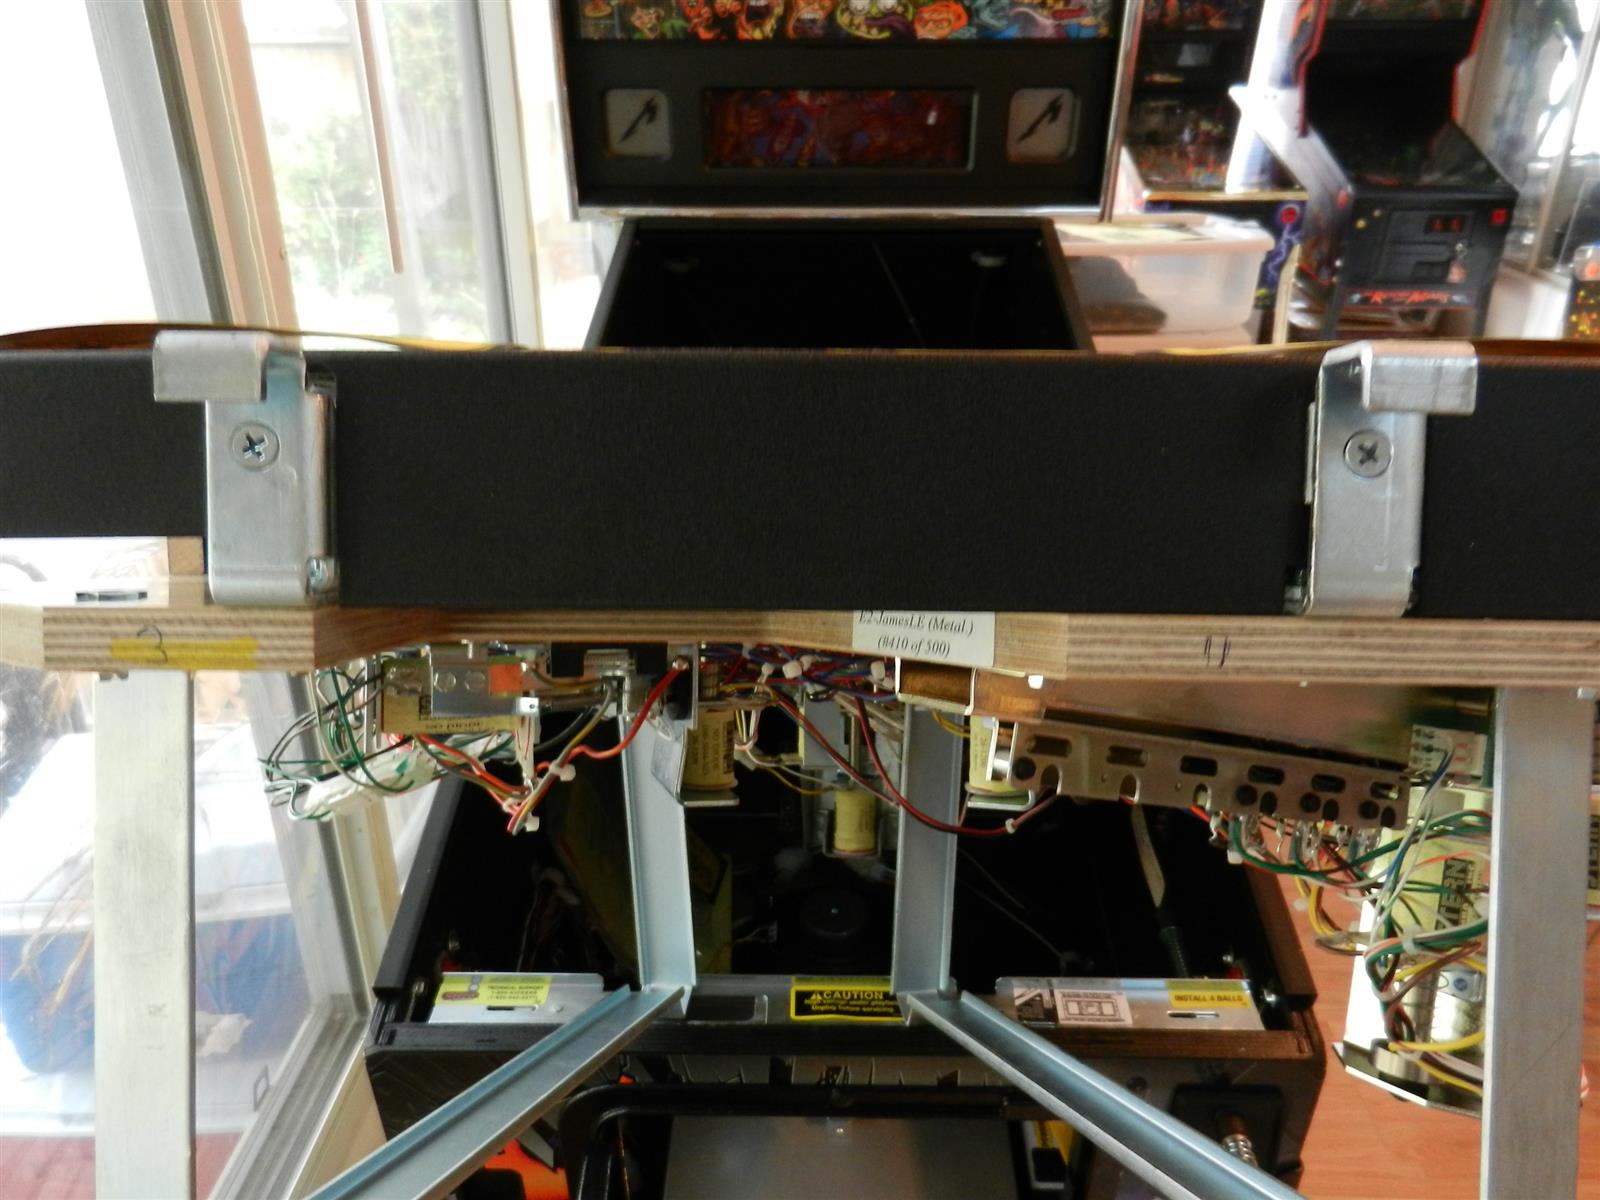
|
..and two studs that poke through the
playfield here. Use an 11/32" socket to remove the nuts.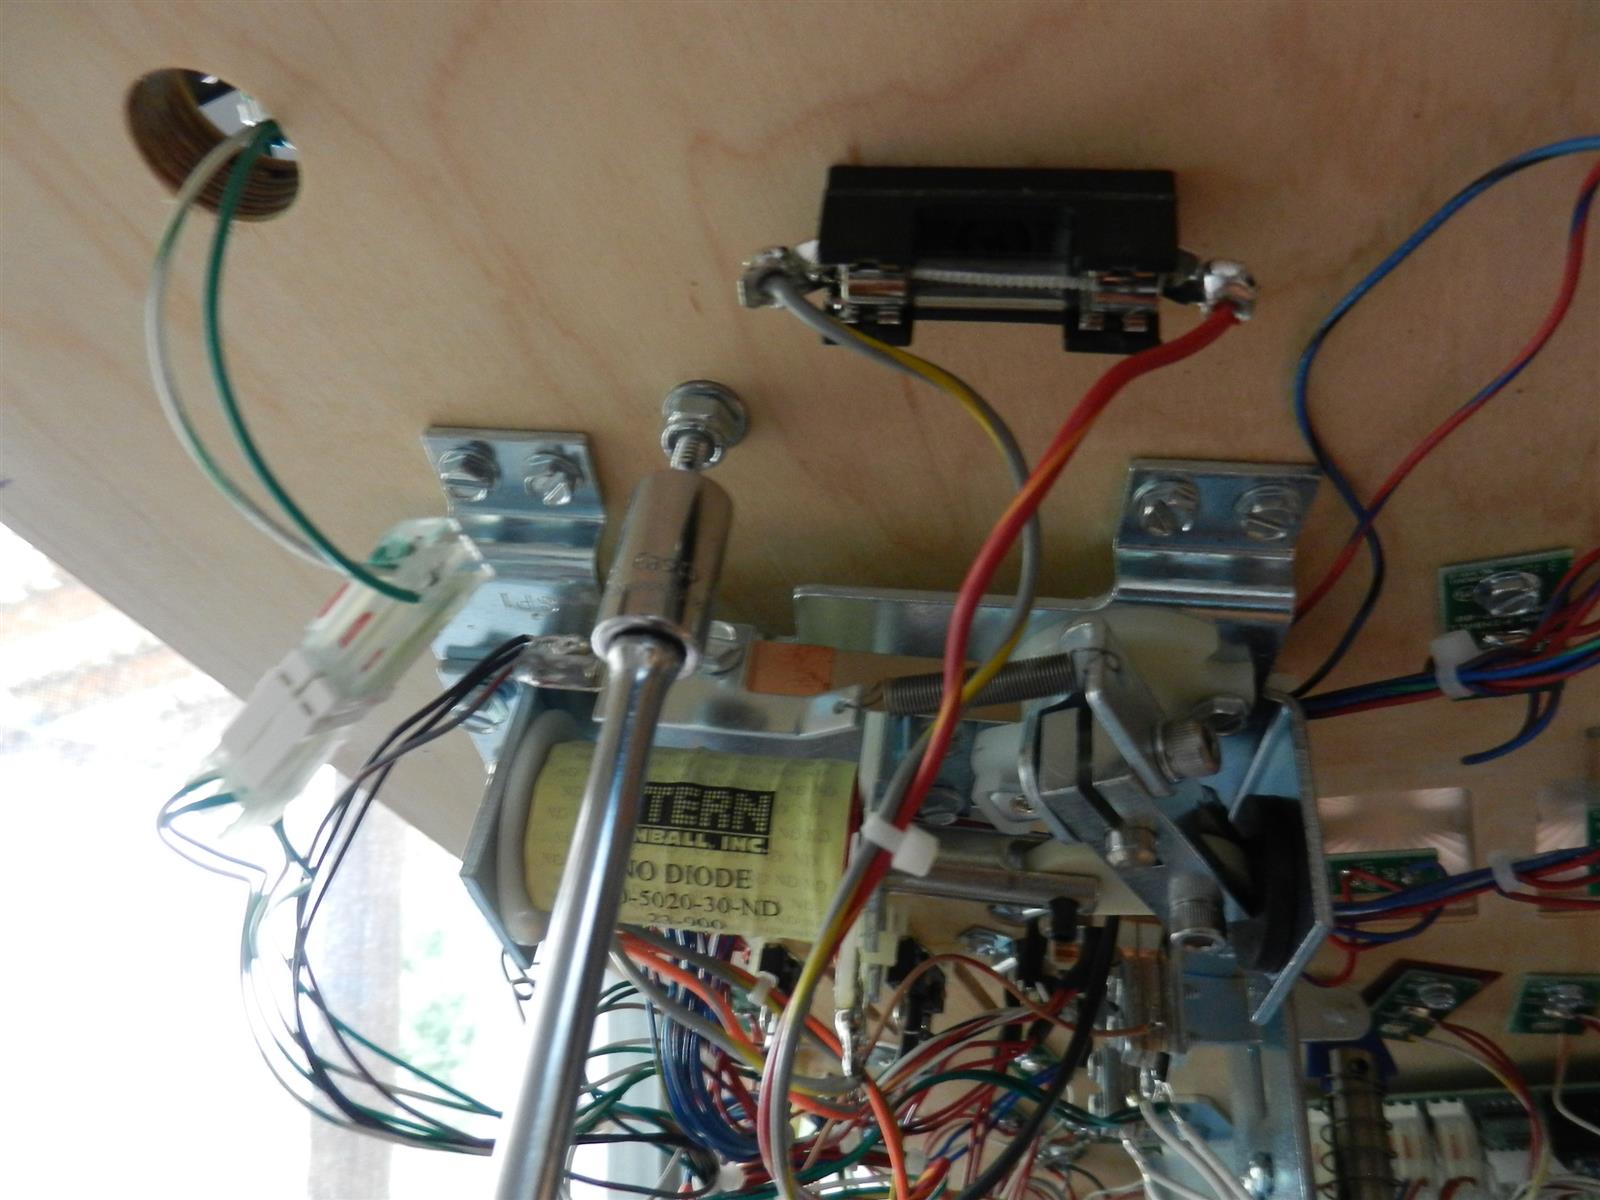
 |
Unplug the lamp harness if you have one
for the apron here. Set apron out of your way.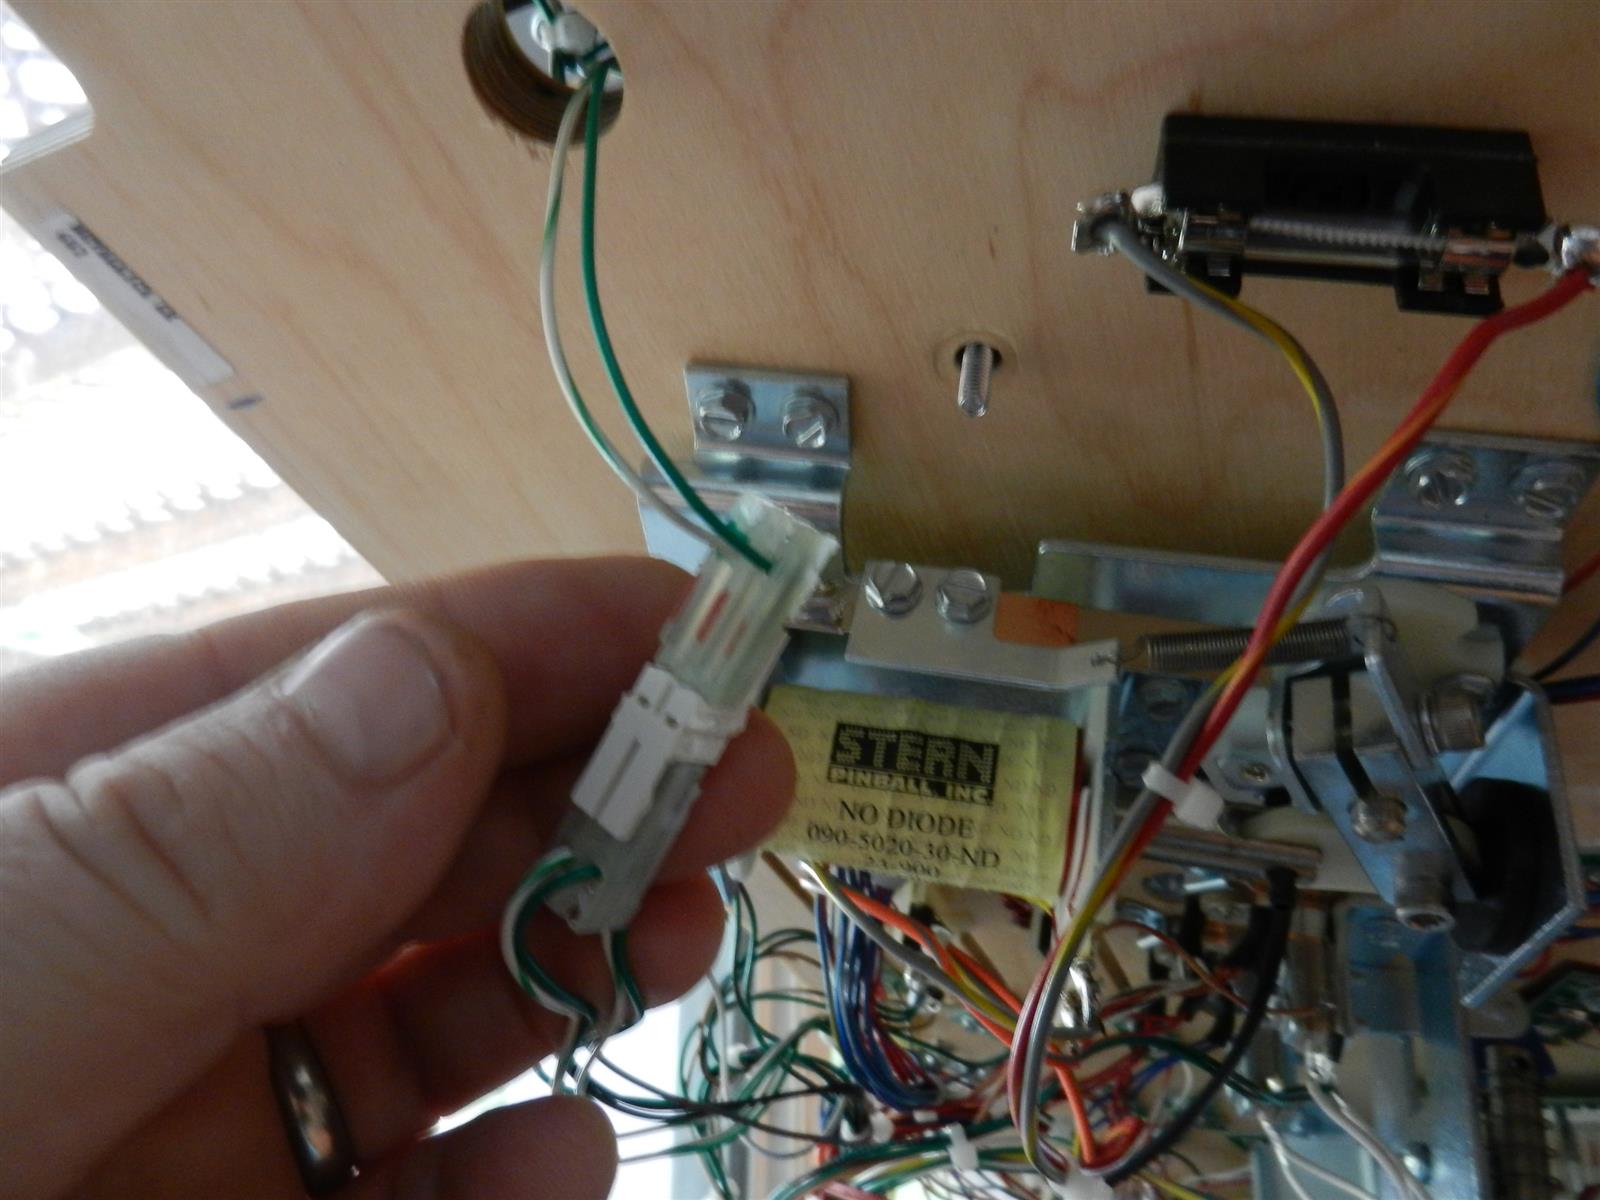 |
Now use a 1/4" nut driver to remove all
the wood screws holding the ball trough deflector. Loosen the rear nut
and screw only enough to lift and swing the deflector up and over and
rest on outhole ball guide.
 |
| If you haven't already removed the balls
now is a good time. Let's lower the bottom half of the trough from
underneath. Rest trough assembly on playfield support.
|
Prepare the eject area and protector by
wiping down with included alcohol swab. Let dry. You may as well use the
swab to clean around the magnets now before the swab dries out. Peel 3M
adhesive backing on bottom of protector and protective film from the top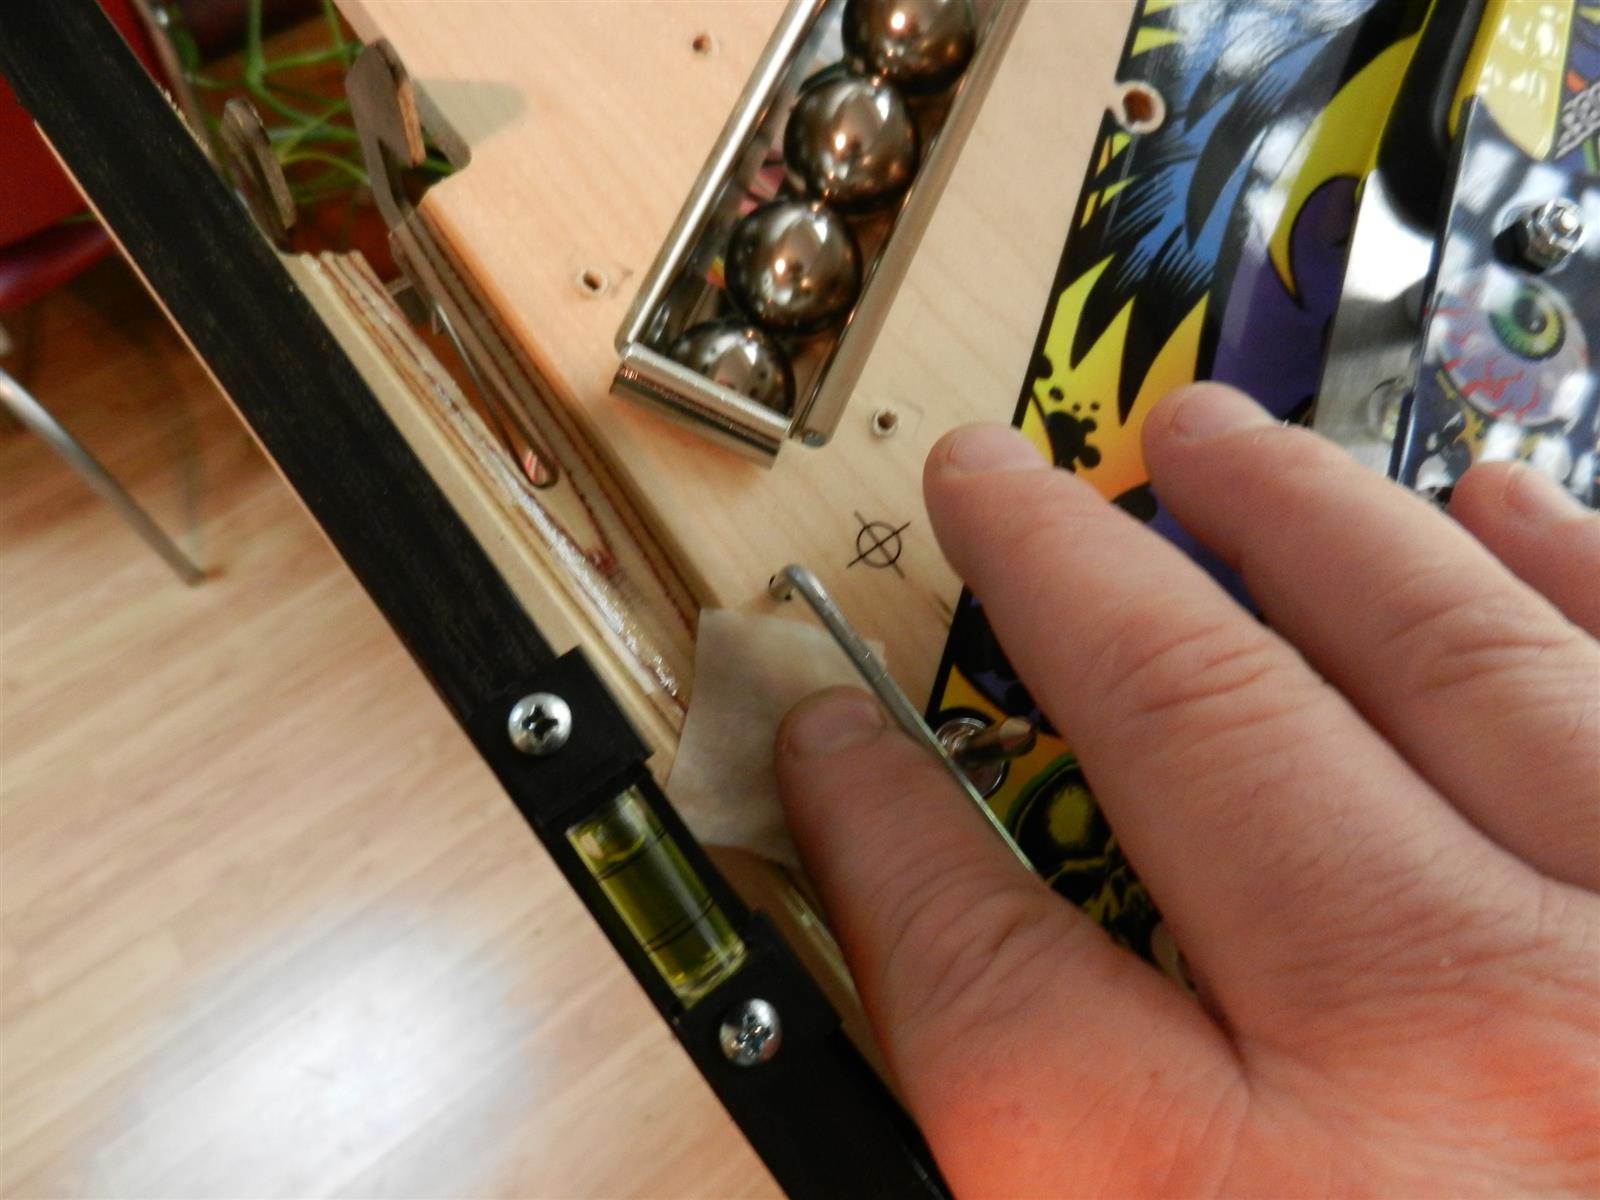

 |
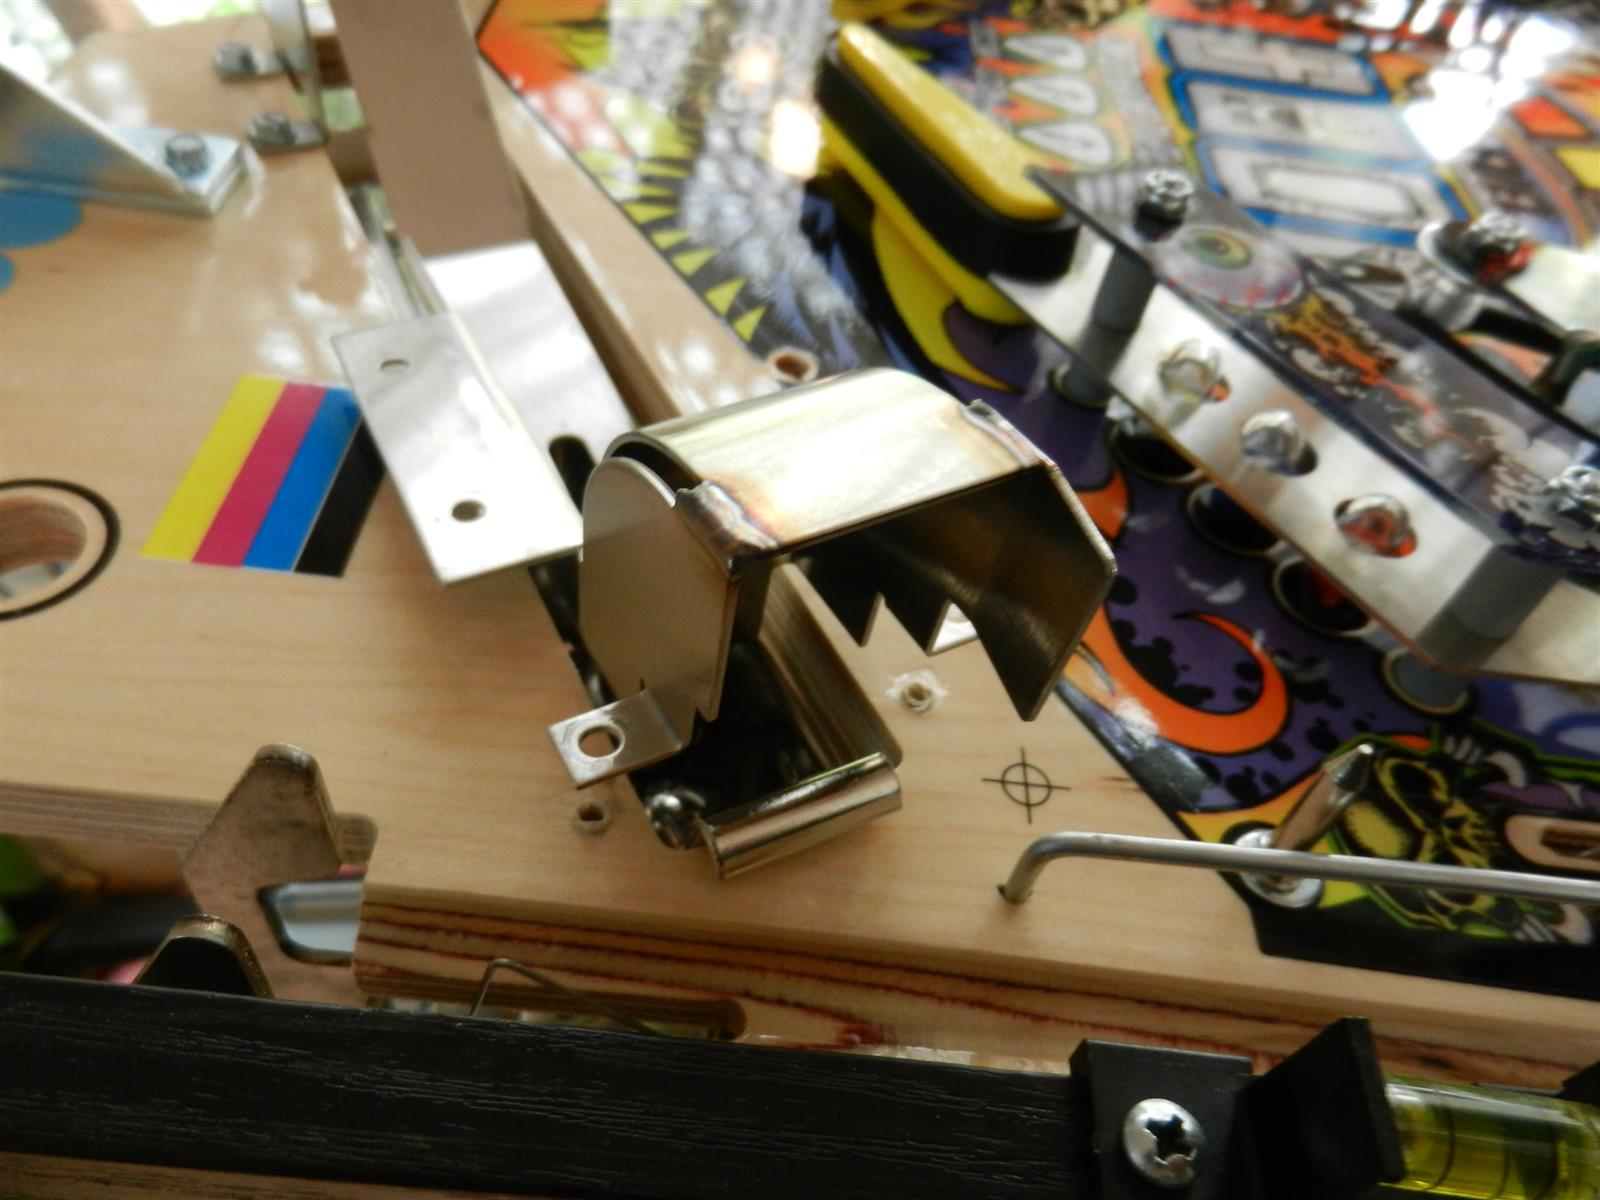
Carefully snap the protector over the wire
ball guide as shown. Rest protector lightly on playfield. Use a ball to
help align the protector edge with the shooter groove edge.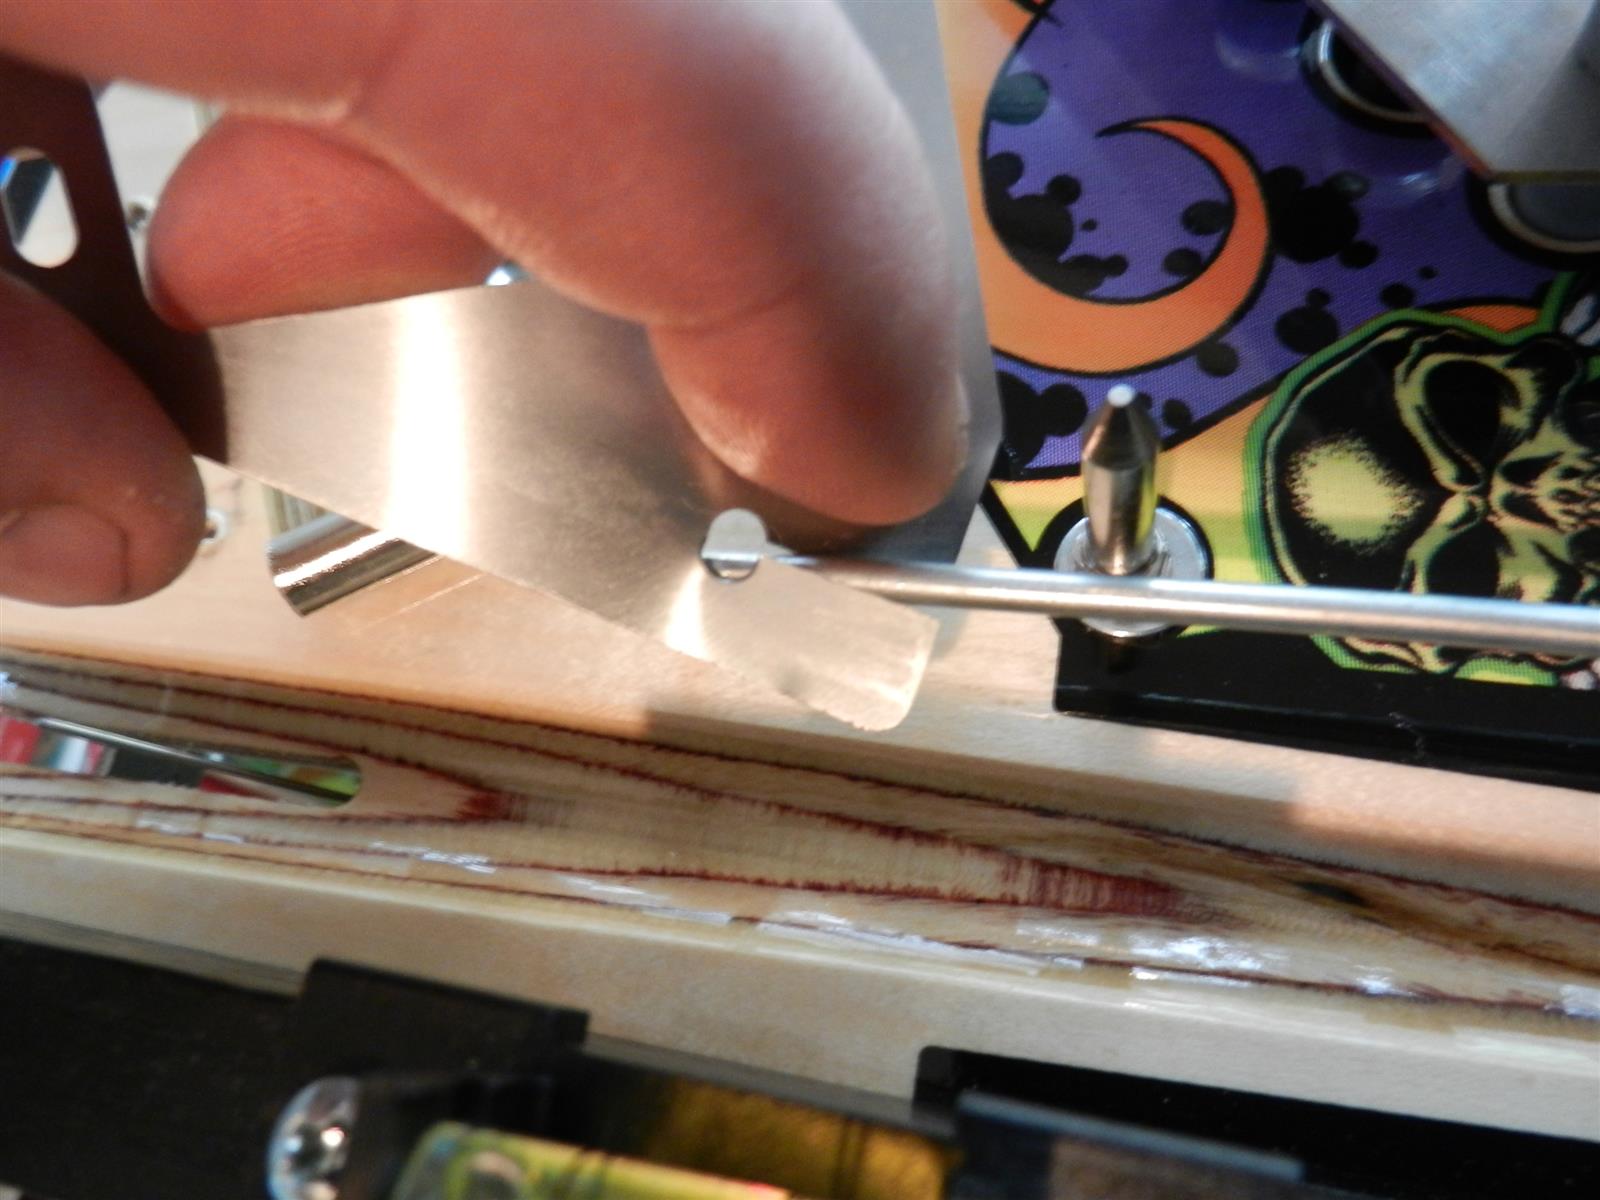
 |
Once happy with alignment rub the
protector down hard with a soft cloth. Admire your work!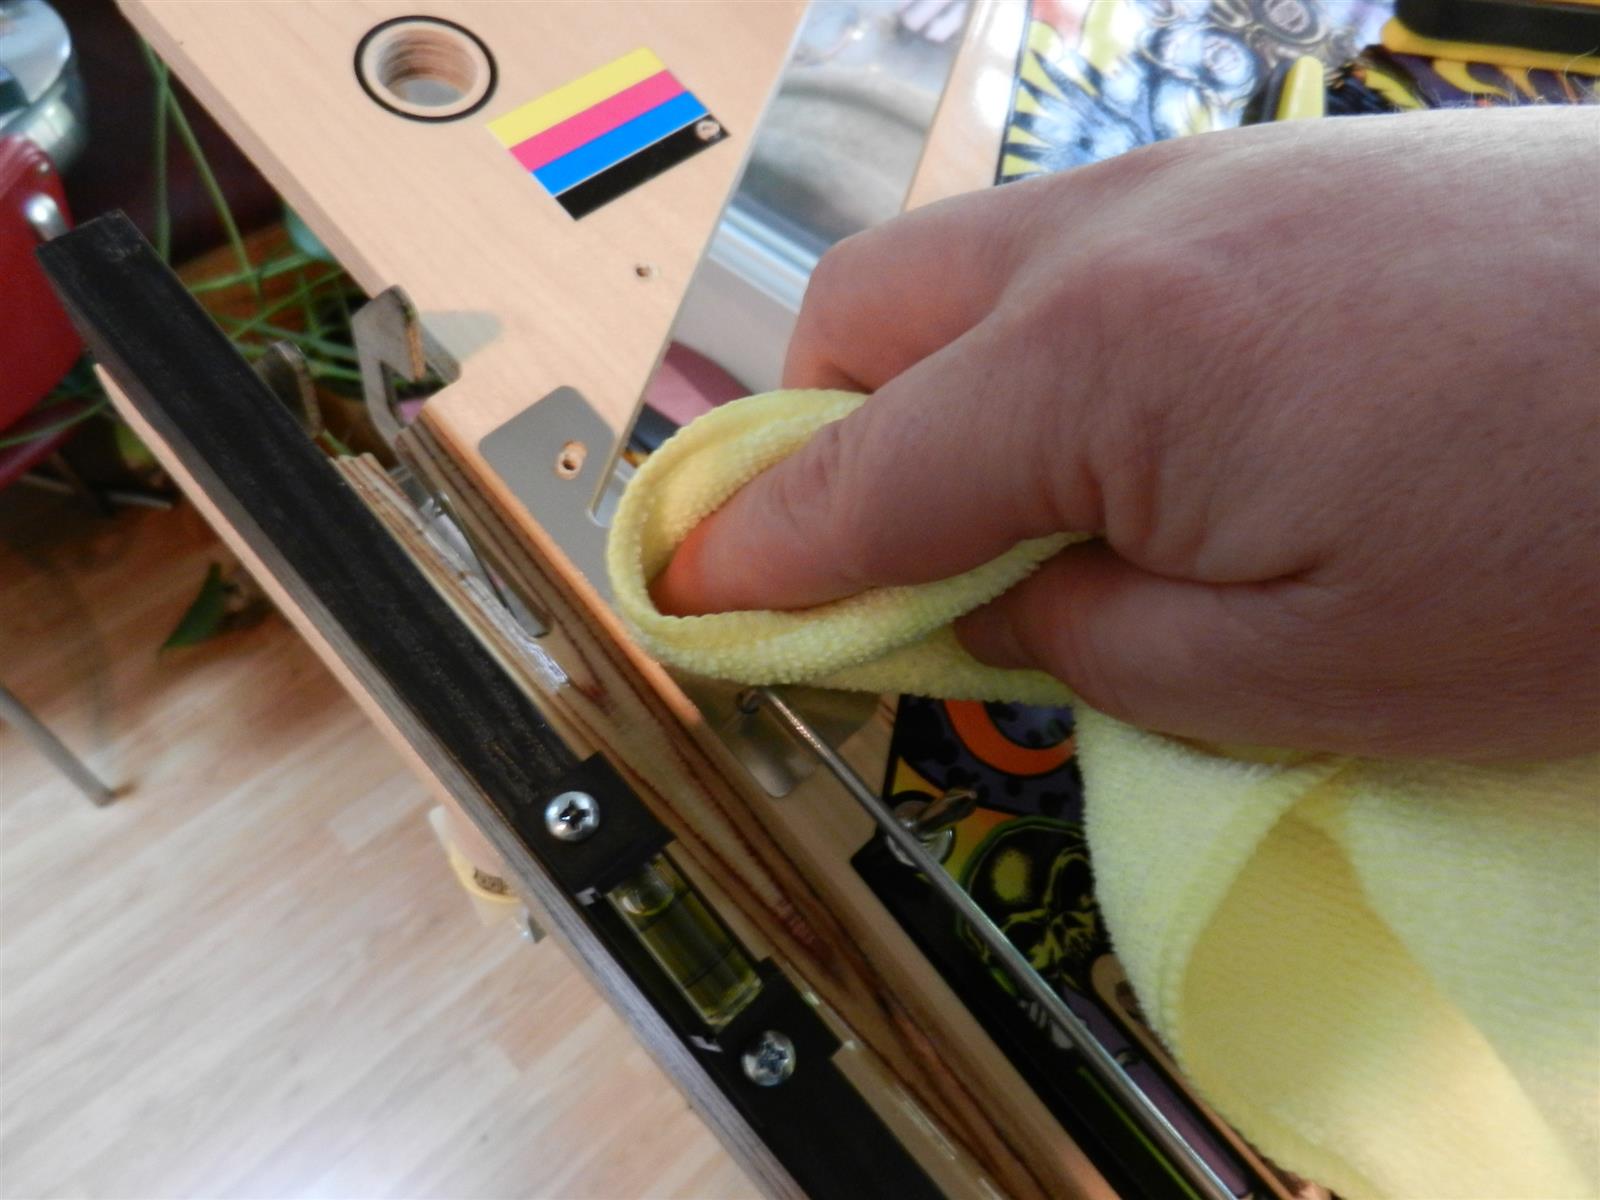
 |
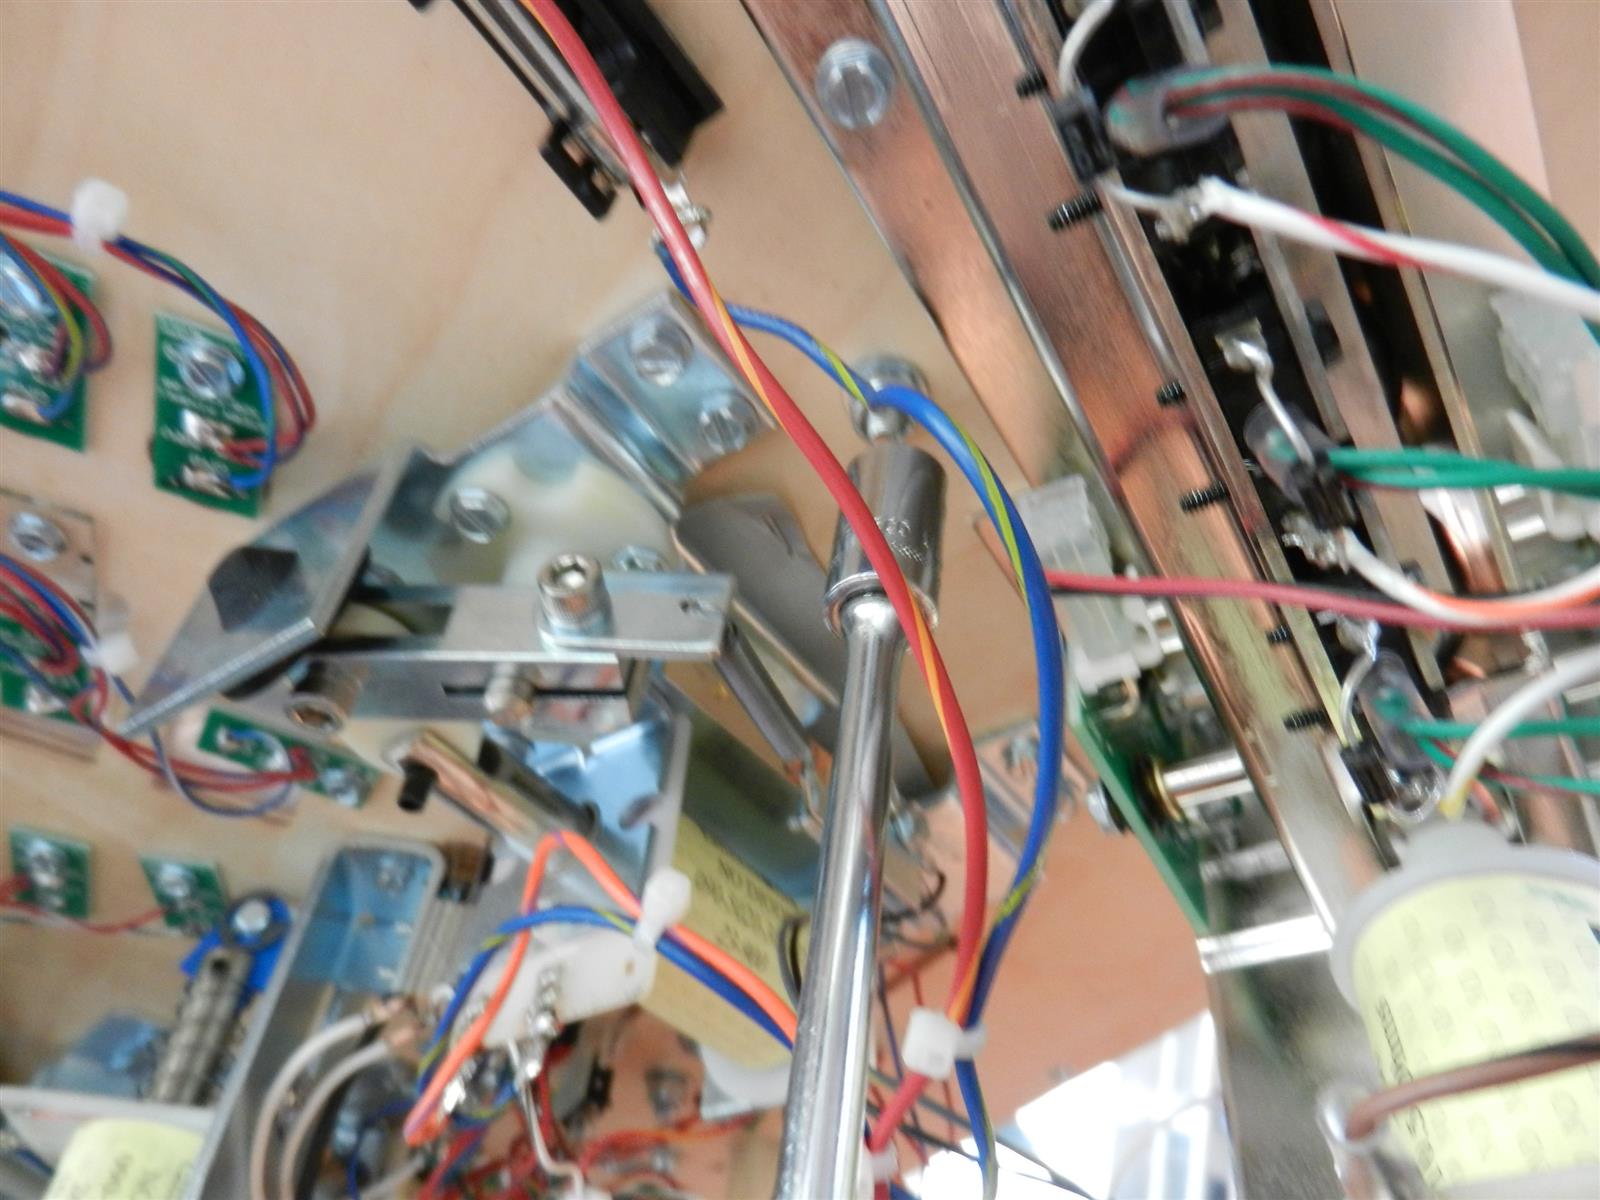
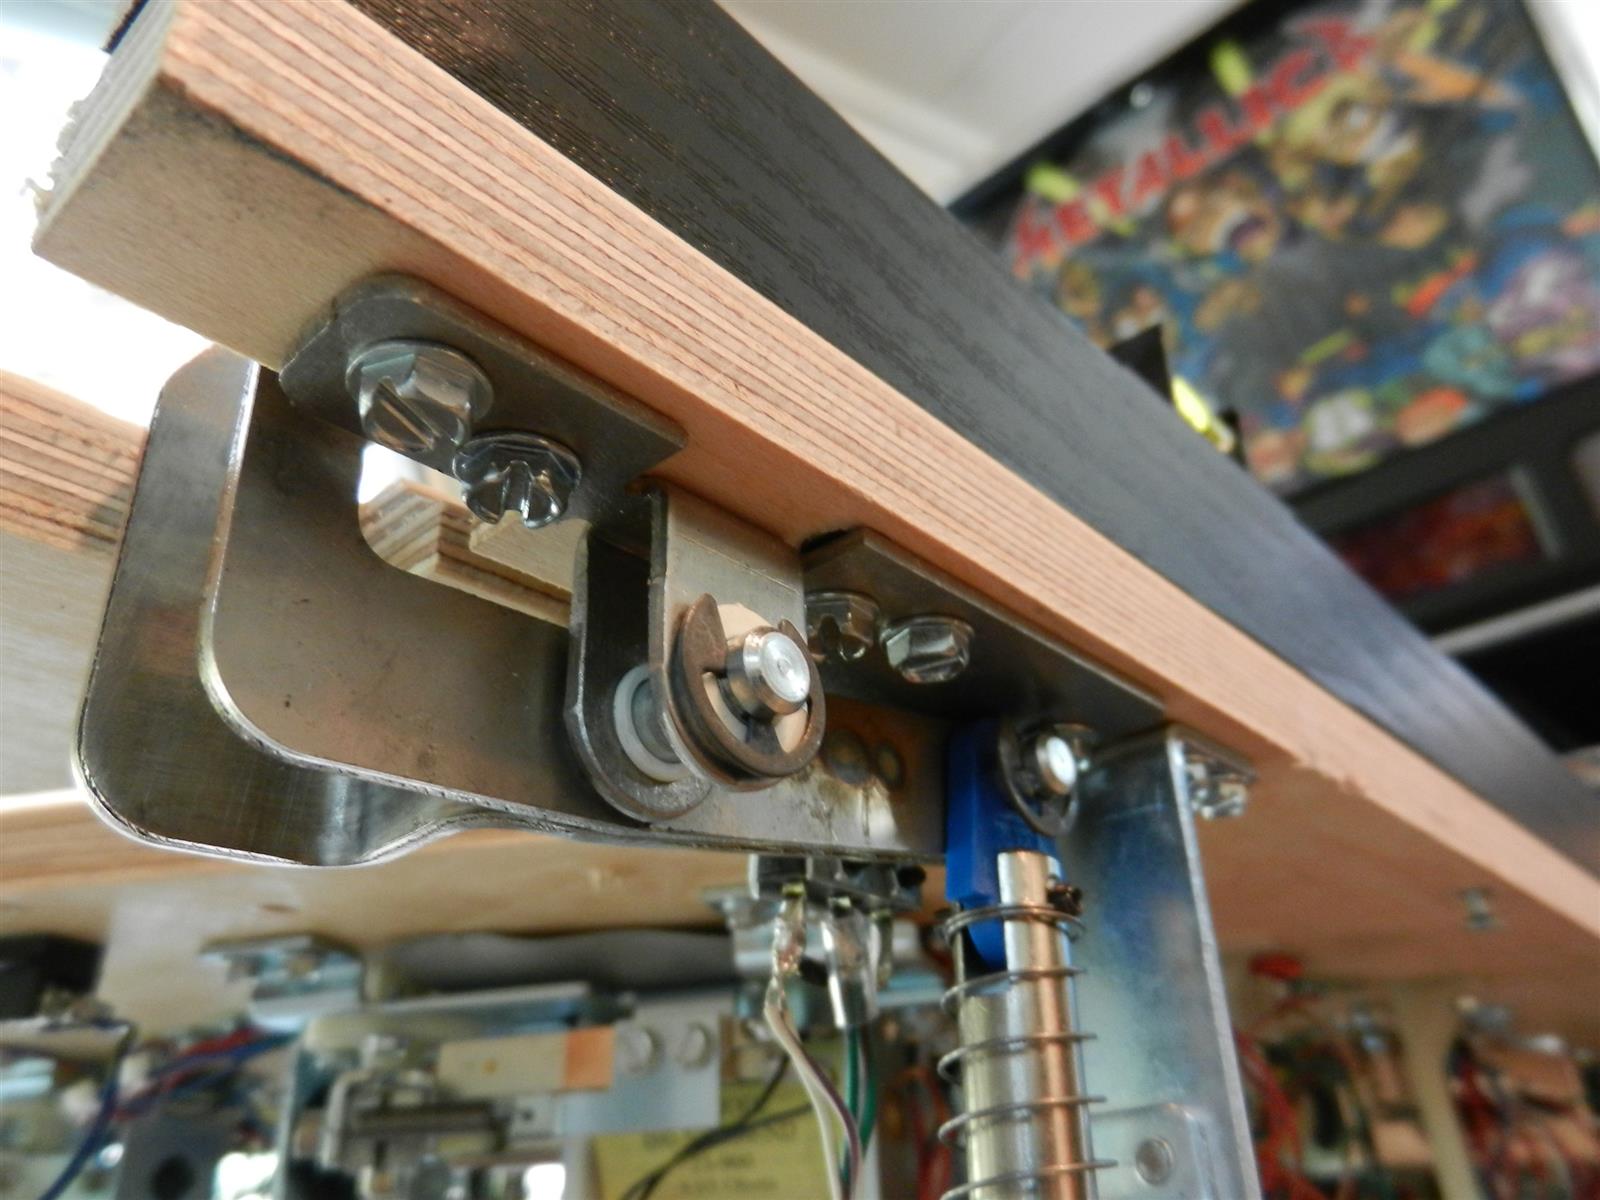
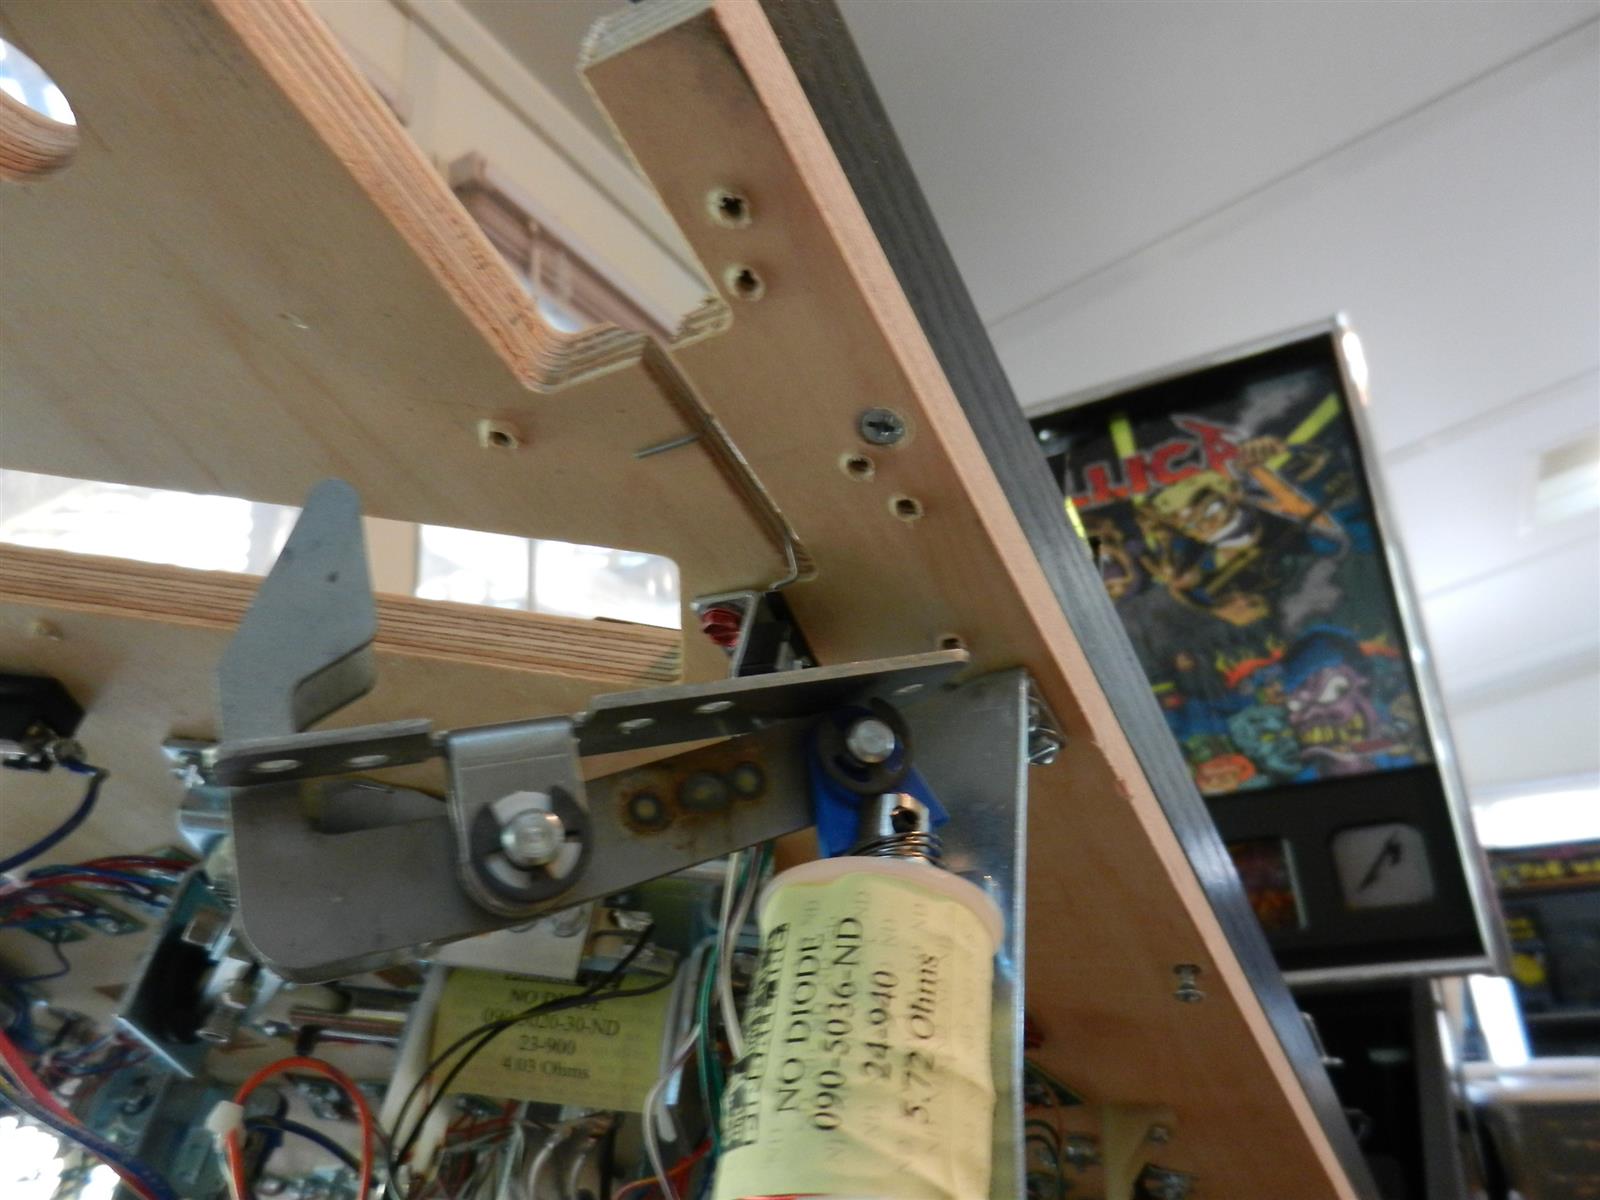
On to the right side eject which goes
under the black rail. To do this we need to loosen the rail from
beneath. One screw is hidden under the auto-launcher so that needs to be
loosened enough to reach that rail screw.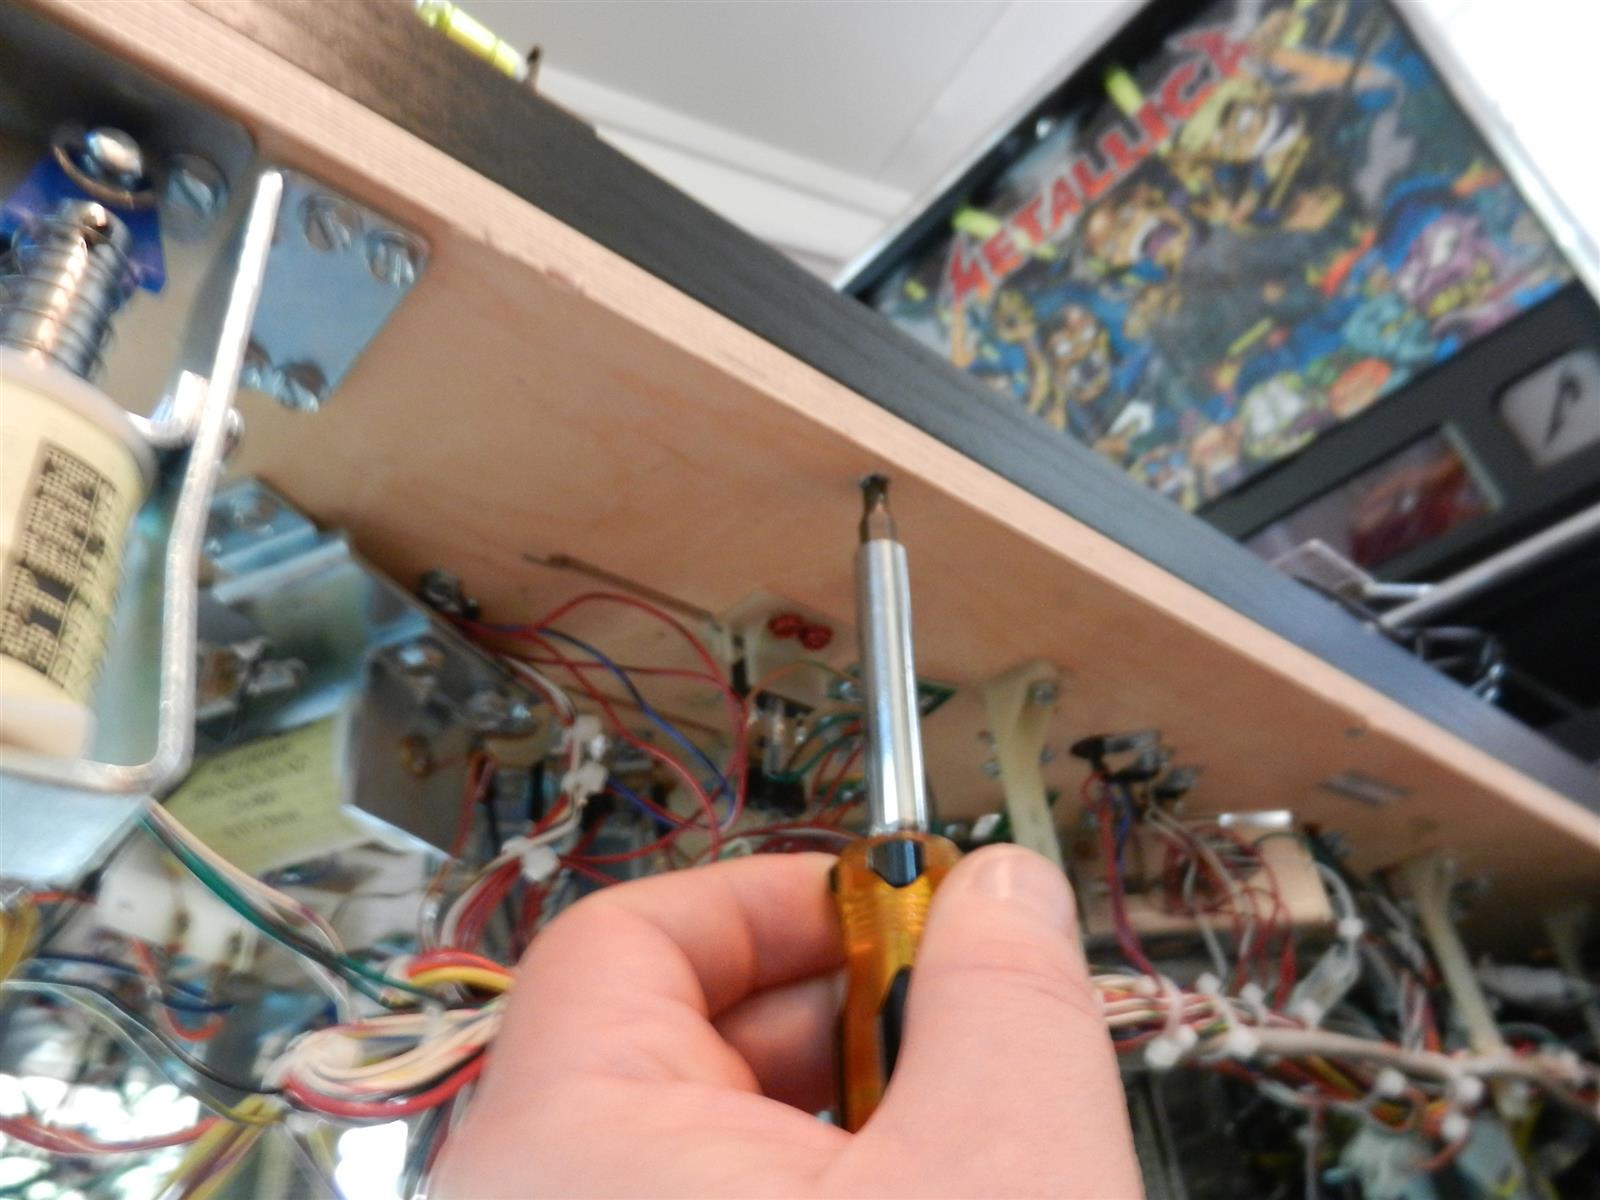
 |
Loosen the wood screws down about 3/4" as
shown. The rail should be loose enough to lift and create a gap for the
protector to slip into.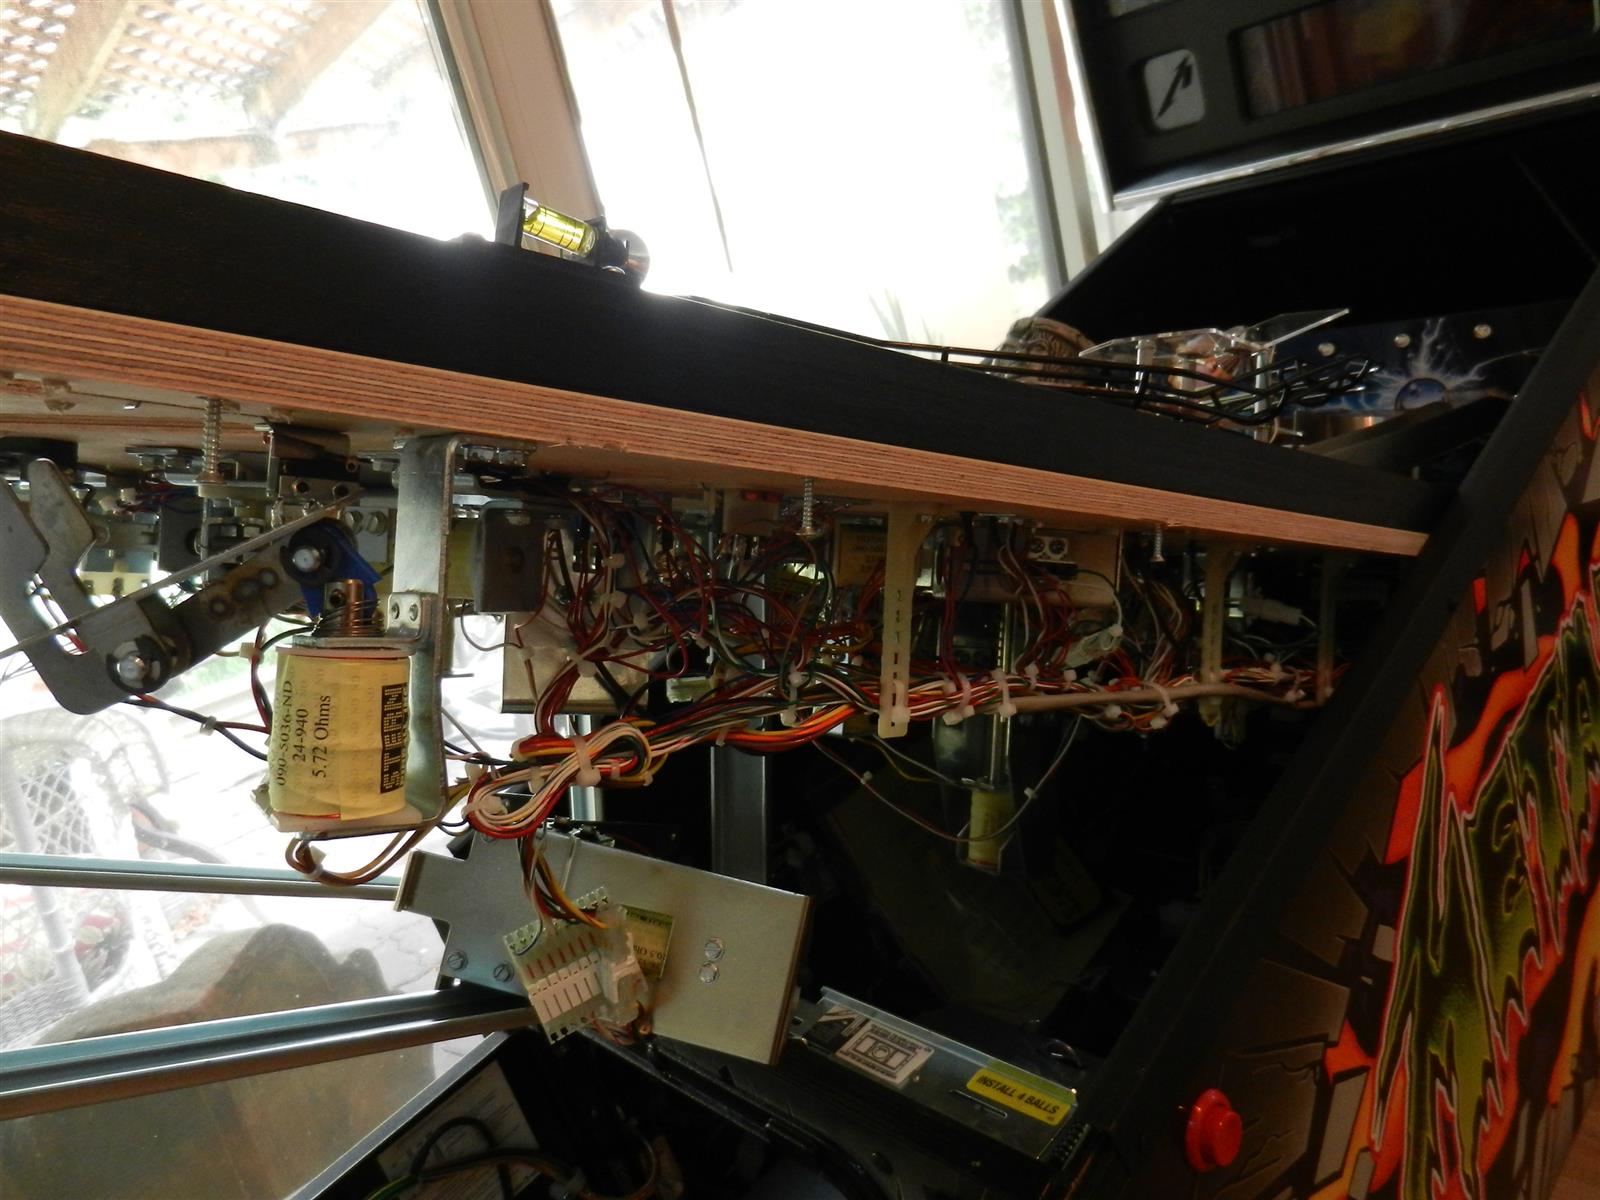

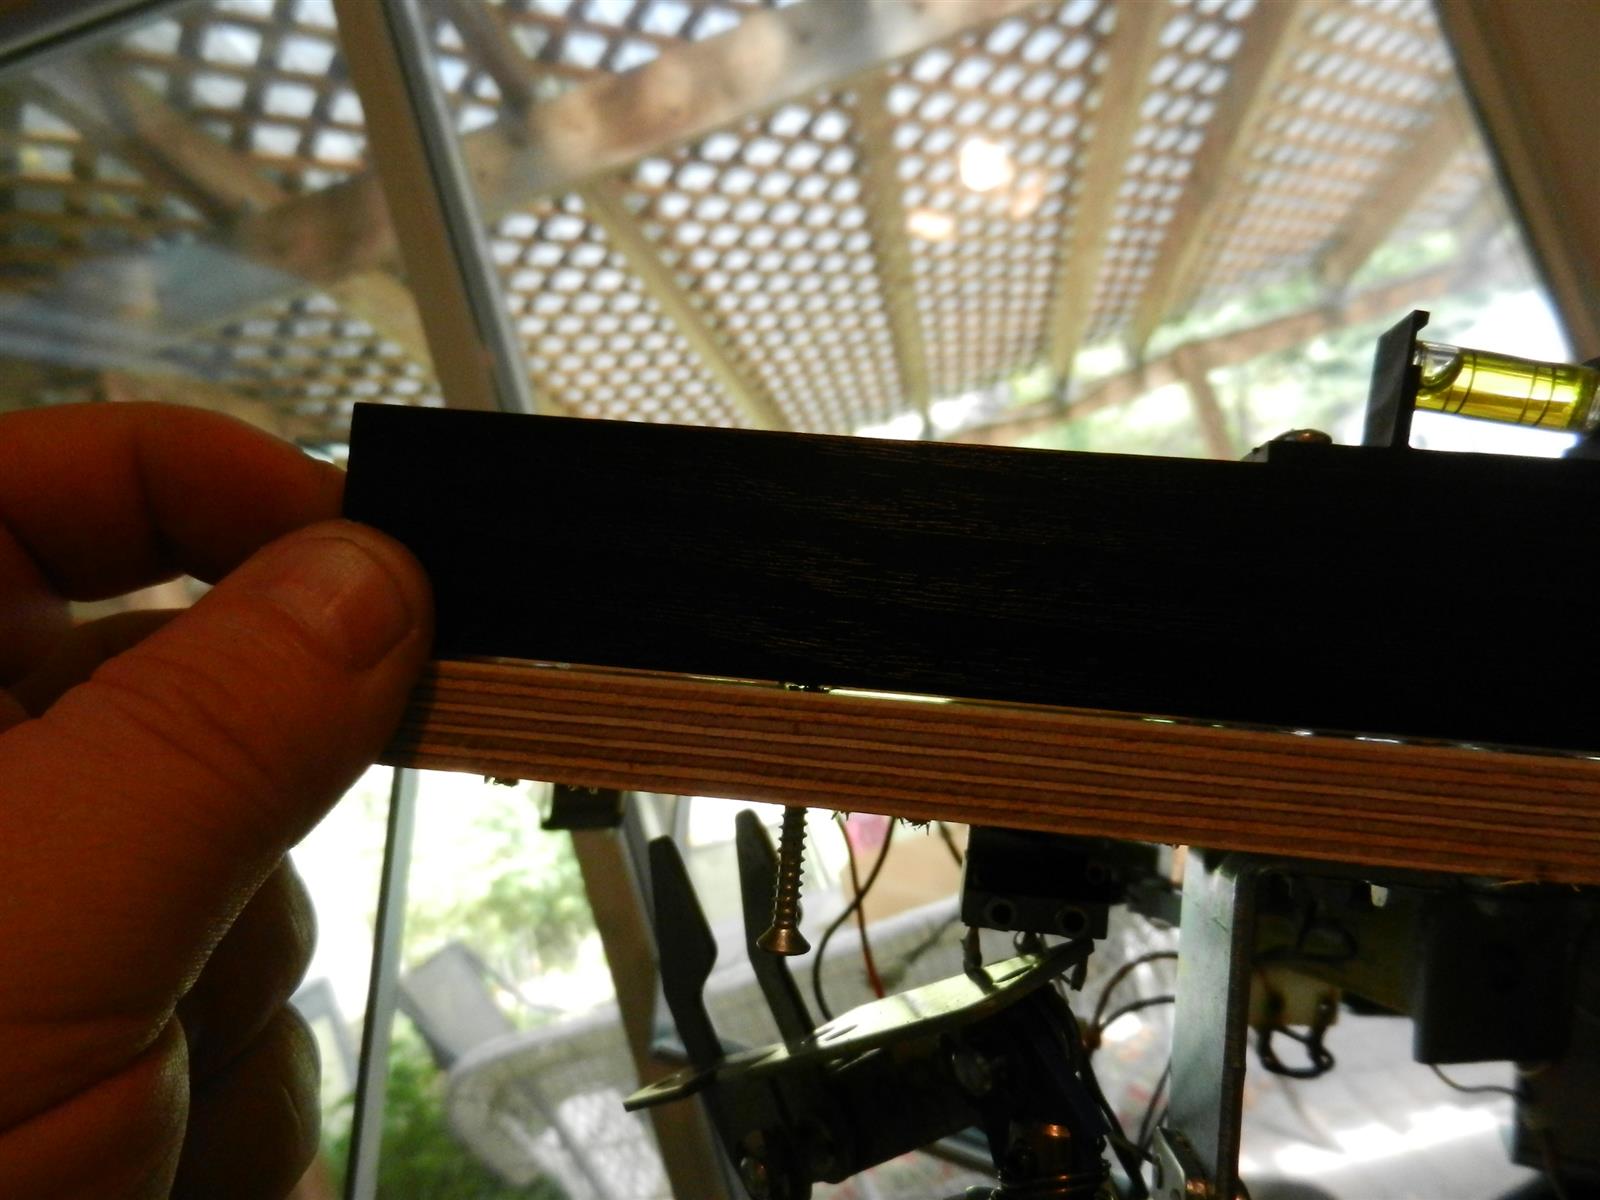 |
Peel film from the protector and slip
under the rail. Make sure the slotted screw hole faces towards the front
of the cabinet. Align with the other protector and the groove edge as
before. Tighten rail screws and done!
 |
INSTALL TIP! The trick to reinstalling the rail correctly on ANY game is to NOT remove the wood screws completely. Use one hand (or a Handi-Clamp) to squeeze the wood rail down to the playfield as you tighten the screws. This guarantees the screw threads will go right back where they were and give maximum clamping force on the protector. |
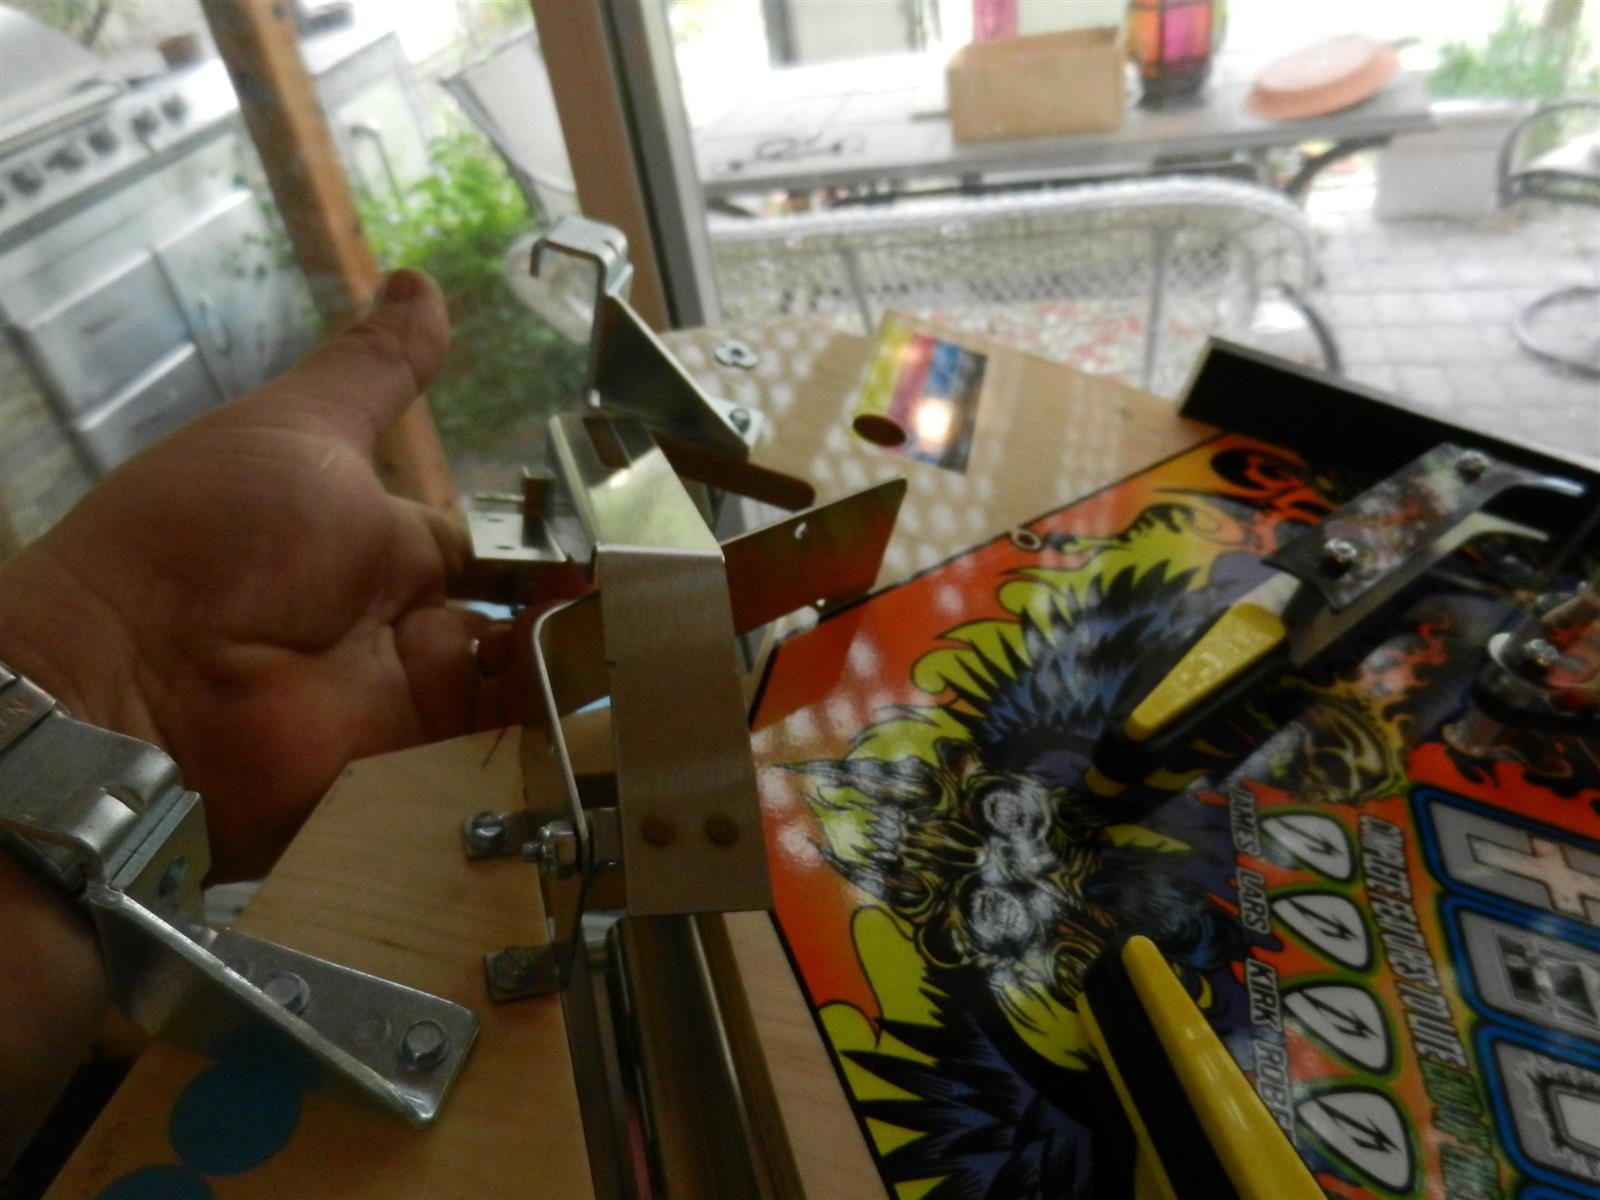
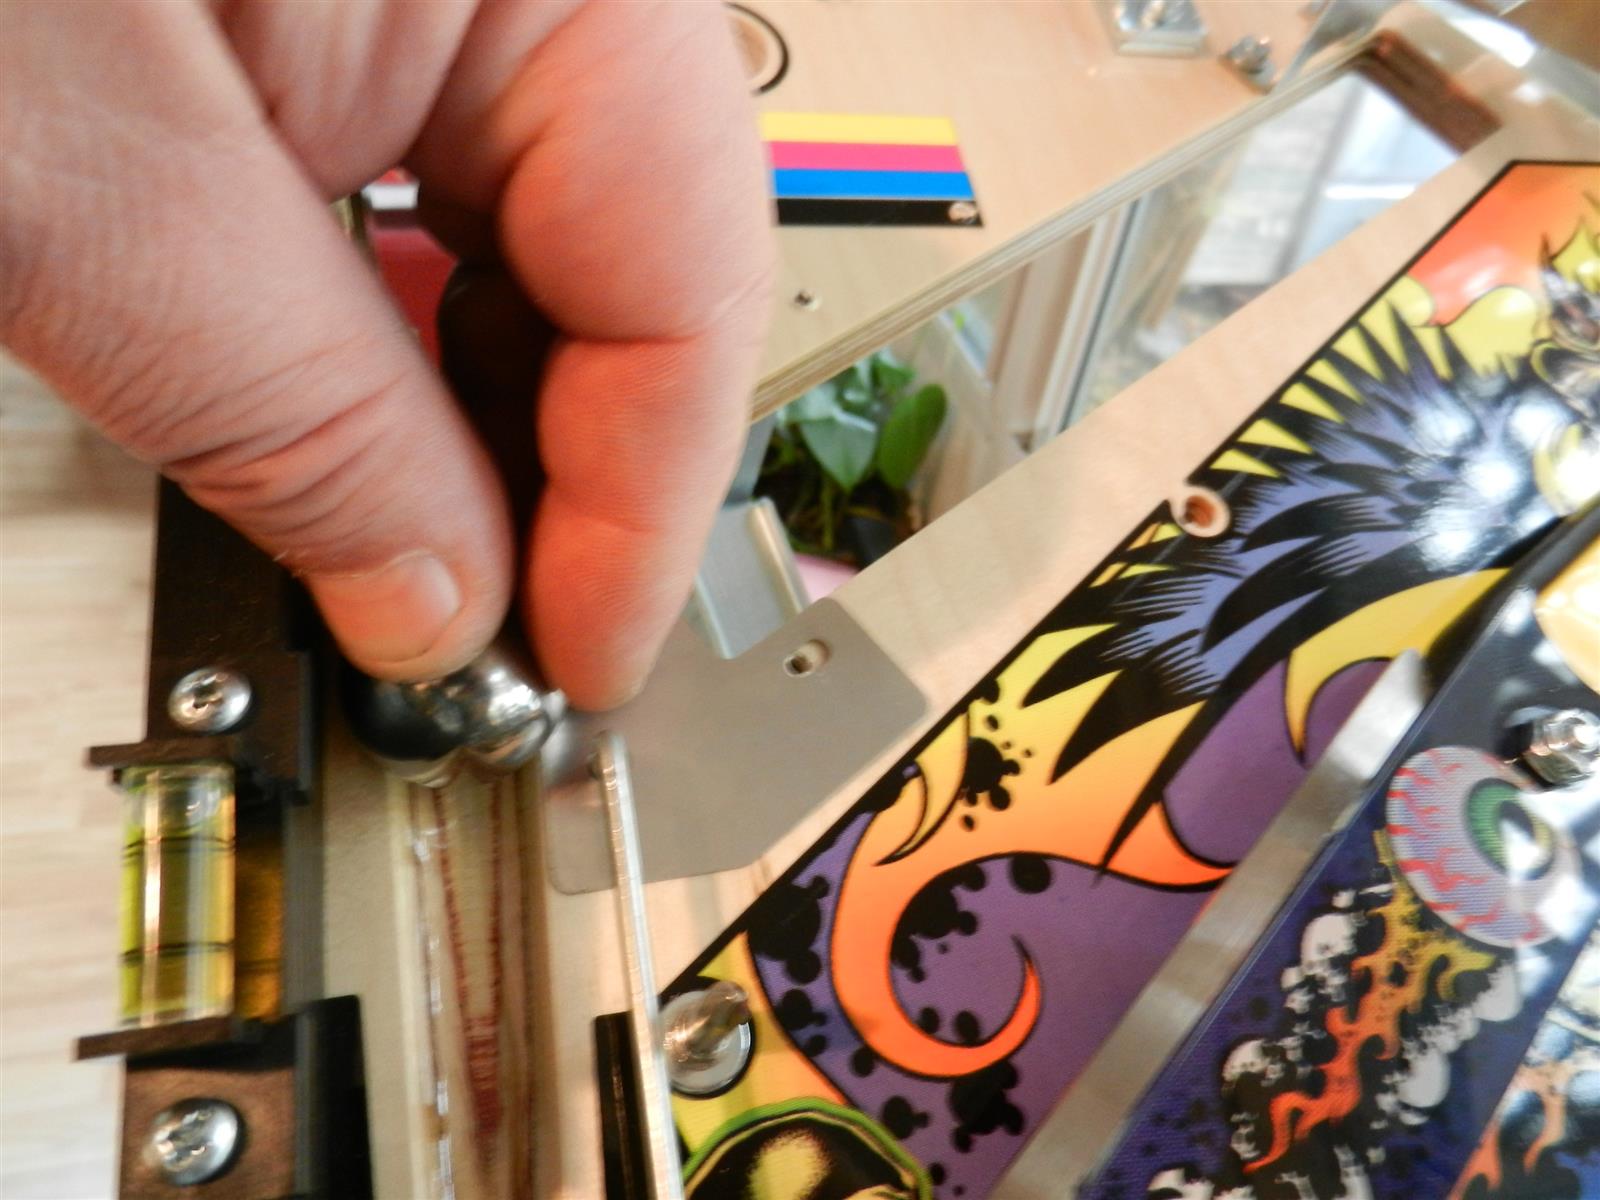
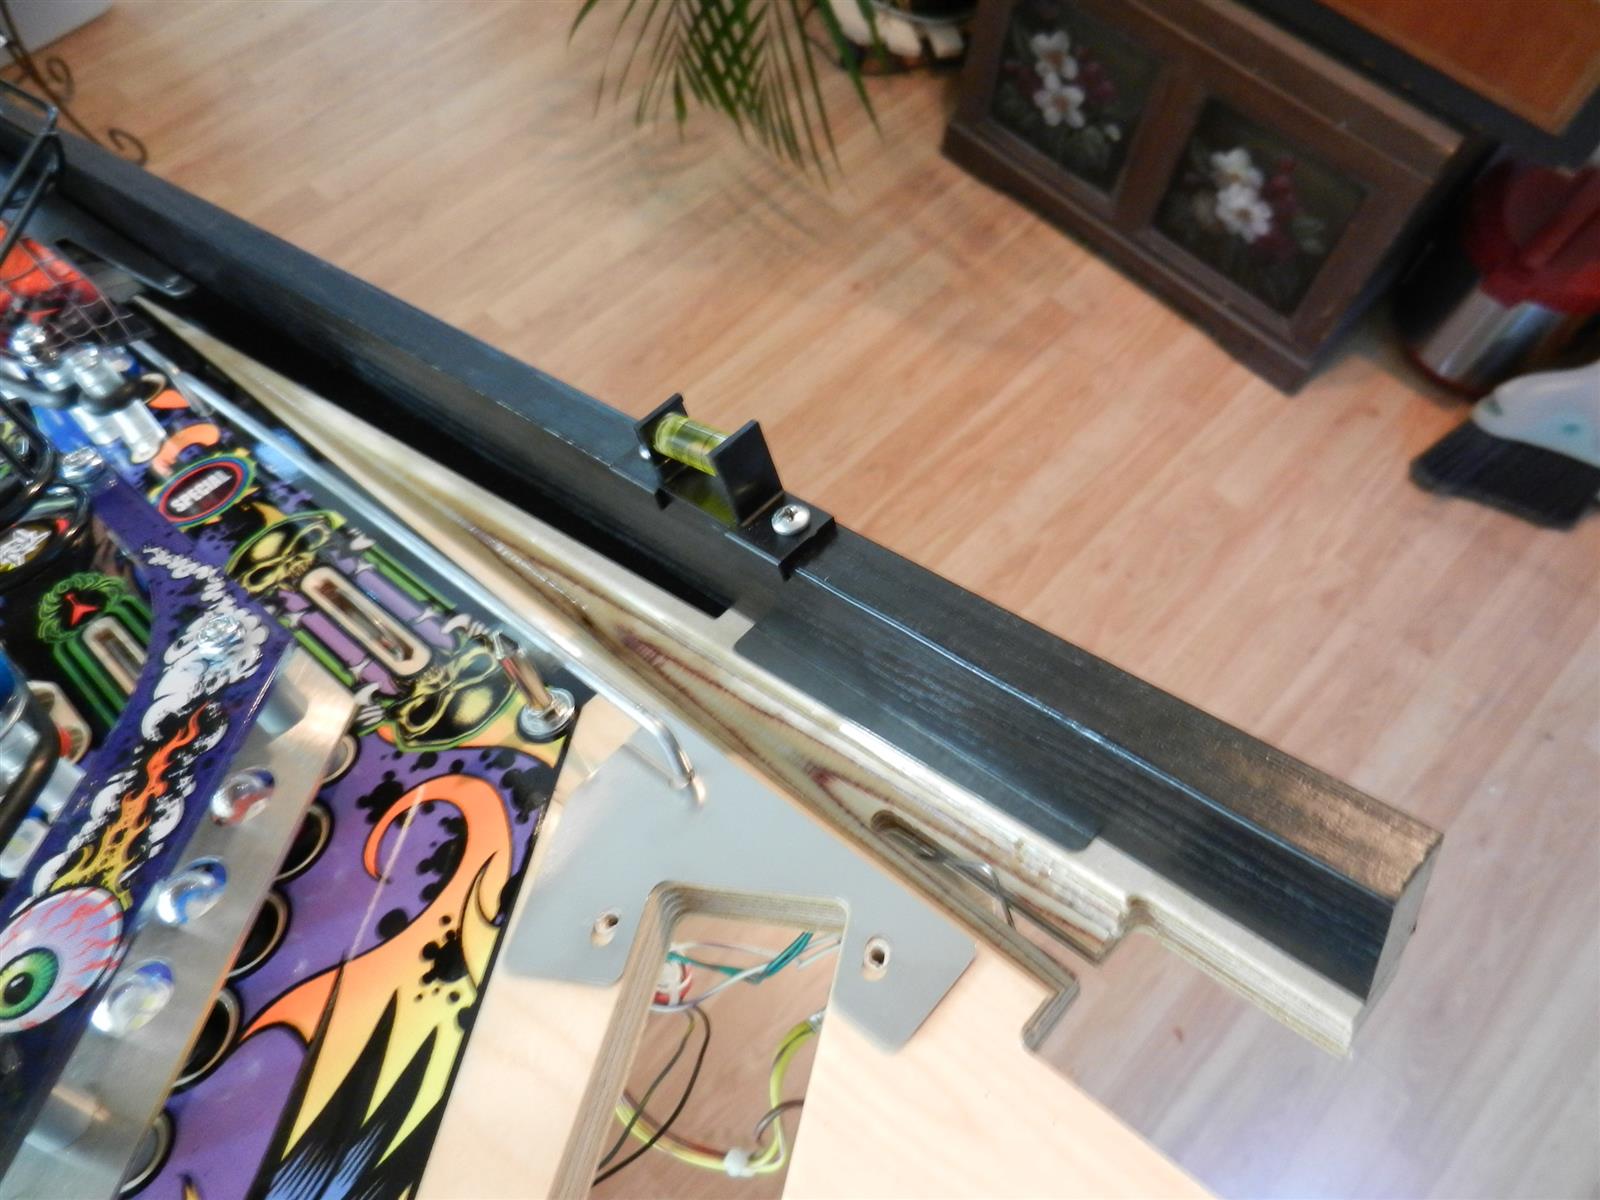
Now let's install the Rail Guard™! The Rail Guard™ is designed to protect your rail and allow the use of the factory bubble level. 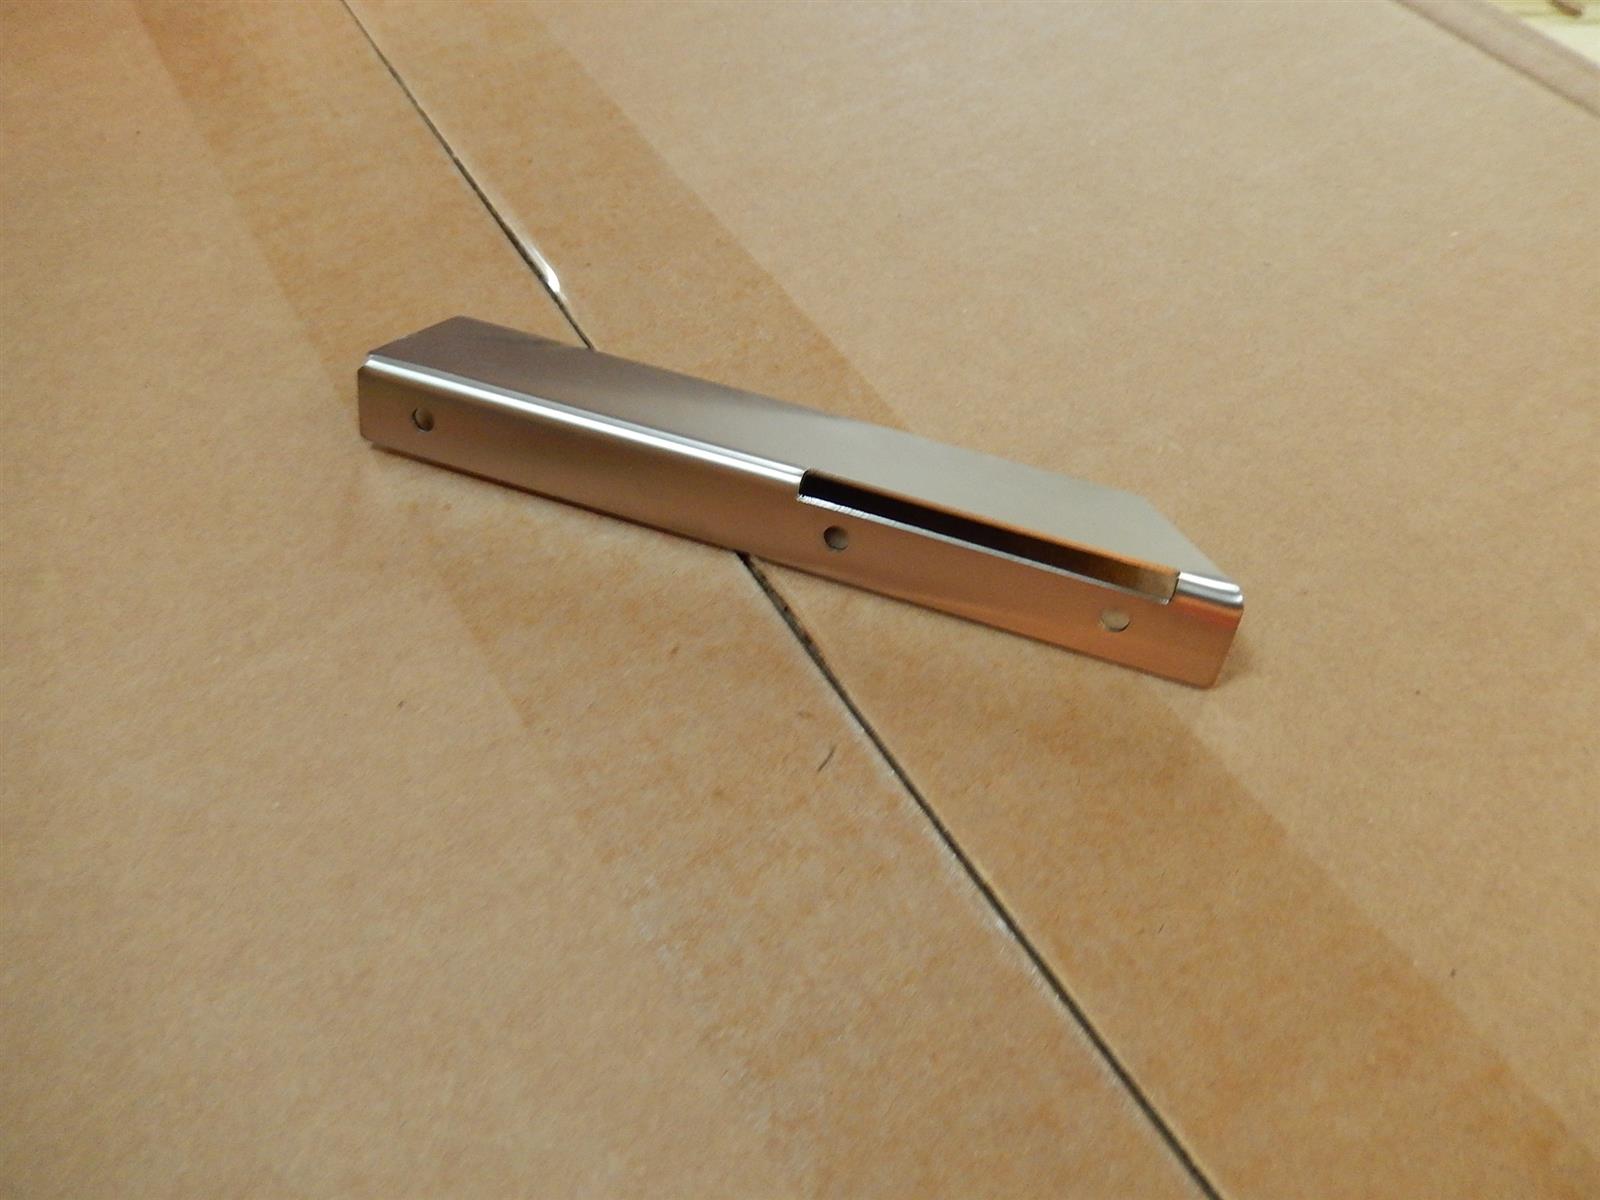
|
Pull the playfield up and rest the playfield supports on the lockbar receiver. |
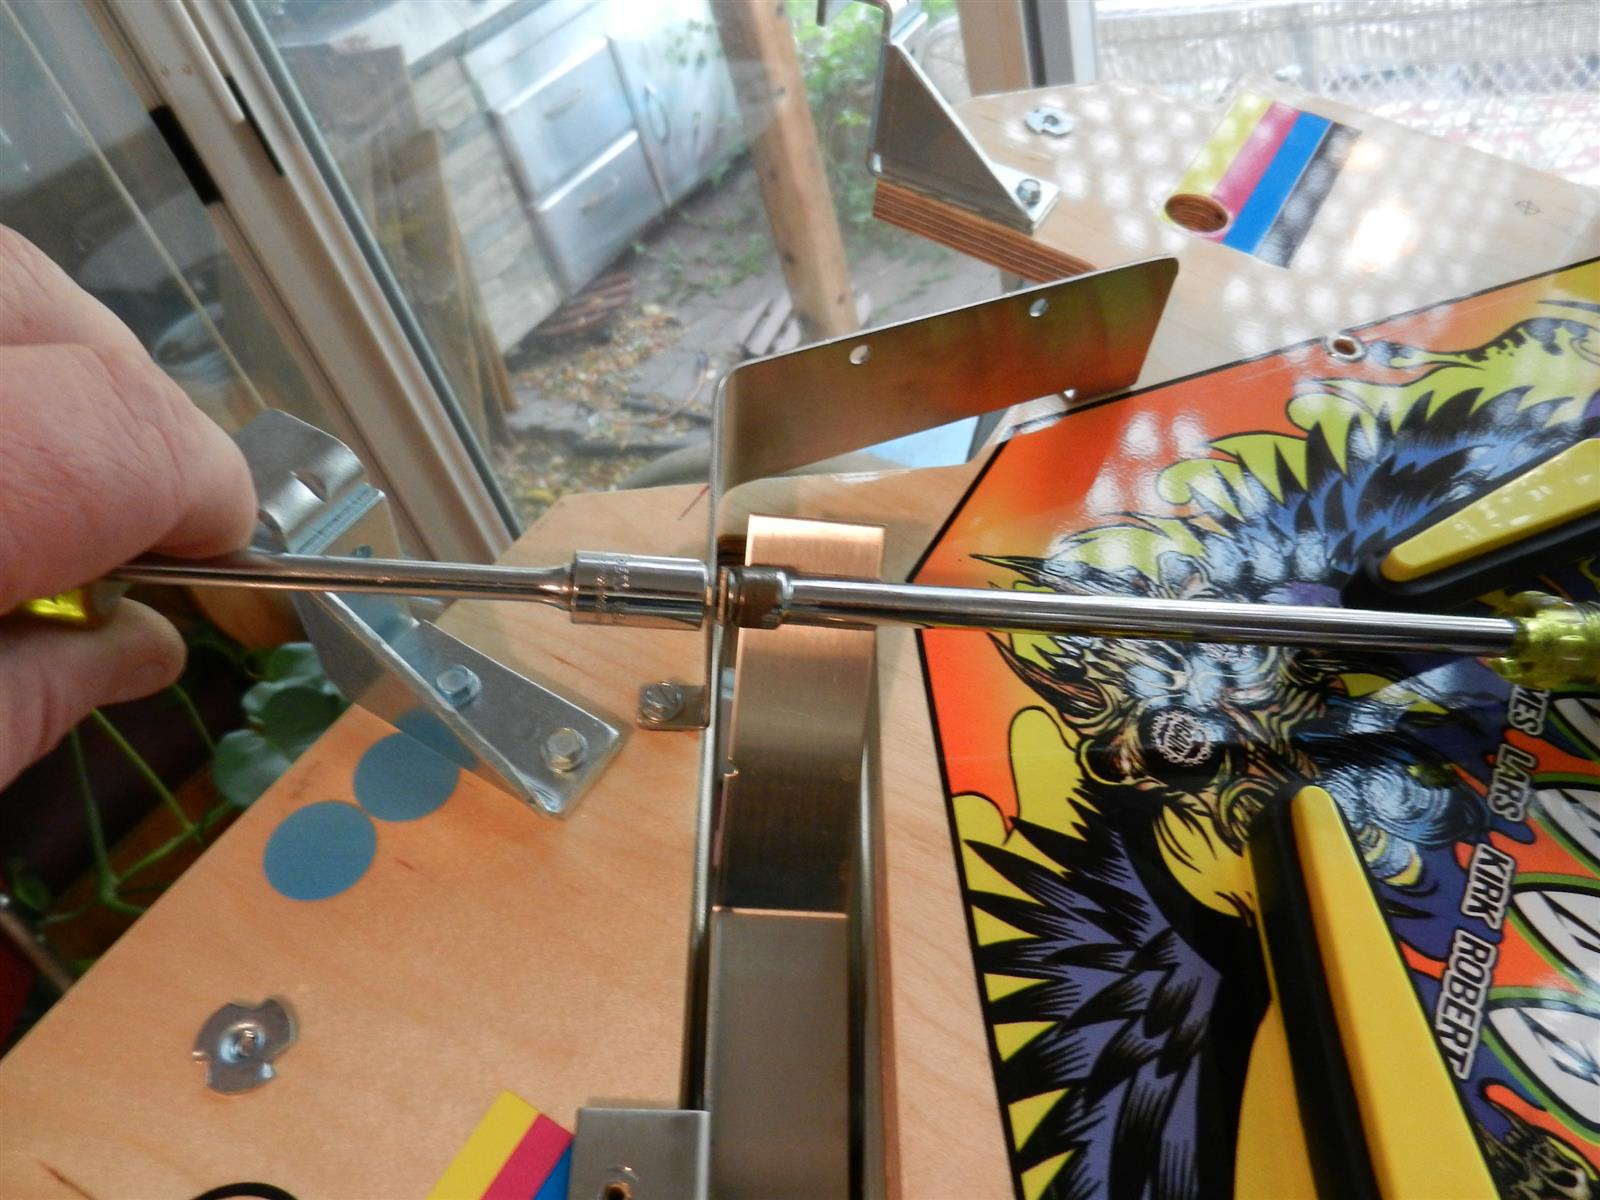
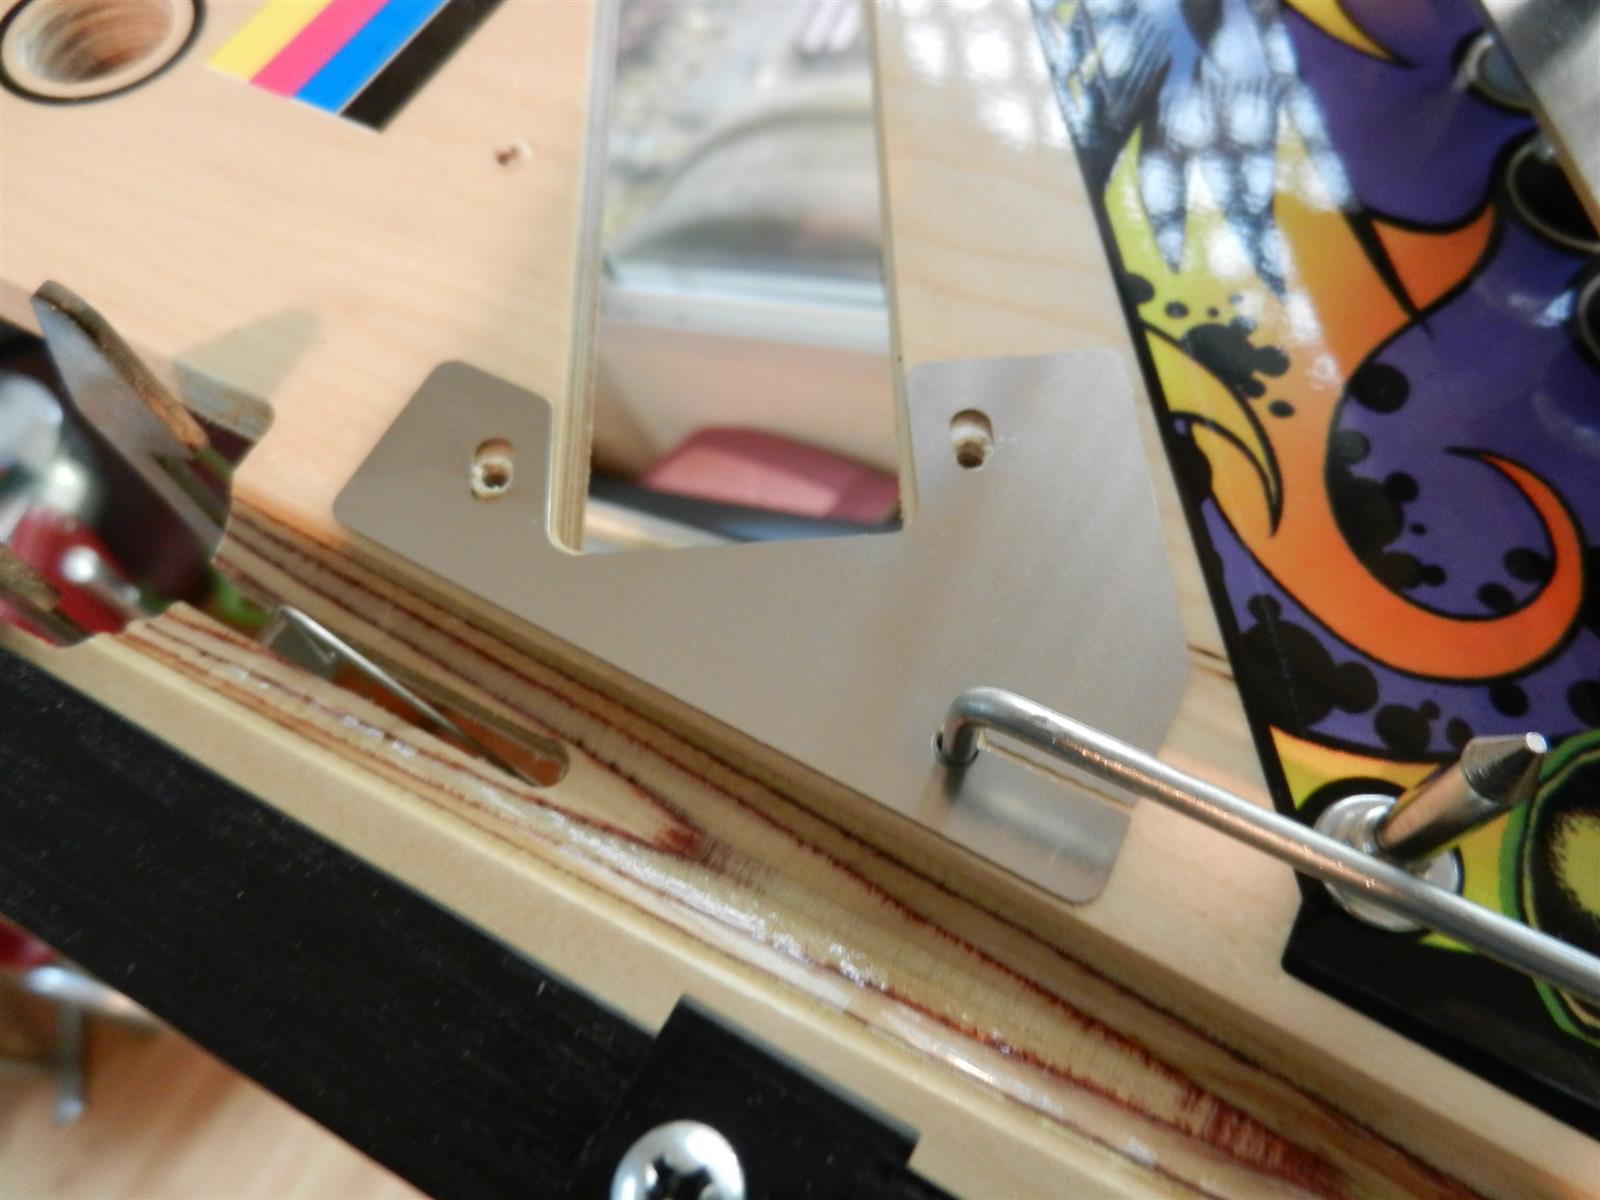
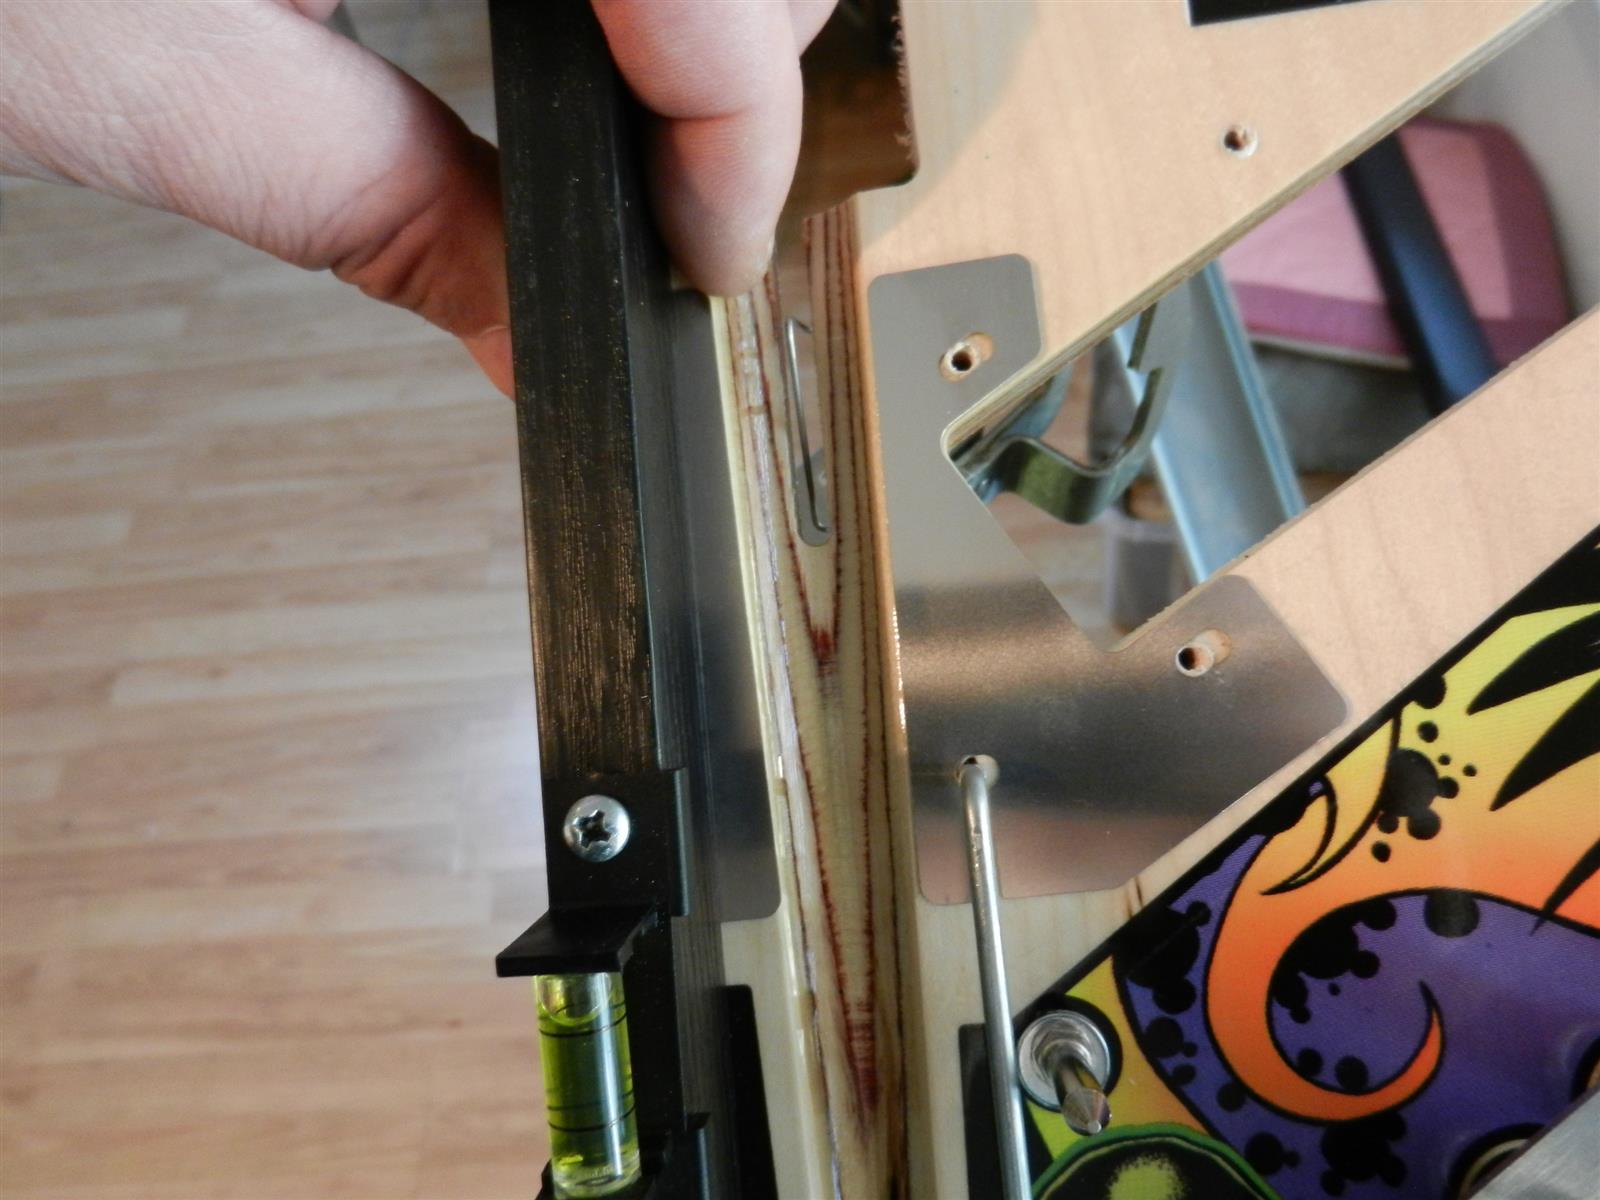
| We need to drill 1 hole in the rail. Use a #40 drill bit in a pin vise. Set your depth to 3/8 (9.5mm). 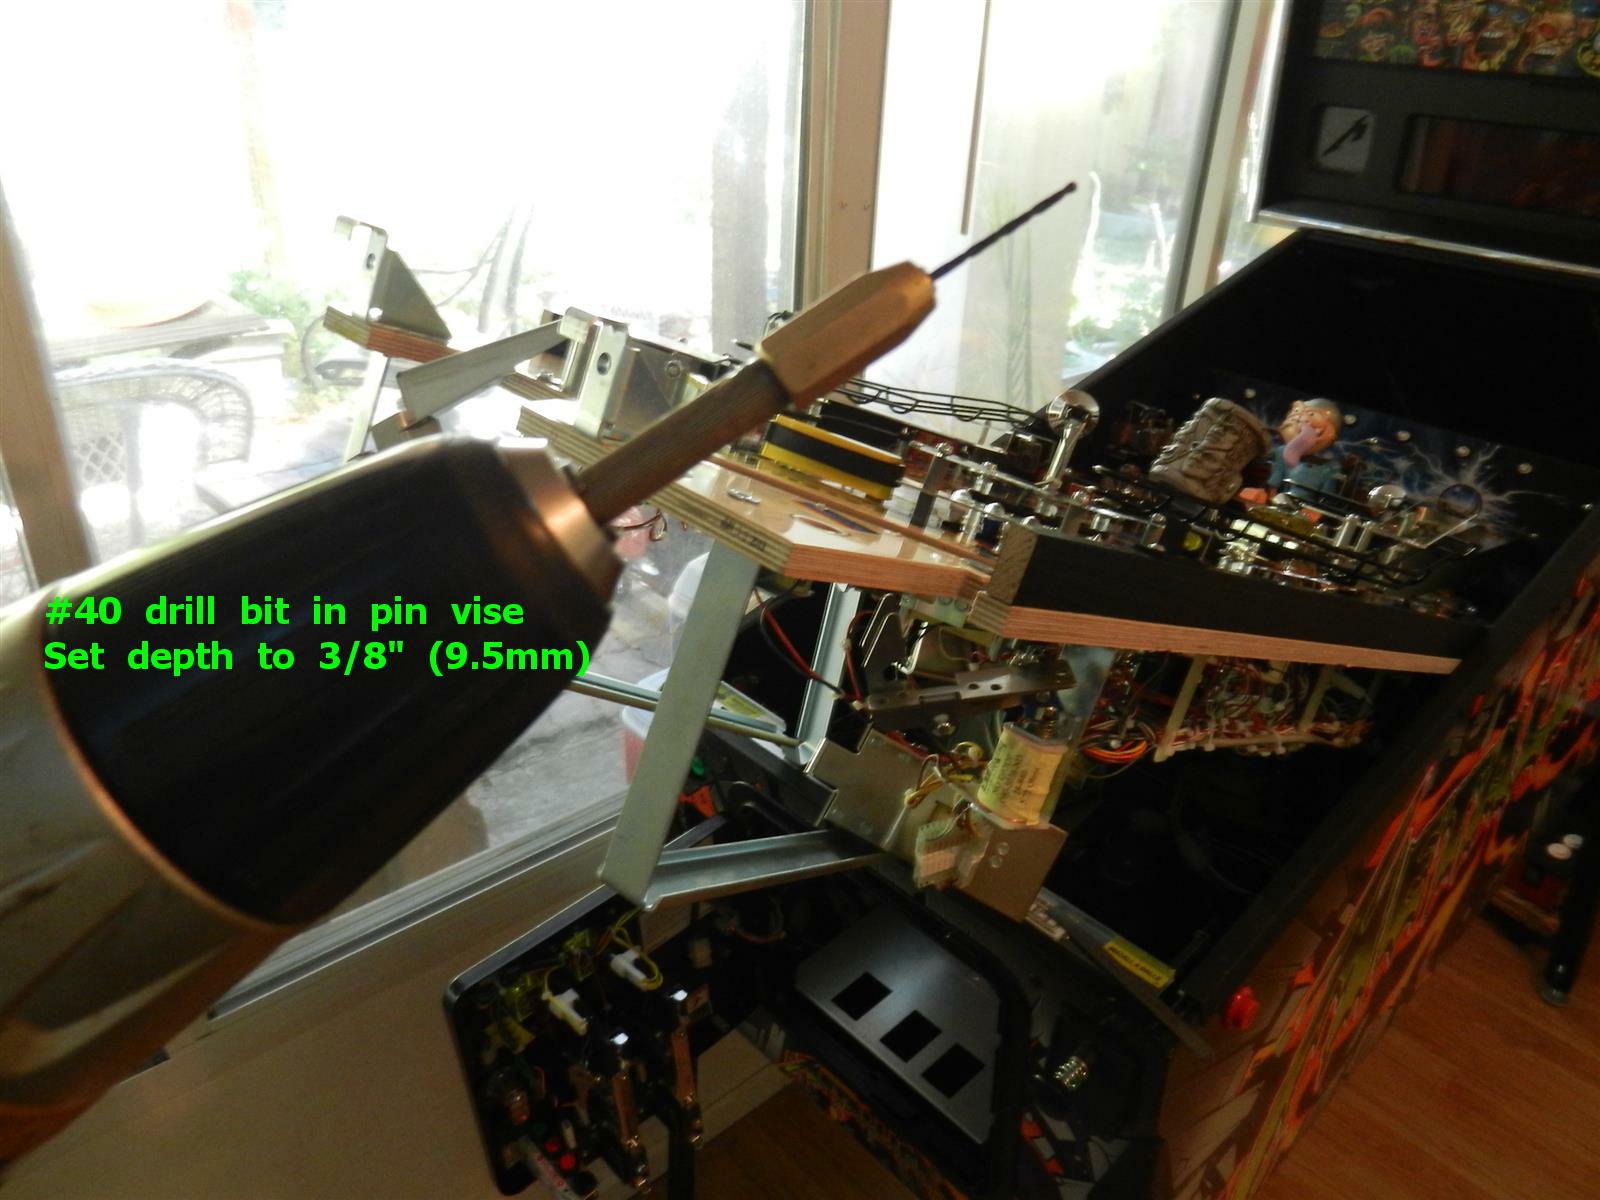 |
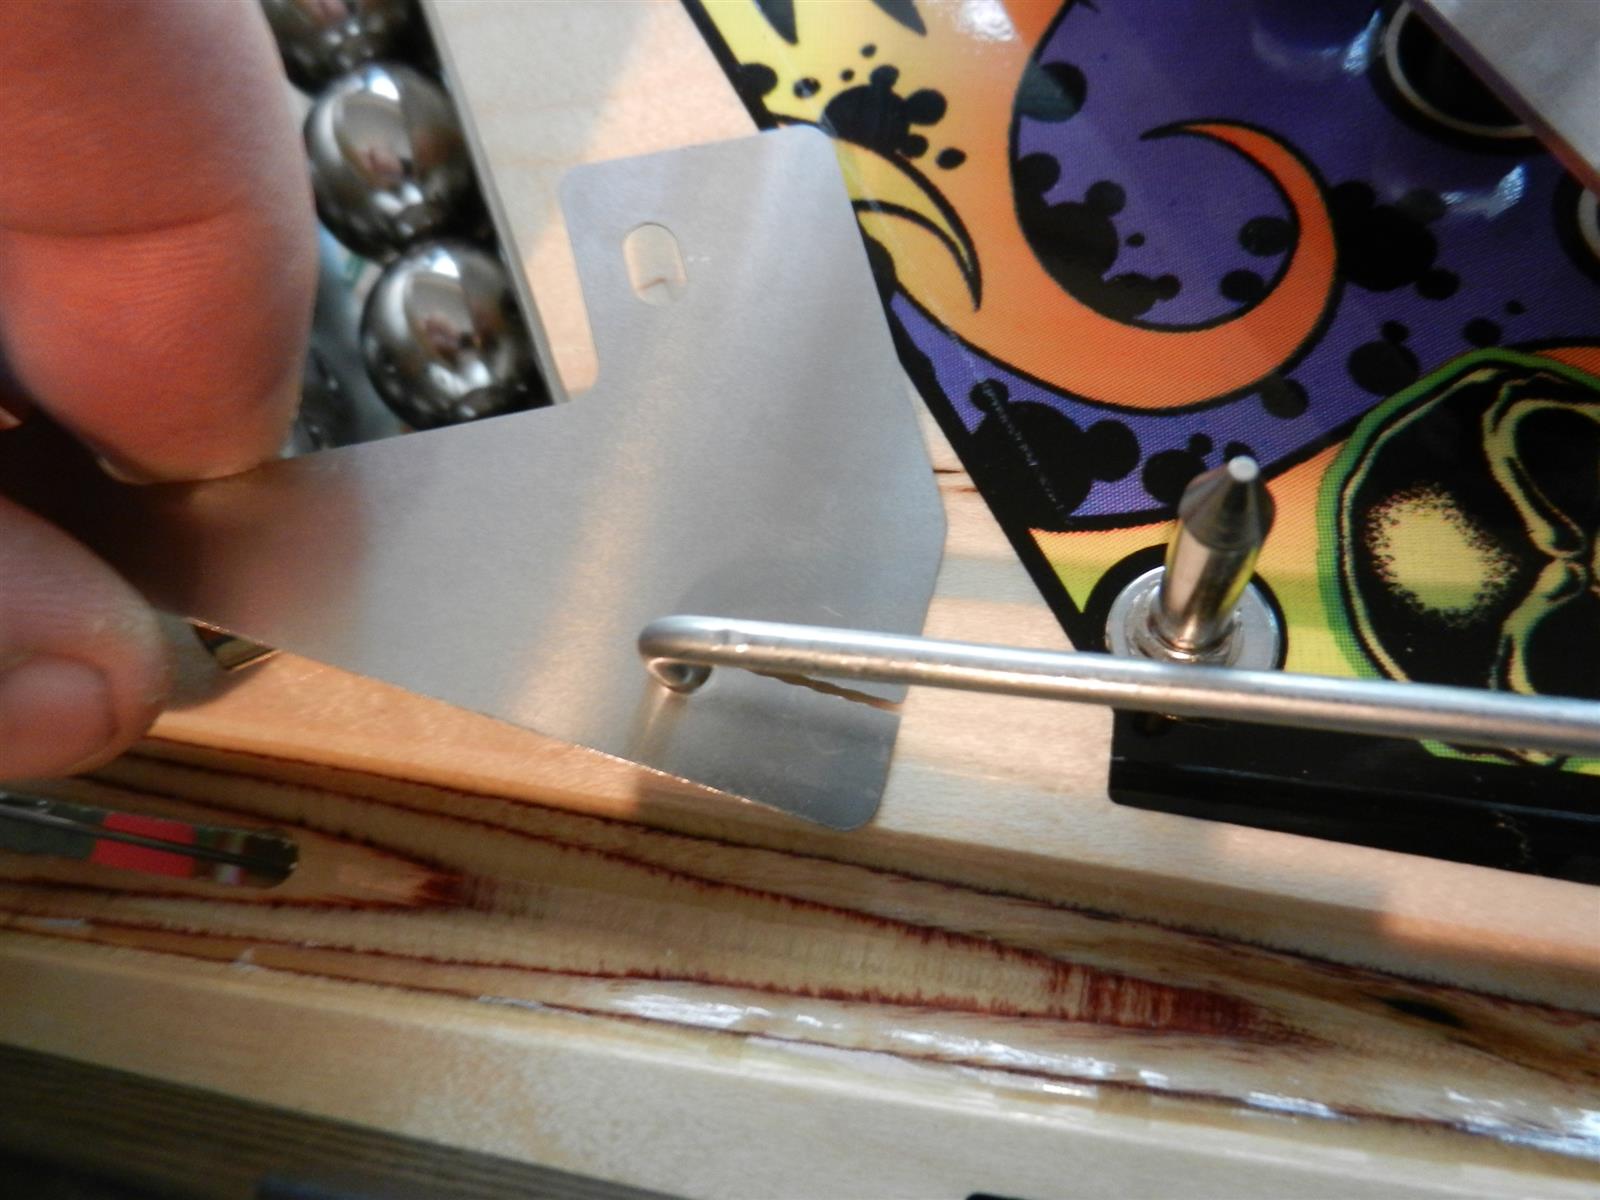
Remove the existing bubble level. Place the Rail Guard™ in position aligning with the existing holes. Drill the #40 hole. 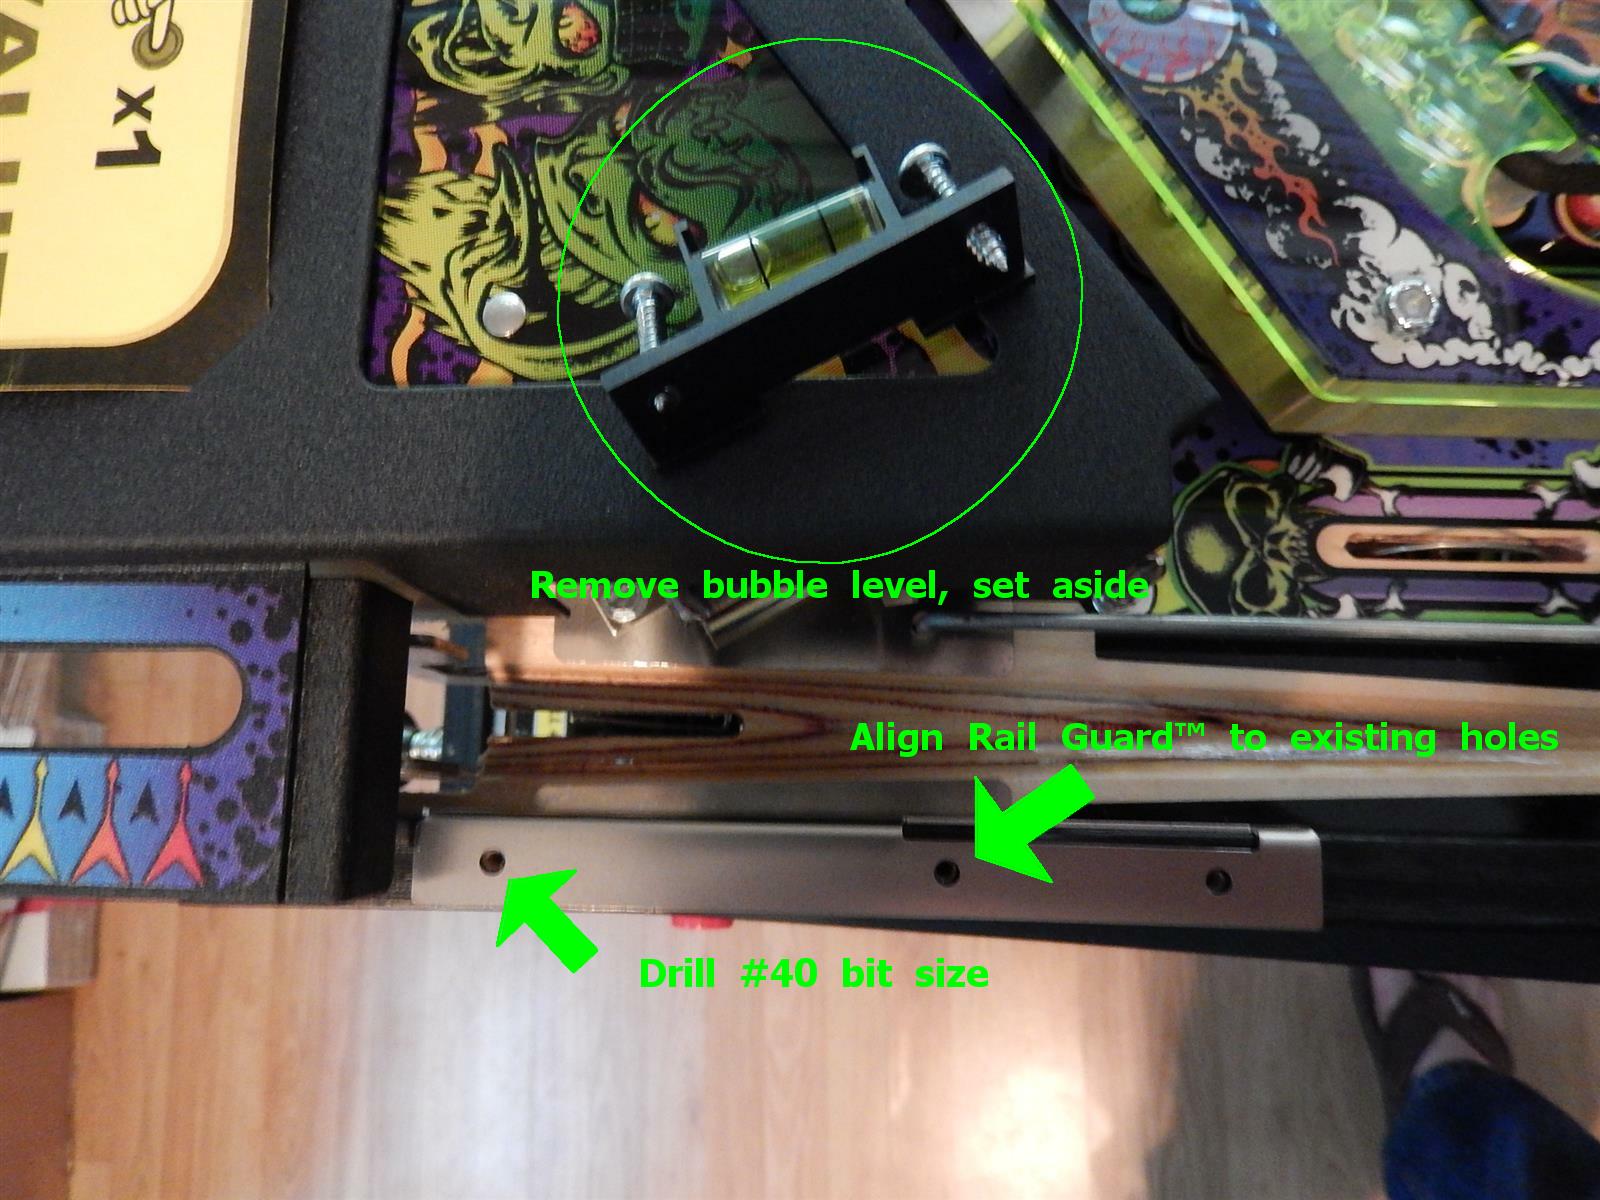 |
Reinstall the bubble level.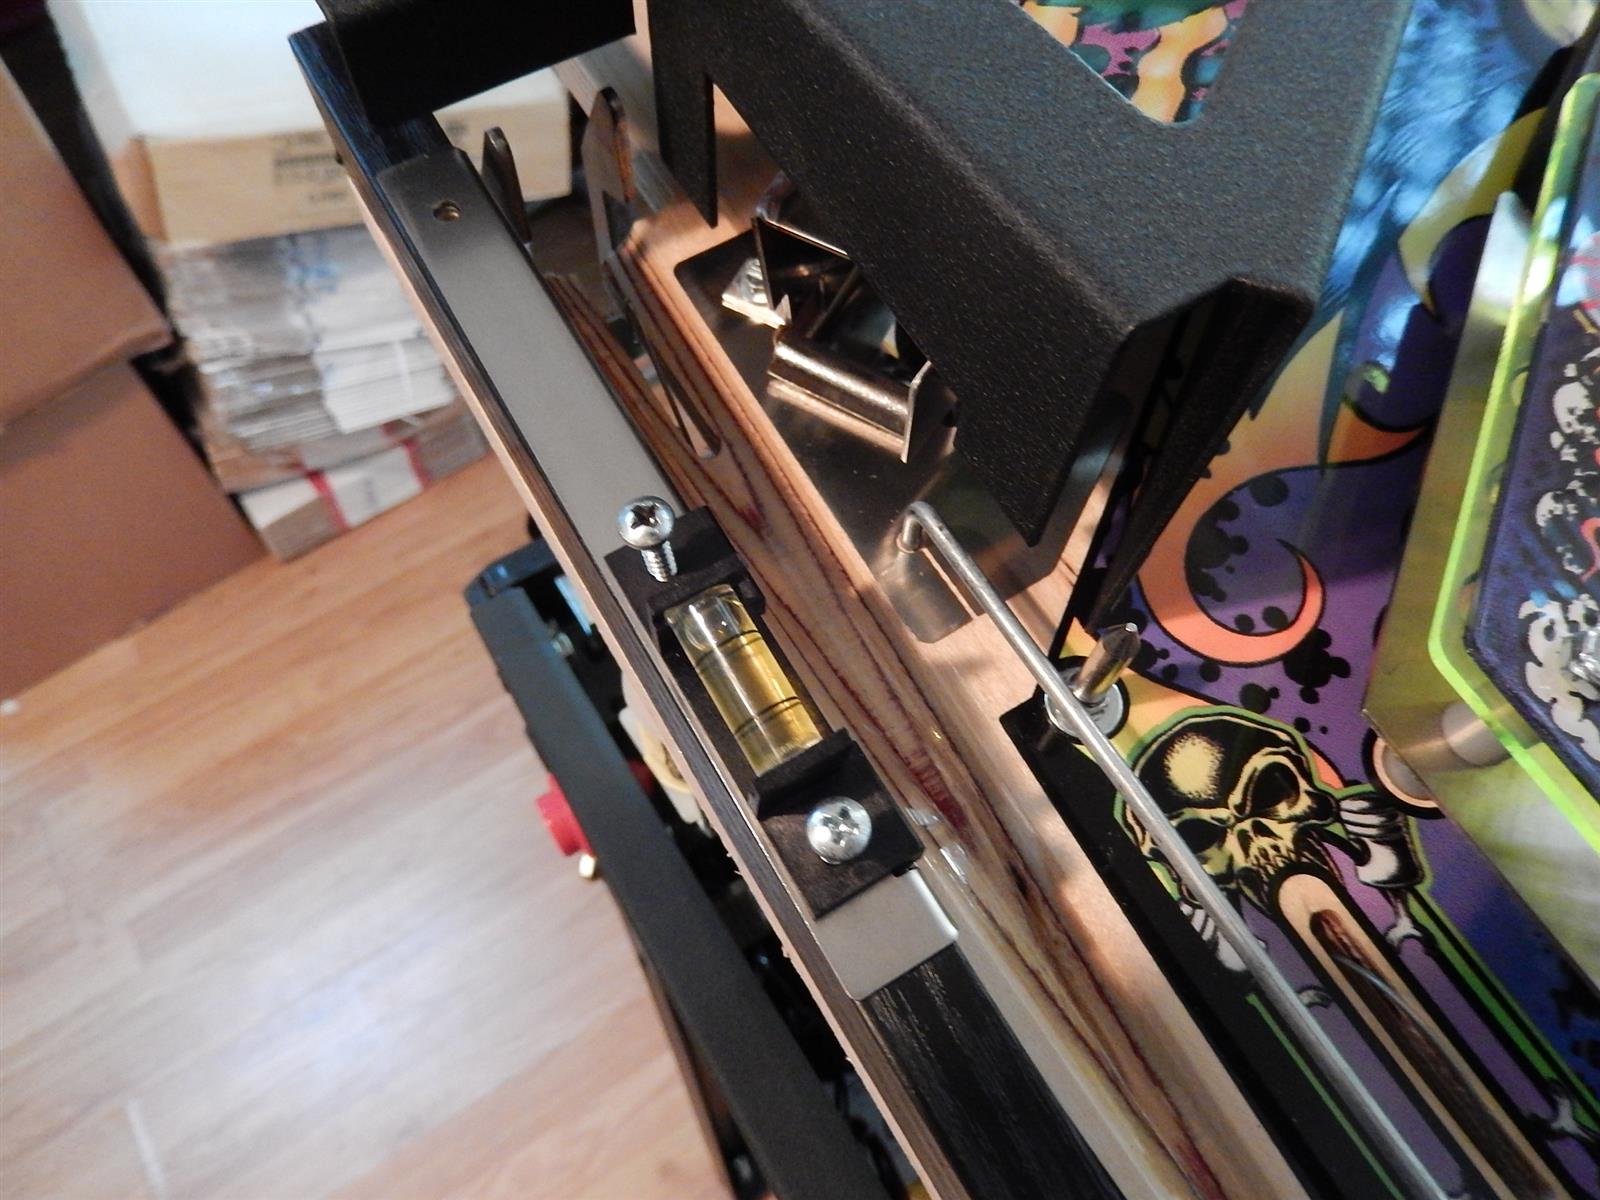 |
Install the provided wood screw in the drilled hole.  |
Admire your handy work!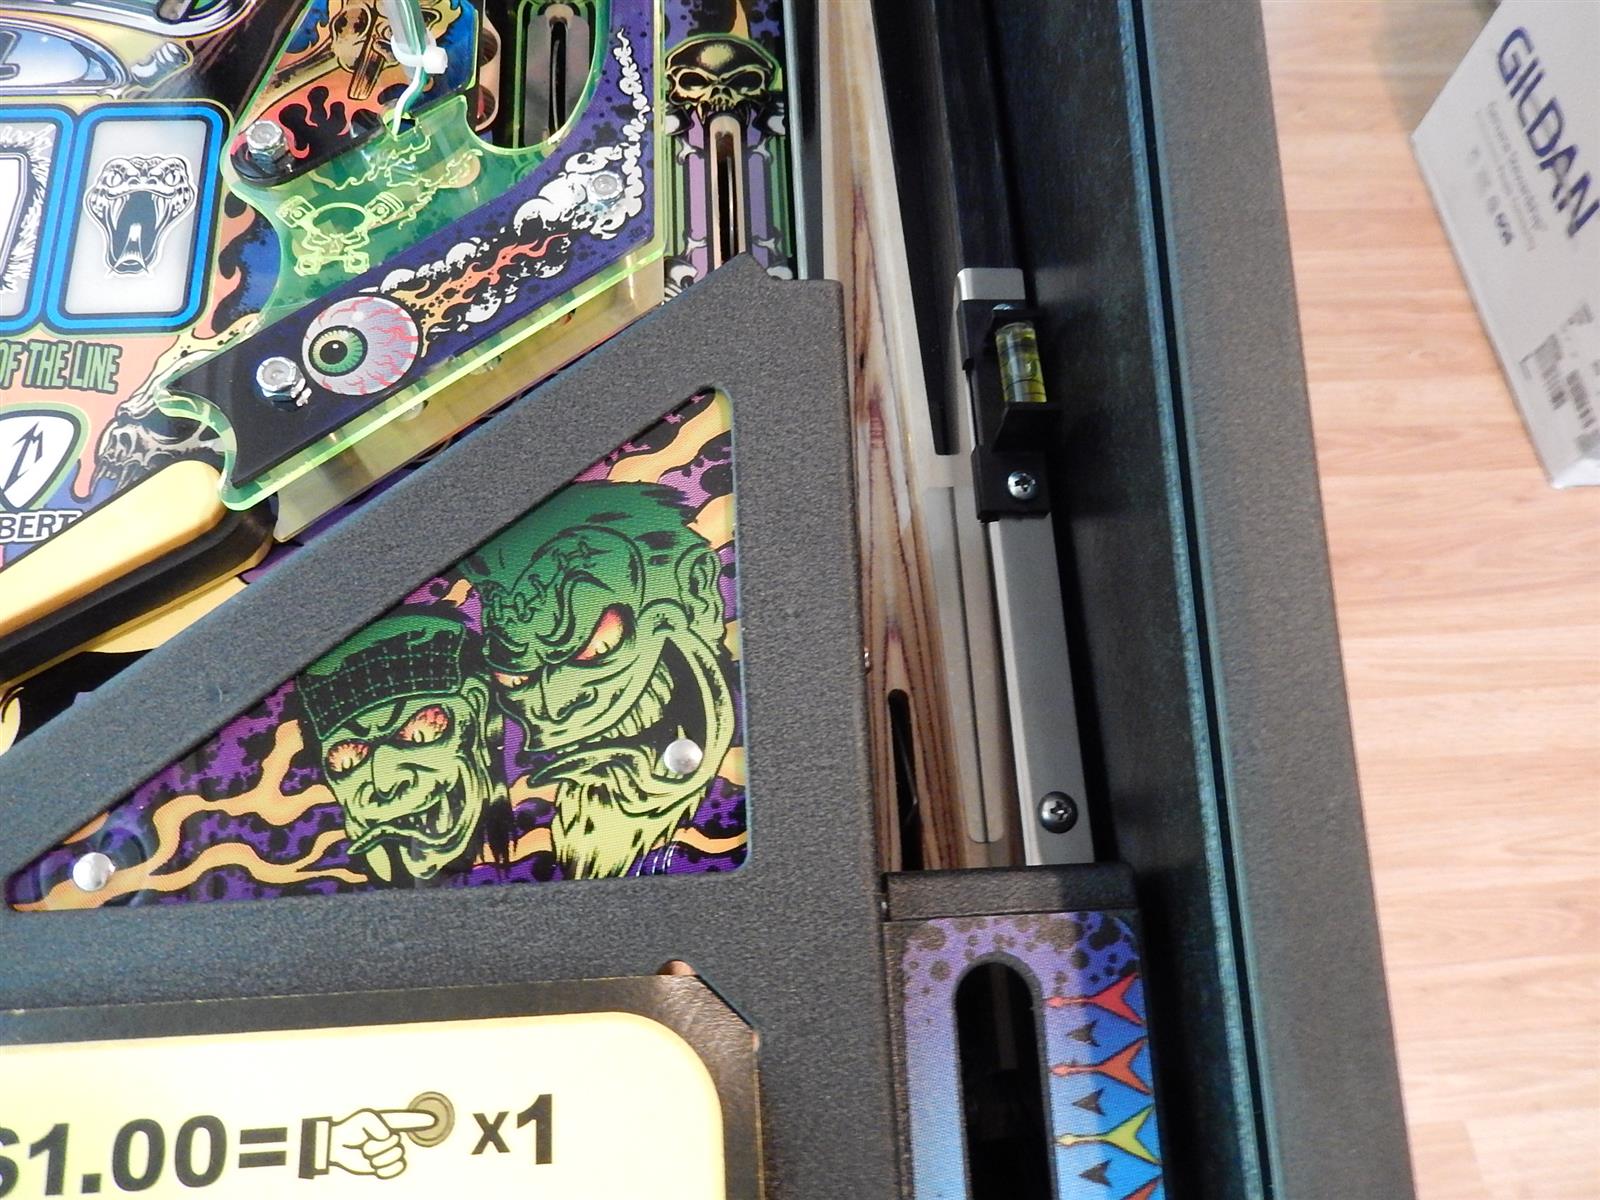 |