
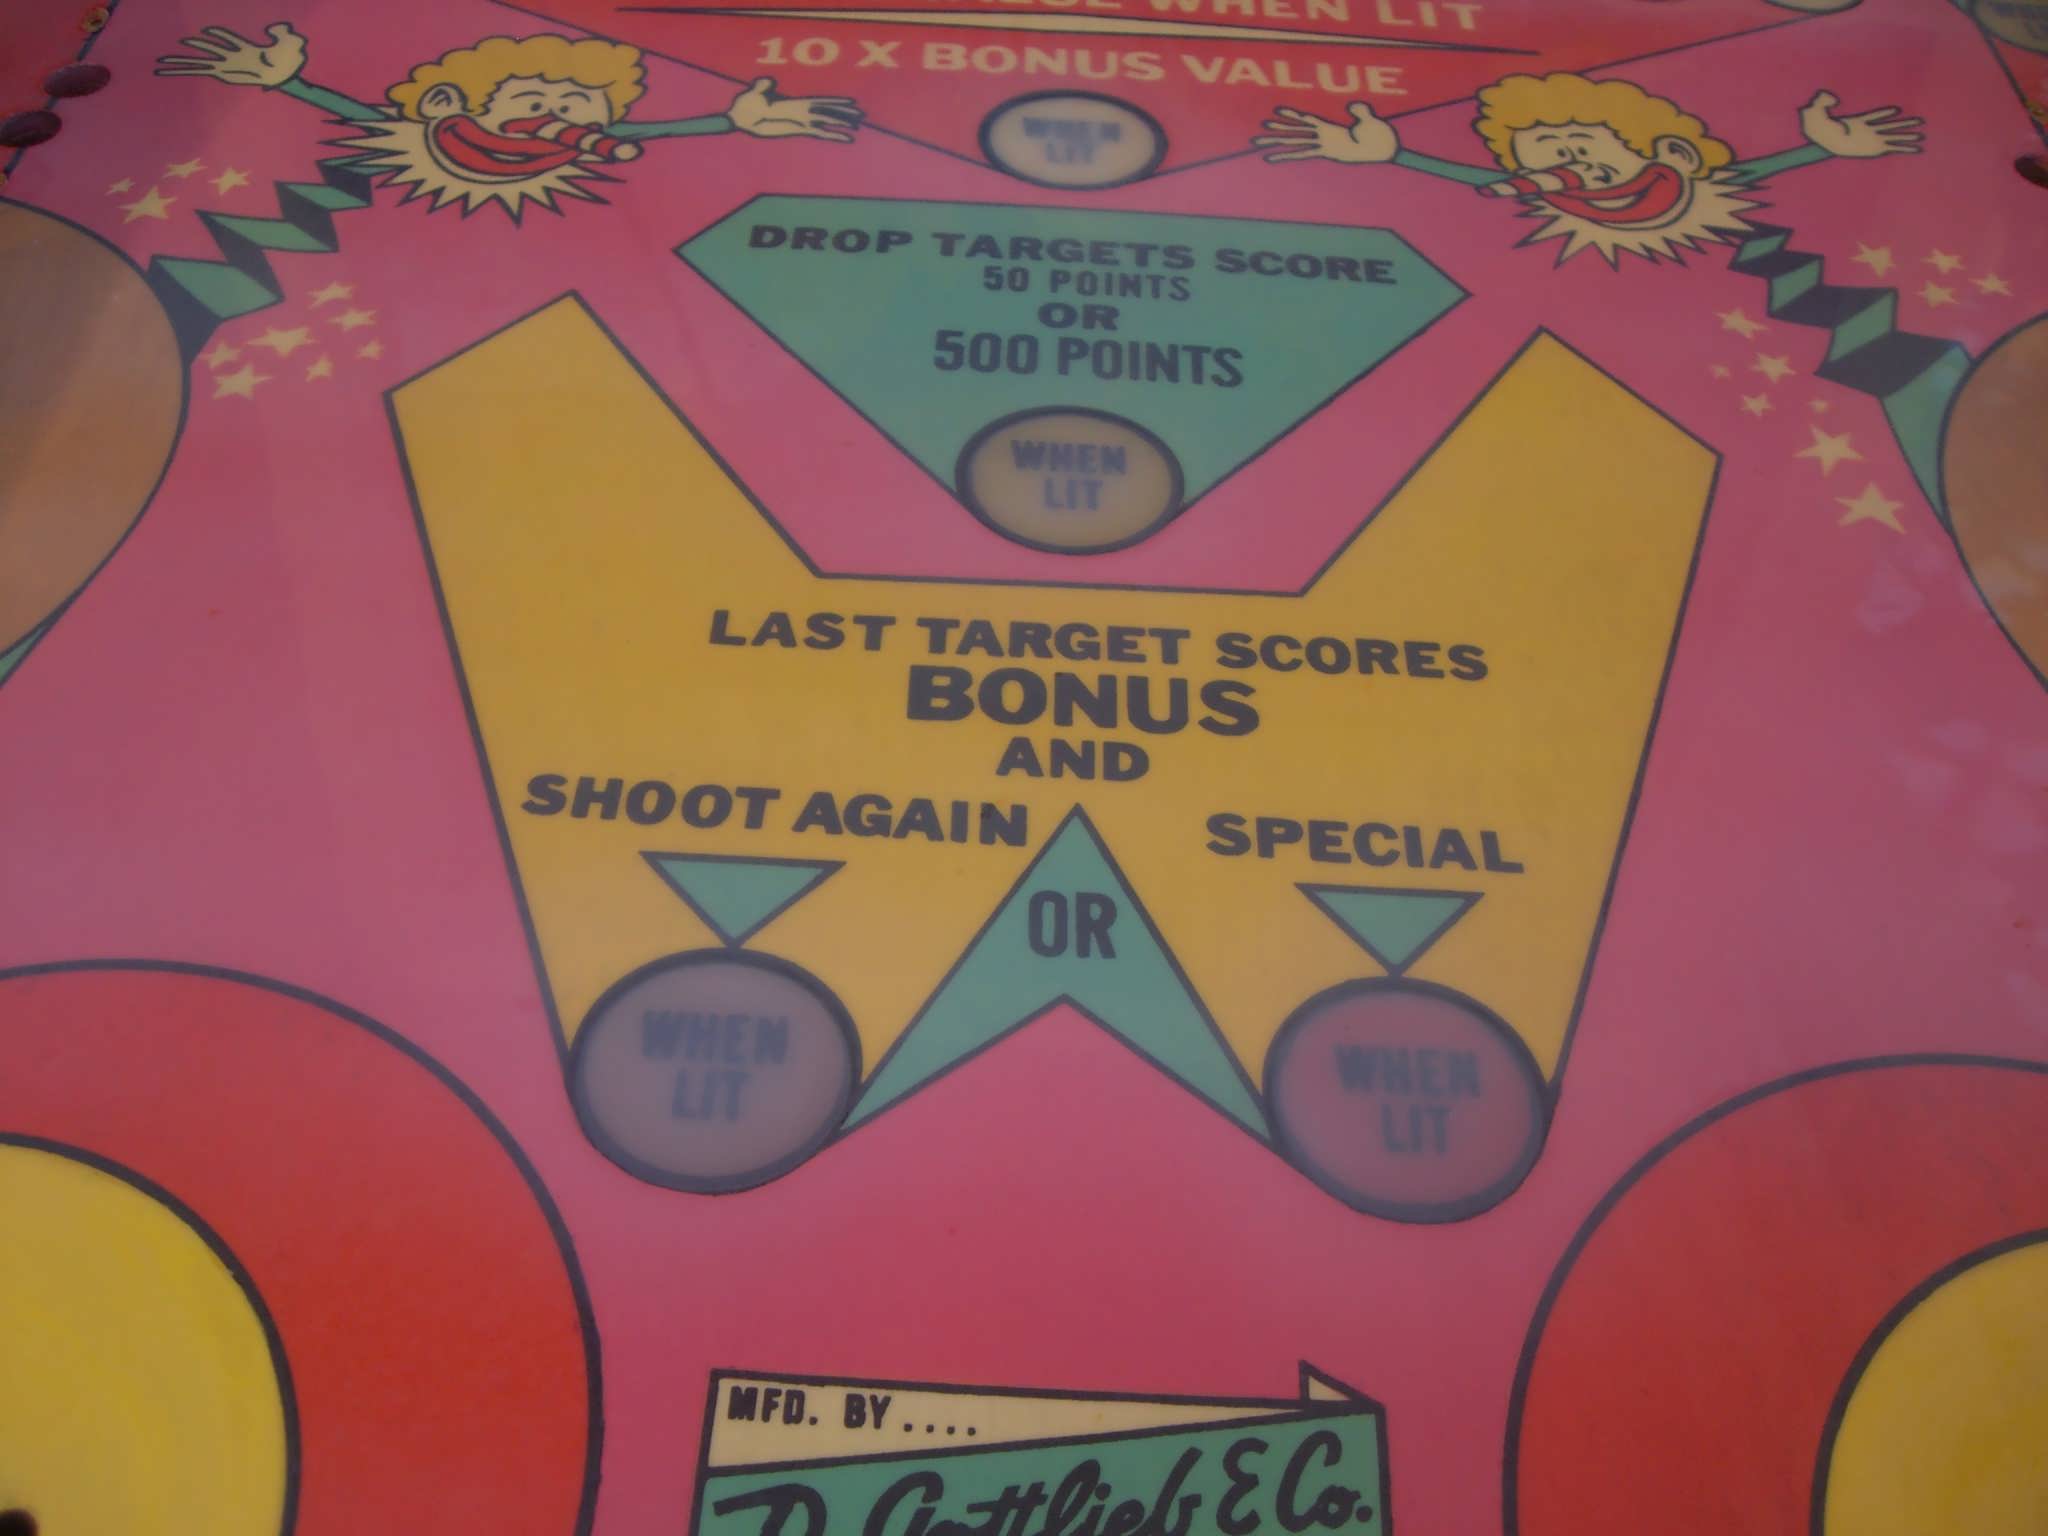
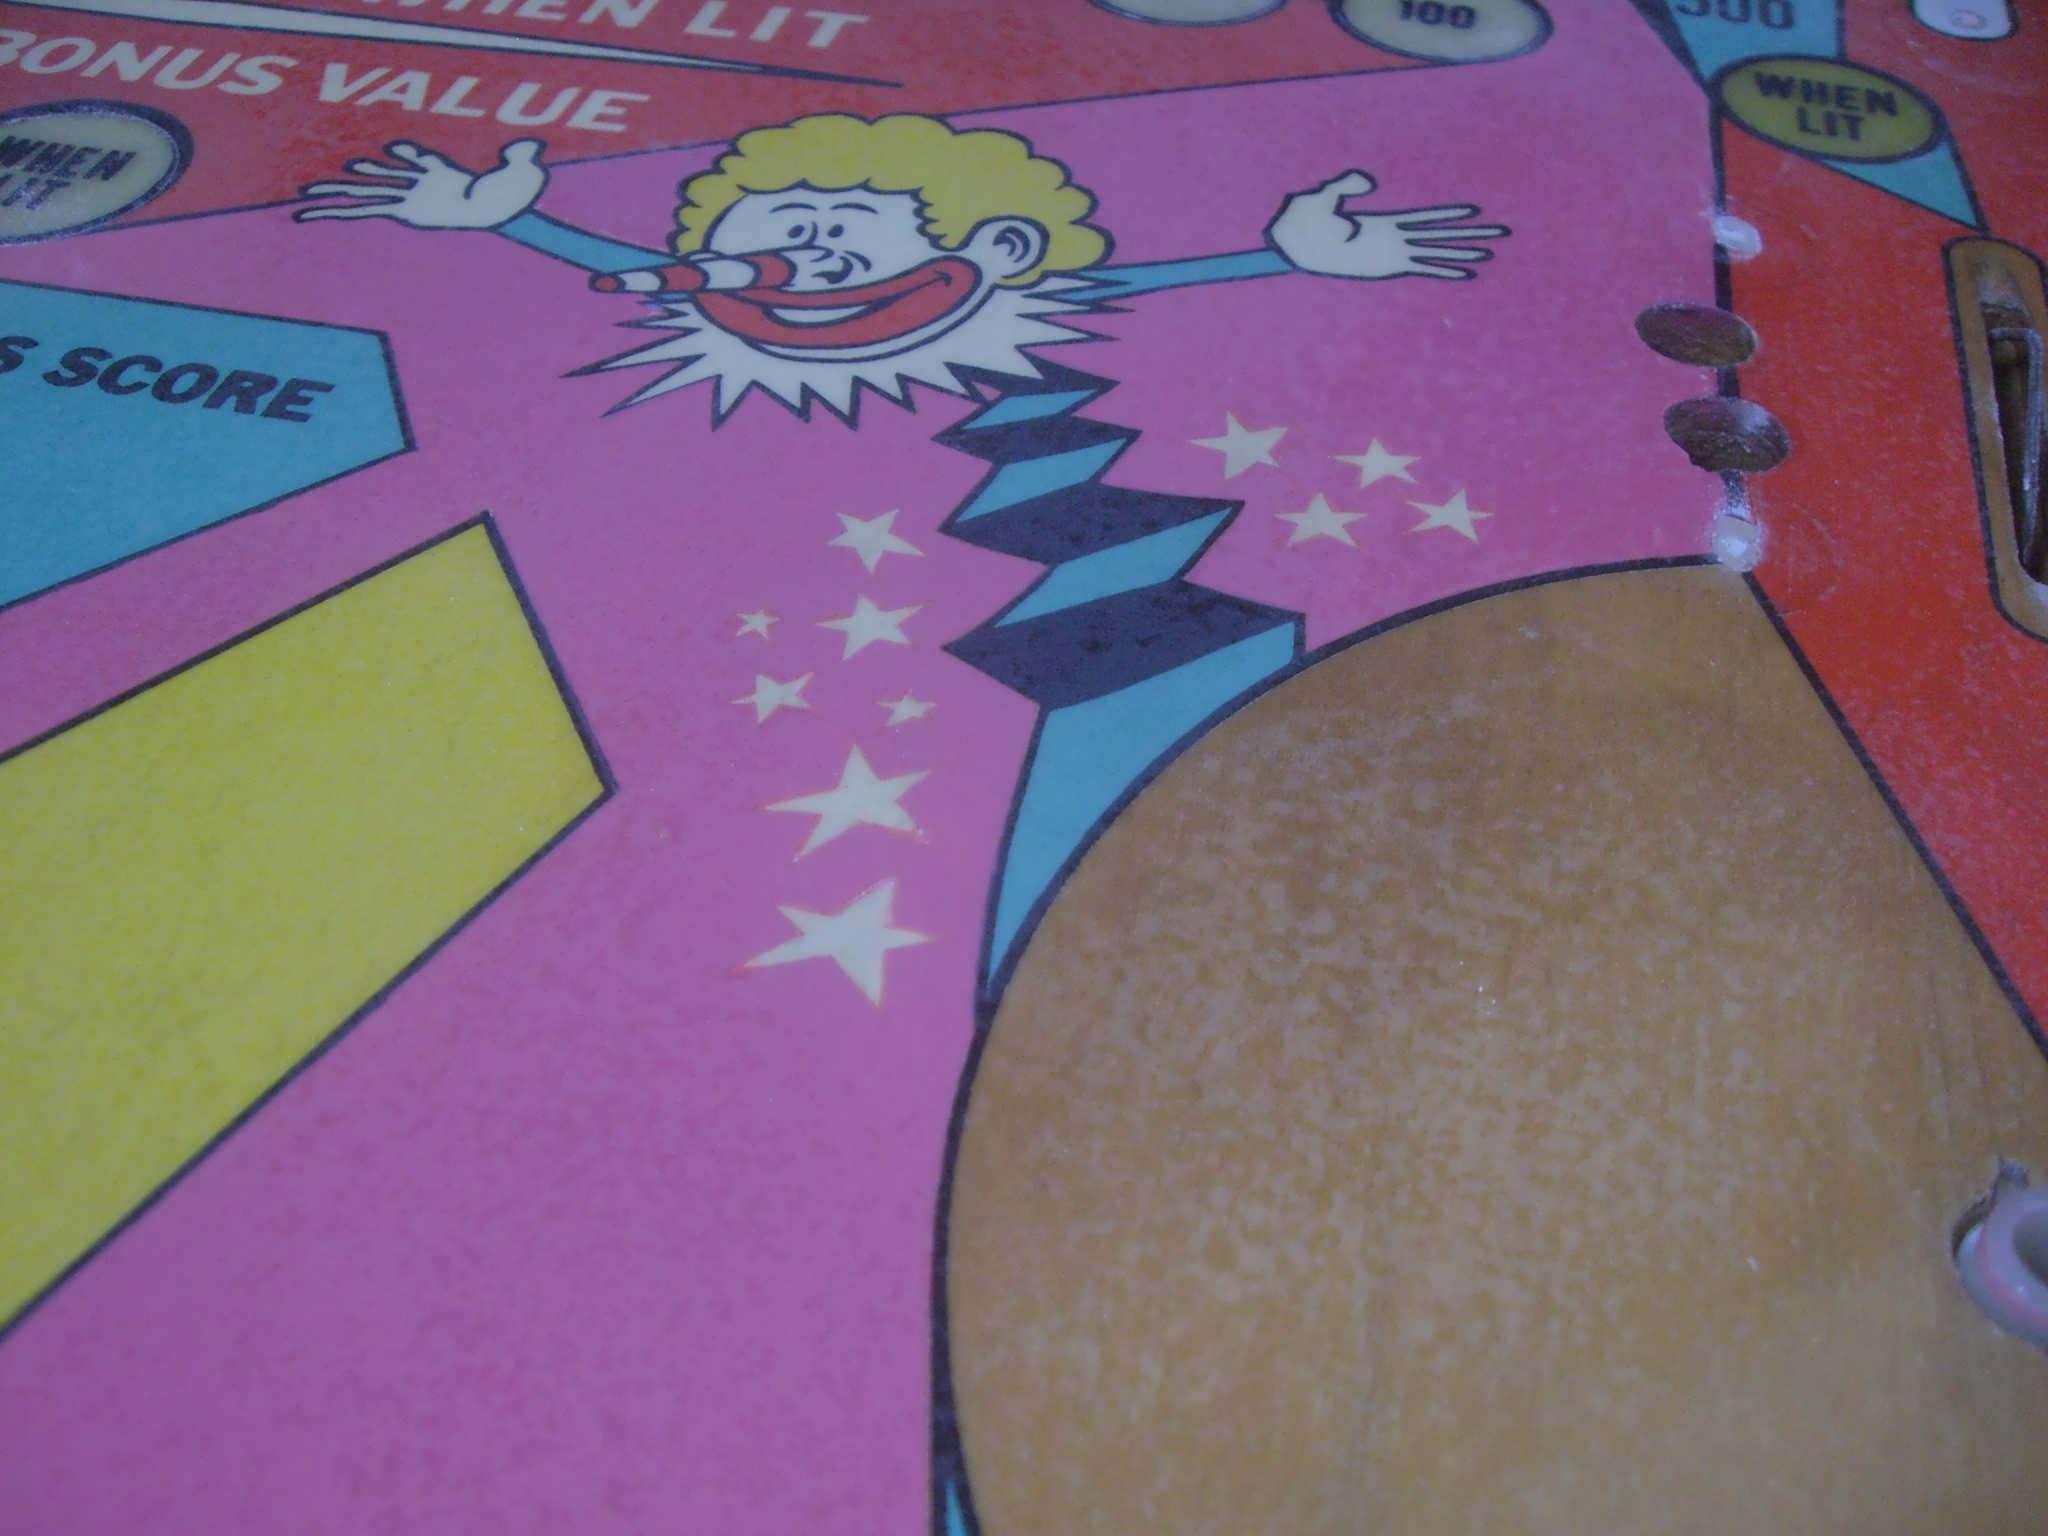
On the previous page we saw the masking and airbrushing. After an hour of dry time I need to start peeling the Frisket masking off. In some places the paint bridged the playfield and masking so I had to lightly score with the Xacto at the mask lines. If you don't the paint may peel up like scotch tape. If you let it cure longer it won't peel up like that but it will be harder to get a clean sharp masked edge.
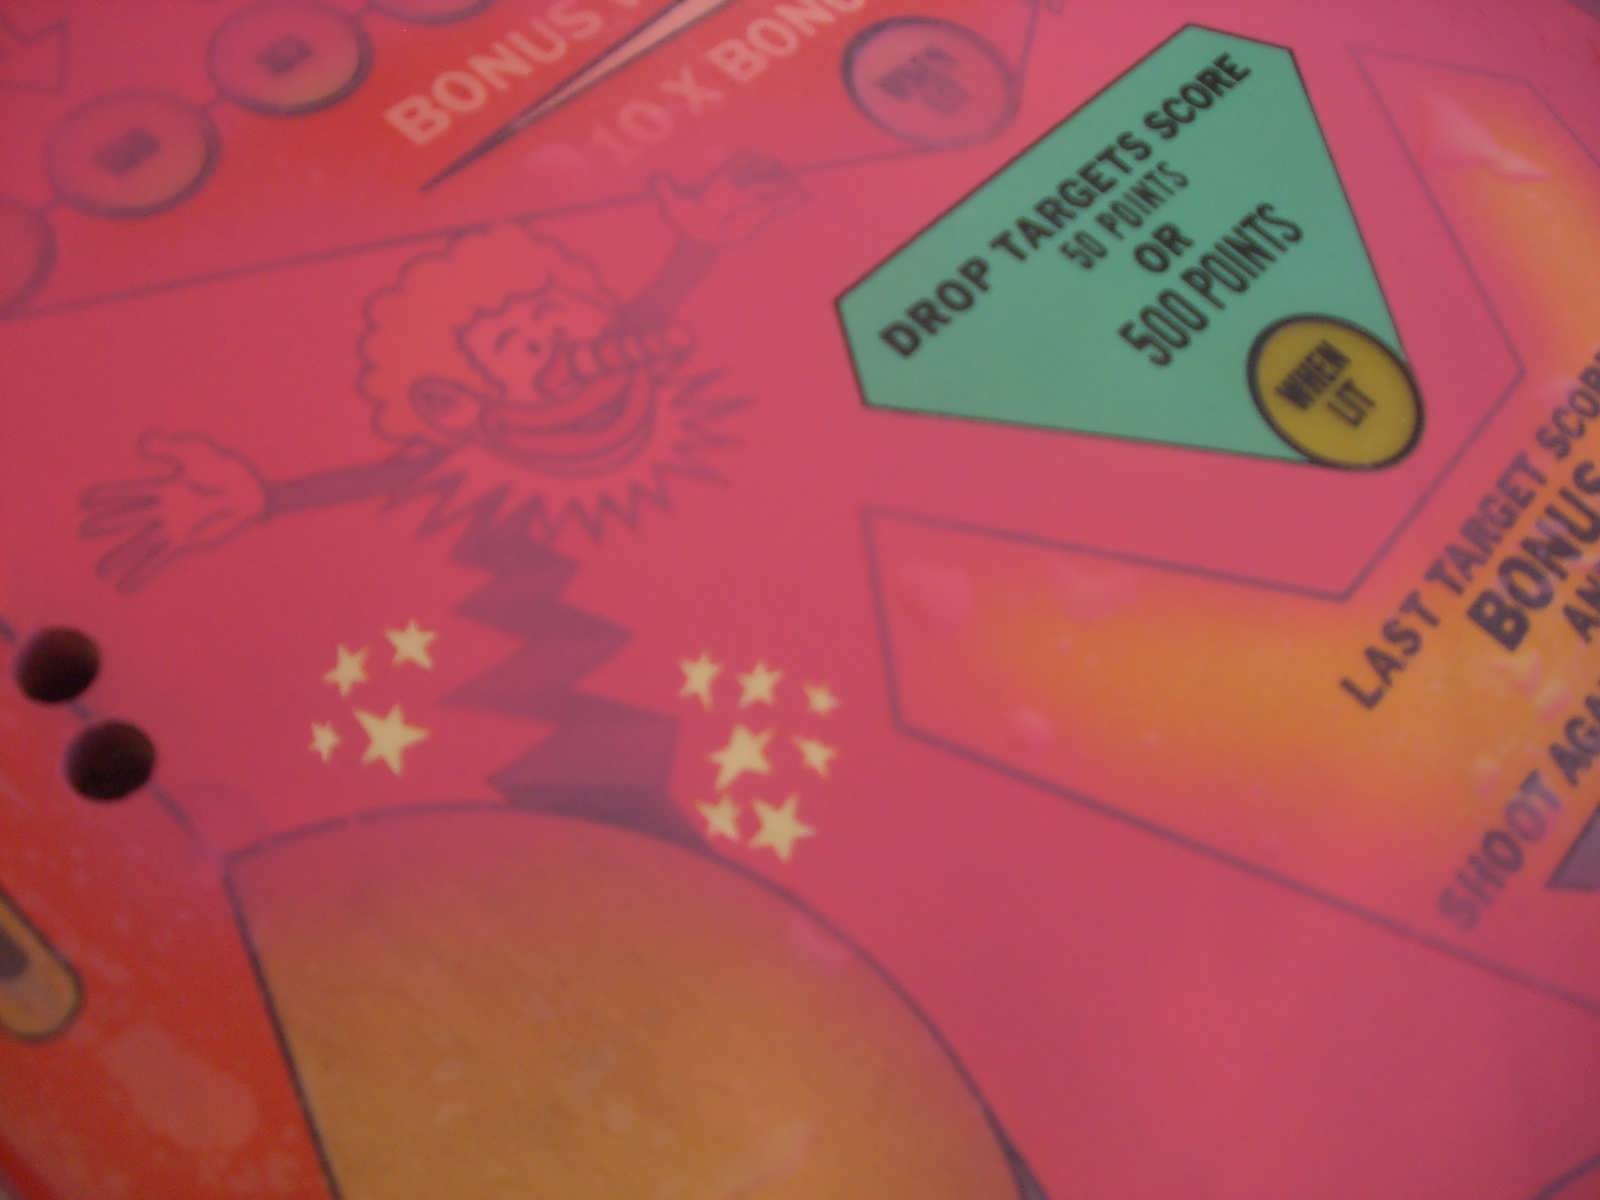


 Masking removed showing a beautiful, even, airbrush job. I
feel so much better already! Now I need to use the Xacto to trim any
over-the-lines stuff away, basically you're just scraping it to the lines. This
is my trick for getting near perfect circles too when painting inserts. A little
trick I learned when I was an avid model railroader in the mid 80's :) So I'll
use a #000 red sable detail brush to paint where the masking wasn't quite right
and trim with the Xacto for overages. At this time I try to straighten any black
lines that need it as well but I use Testors or Rustoleum pure gloss black
enamel for this. Why not use acrylic black? I haven't found one yet that is true
black, that's why :) Anyway, the magical magnifying headgear REALLY helps with
all this tiny detail work. They are inexpensive and I need to thank my friend
Martin Reynolds for tossing one to me a long
while back. It is very useful for many things! All detail touchups done, it's
time to protect it all with Varathane. Yeah. Don't think for a minute that I
wasn't a little hesitant to do this again :)
Masking removed showing a beautiful, even, airbrush job. I
feel so much better already! Now I need to use the Xacto to trim any
over-the-lines stuff away, basically you're just scraping it to the lines. This
is my trick for getting near perfect circles too when painting inserts. A little
trick I learned when I was an avid model railroader in the mid 80's :) So I'll
use a #000 red sable detail brush to paint where the masking wasn't quite right
and trim with the Xacto for overages. At this time I try to straighten any black
lines that need it as well but I use Testors or Rustoleum pure gloss black
enamel for this. Why not use acrylic black? I haven't found one yet that is true
black, that's why :) Anyway, the magical magnifying headgear REALLY helps with
all this tiny detail work. They are inexpensive and I need to thank my friend
Martin Reynolds for tossing one to me a long
while back. It is very useful for many things! All detail touchups done, it's
time to protect it all with Varathane. Yeah. Don't think for a minute that I
wasn't a little hesitant to do this again :)

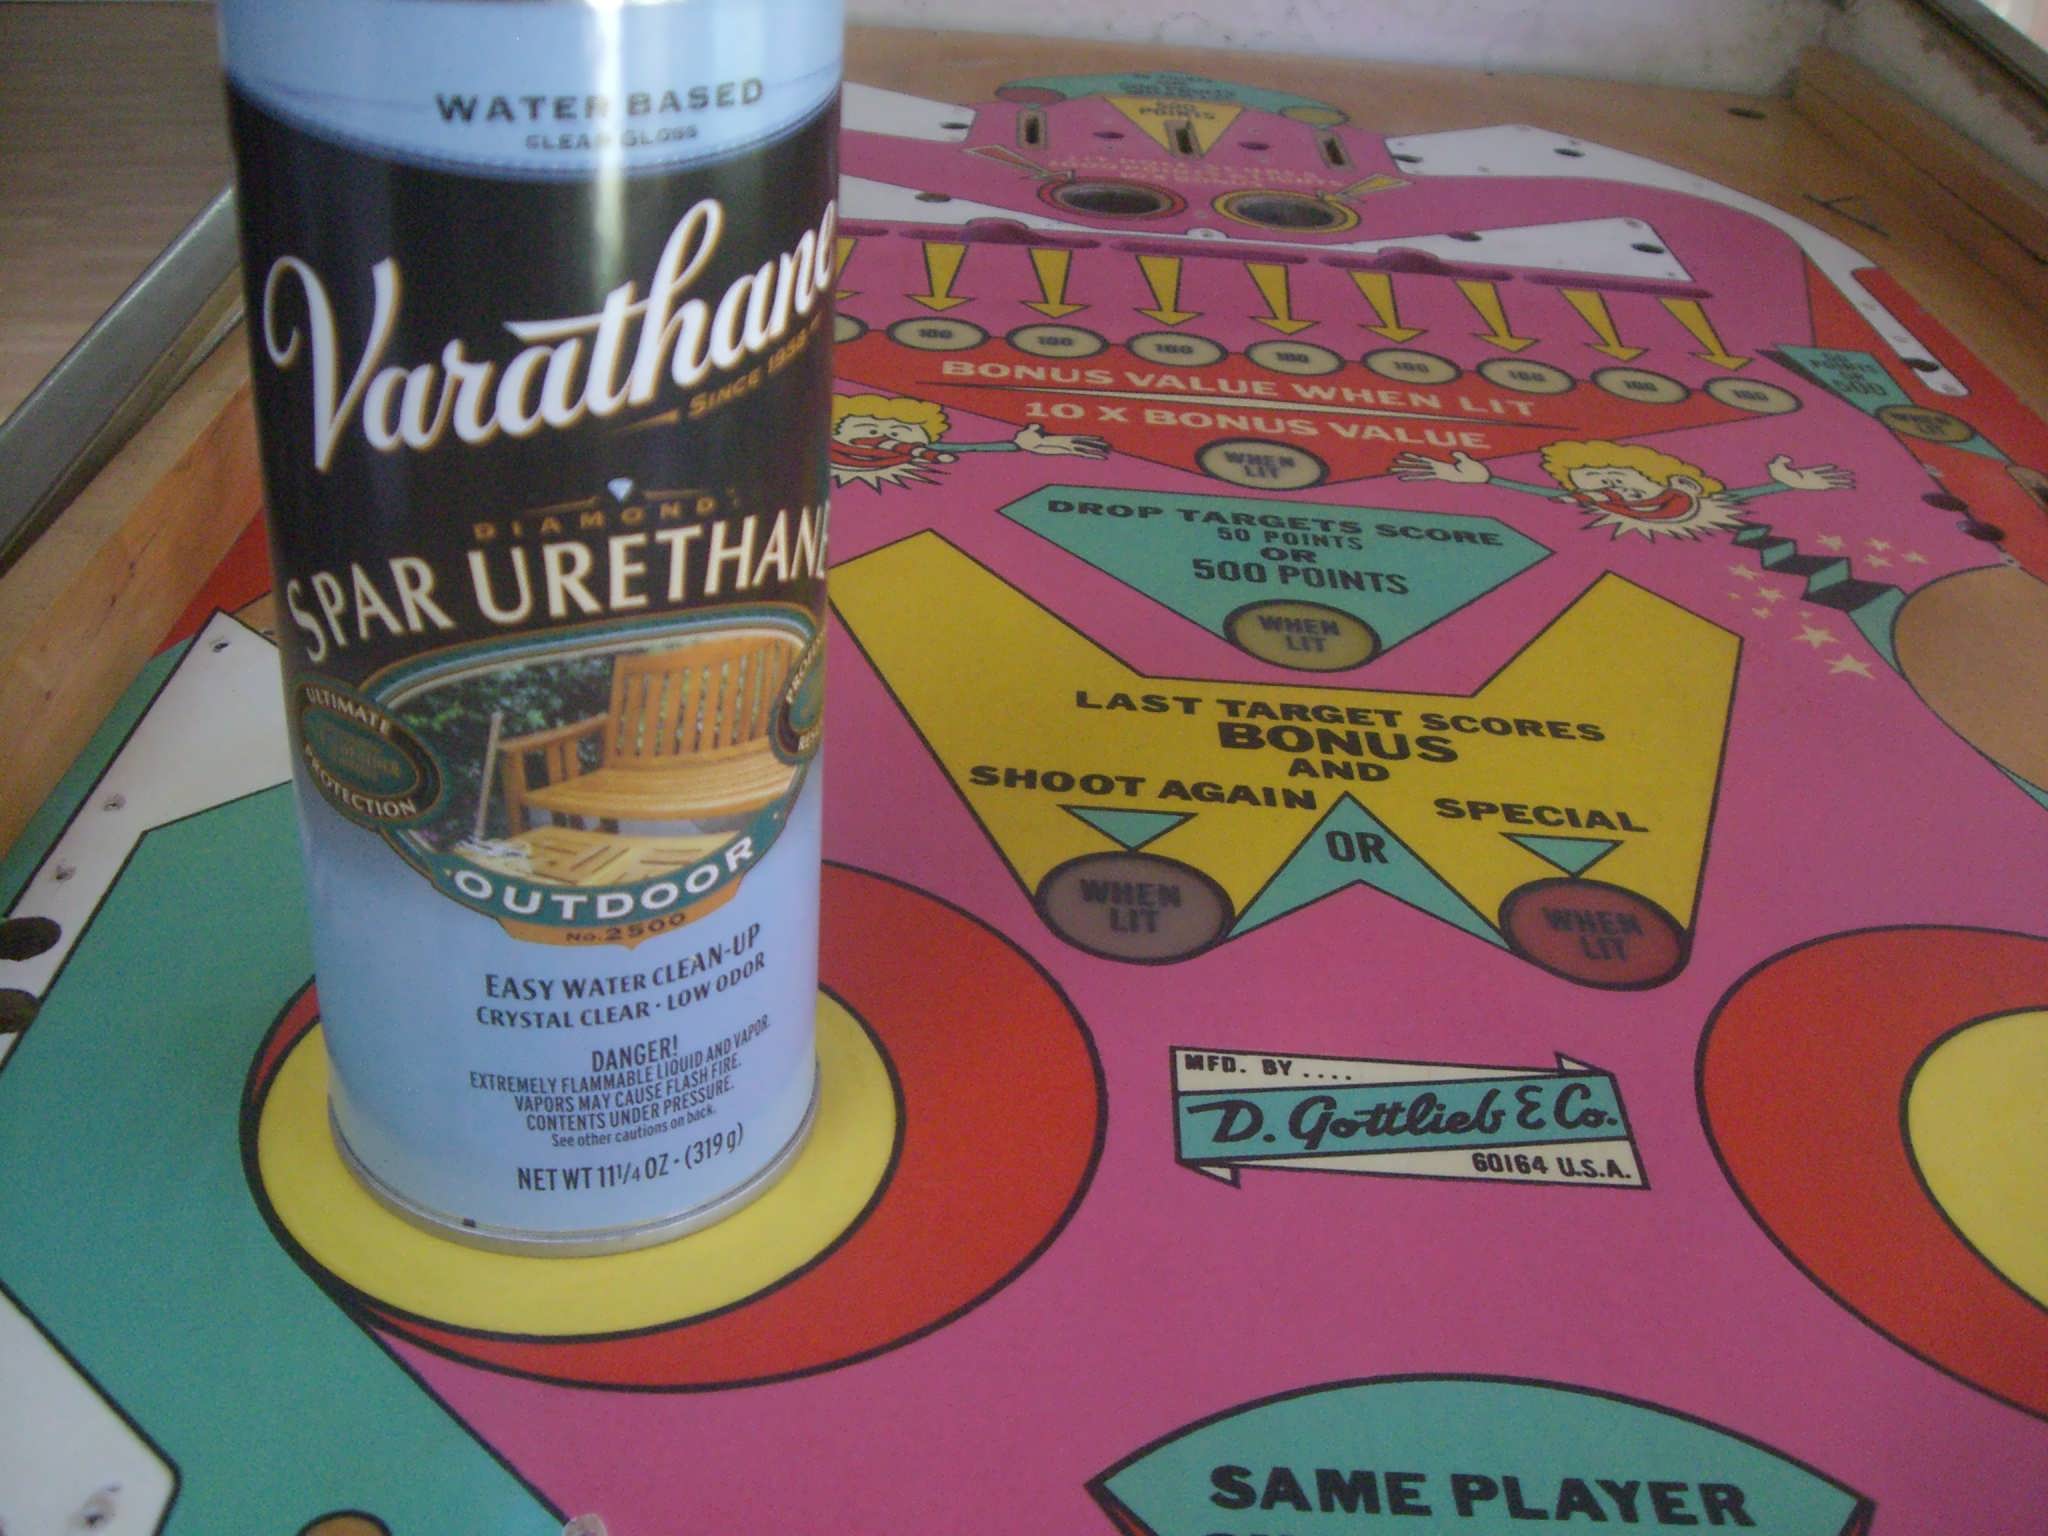
 Varathane laid down nice and heavy this time. We need a coat
thick enough to sand for leveling purposes. Speaking of which I should note that
this playfield is sitting absolutely level in both directions. I should have
mentioned that in the very beginning. I cut some 1x2 furring strip to make under
playfield supports to level it in the cab. Note some hardware is still on the
playfield. I didn't care because those were rusty parts and were getting swapped
out anyway with nicer pieces from a Wild Life I had to part out after a sad
shipping story. Note also I found that old alcohol bottle caps are a perfect fit
in the kickouts to protect them from spray :) All other metal hardware is
busy getting a polish in the
Berry tumbler at this stage. Next up we will be doing extensive
sanding for leveling and we'll tackle leveling the inserts as well.
Varathane laid down nice and heavy this time. We need a coat
thick enough to sand for leveling purposes. Speaking of which I should note that
this playfield is sitting absolutely level in both directions. I should have
mentioned that in the very beginning. I cut some 1x2 furring strip to make under
playfield supports to level it in the cab. Note some hardware is still on the
playfield. I didn't care because those were rusty parts and were getting swapped
out anyway with nicer pieces from a Wild Life I had to part out after a sad
shipping story. Note also I found that old alcohol bottle caps are a perfect fit
in the kickouts to protect them from spray :) All other metal hardware is
busy getting a polish in the
Berry tumbler at this stage. Next up we will be doing extensive
sanding for leveling and we'll tackle leveling the inserts as well.

 The Varathane was allowed to cure overnight. My faith had
been shaken to such an extent from the first attempt 3 years earlier that I was
actually a little scared to see how it turned out the next morning. Whew! All
was perfect! No other factory inks mottled and my touchups were unscathed.
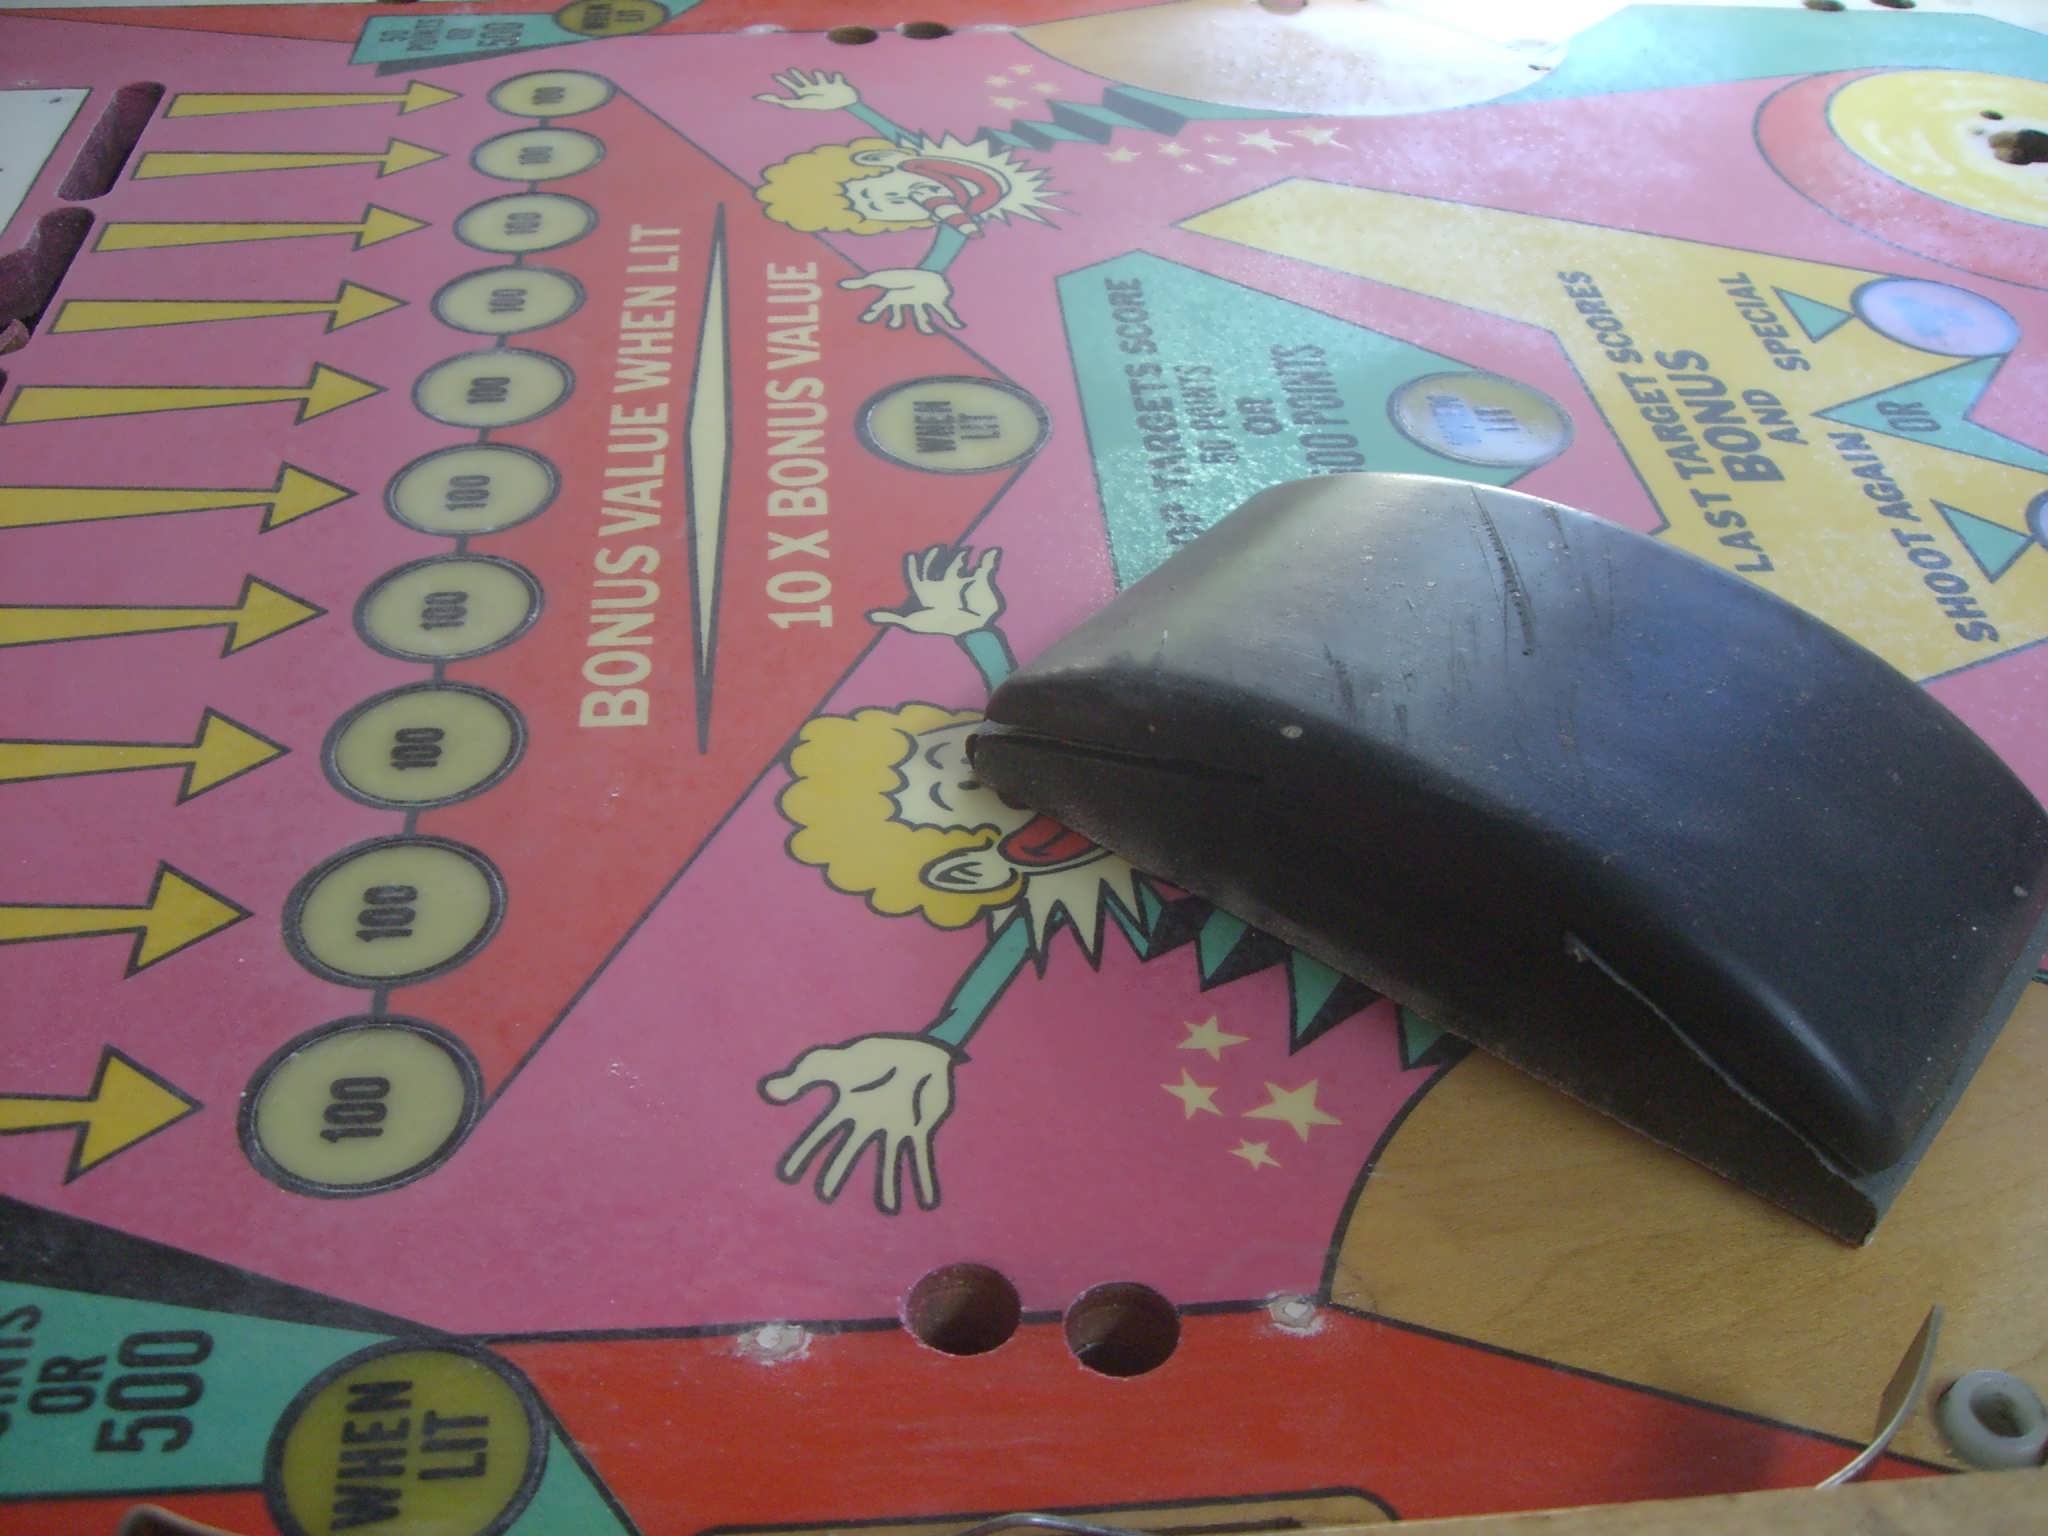
Now we have to sand the Varathane and get it down smooth and flat as possible.
ONLY sand Varathane DRY! I've done it wet but what happens is you cannot feel it
when it cuts through until it's too late. Any whetting agent will make the
layers peel like sun burnt skin. Dry sanding is great because you can cut across
many layers without it peeling. I keep a shop vacuum with brush attachment
running while I sand. This keeps the sanding debris pulled away rather than
letting it ball up under the sandpaper. I start with 320 wet or dry paper,
I prefer Norton papers myself as they don't tend to clog like cheap brands.
Still, I vacuum the paper every so often as well. From 320 grit I go to 400, 600
and finally 1200 or even 1500. But for now we'll only use 320, 400 and 600. The
goal here is to get the high spots even with the low spots. You can see what I
mean in the pictures above. Dull areas are sanded. Shiny areas are low spots. We
want the entire playfield a dull finish. We need to be careful not to sand
beyond the Varathane and into the newly painted pinks though so a watchful eye
is needed. Sand only by hand and only with a hard rubber block or perfectly flat
piece of wood. I use both. Rubber block for cutting and the wood block for final
finishing. Oh and by now I have removed all the metal hardware since they
certainly would prevent proper sanding :)
The Varathane was allowed to cure overnight. My faith had
been shaken to such an extent from the first attempt 3 years earlier that I was
actually a little scared to see how it turned out the next morning. Whew! All
was perfect! No other factory inks mottled and my touchups were unscathed.
Now we have to sand the Varathane and get it down smooth and flat as possible.
ONLY sand Varathane DRY! I've done it wet but what happens is you cannot feel it
when it cuts through until it's too late. Any whetting agent will make the
layers peel like sun burnt skin. Dry sanding is great because you can cut across
many layers without it peeling. I keep a shop vacuum with brush attachment
running while I sand. This keeps the sanding debris pulled away rather than
letting it ball up under the sandpaper. I start with 320 wet or dry paper,
I prefer Norton papers myself as they don't tend to clog like cheap brands.
Still, I vacuum the paper every so often as well. From 320 grit I go to 400, 600
and finally 1200 or even 1500. But for now we'll only use 320, 400 and 600. The
goal here is to get the high spots even with the low spots. You can see what I
mean in the pictures above. Dull areas are sanded. Shiny areas are low spots. We
want the entire playfield a dull finish. We need to be careful not to sand
beyond the Varathane and into the newly painted pinks though so a watchful eye
is needed. Sand only by hand and only with a hard rubber block or perfectly flat
piece of wood. I use both. Rubber block for cutting and the wood block for final
finishing. Oh and by now I have removed all the metal hardware since they
certainly would prevent proper sanding :)
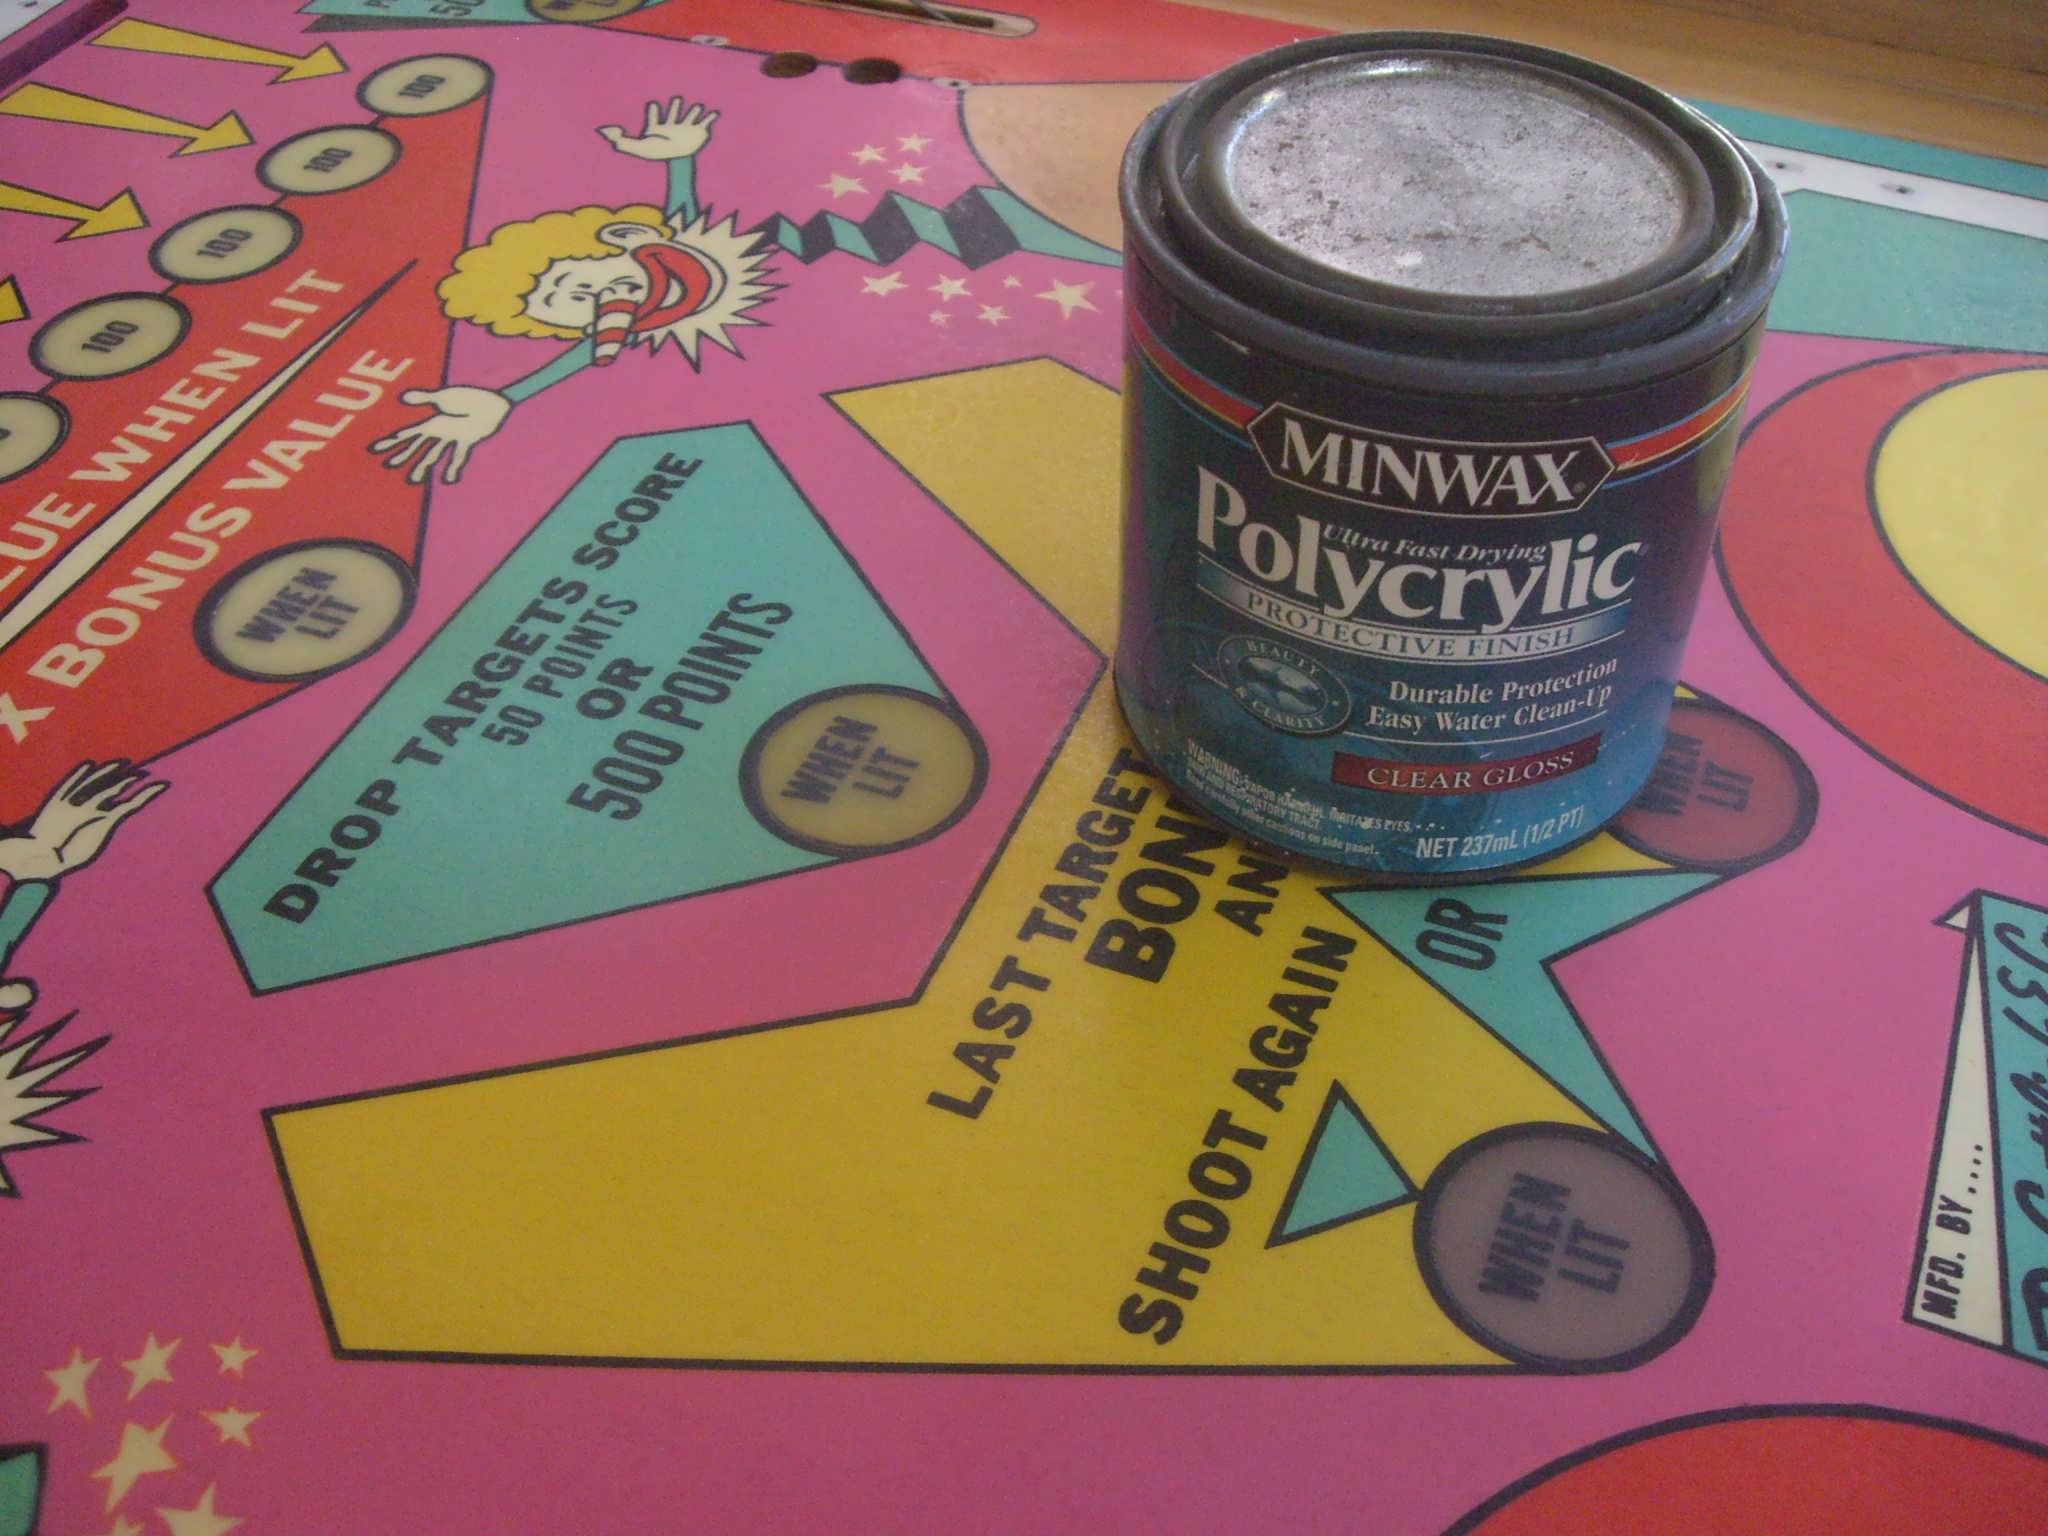
 I suppose I should show the Varathane I like to use. The interior version is
just as good and they can be mixed on the same surface, no problem. This pic
shows the playfield fully sanded. Note the full dull finish with only the most
minor of shiny low spots which will be filled later by the final gloss coats.
Alright. All sanded down so let's get those inserts filled and leveled. I
checked for loose inserts way back on the first restore attempt and no loose
ones found. If there were any I would have glued them first. I did fill the edges
somewhat with superglue and painted the black lines with Testors enamel and my
#000 brush.
I suppose I should show the Varathane I like to use. The interior version is
just as good and they can be mixed on the same surface, no problem. This pic
shows the playfield fully sanded. Note the full dull finish with only the most
minor of shiny low spots which will be filled later by the final gloss coats.
Alright. All sanded down so let's get those inserts filled and leveled. I
checked for loose inserts way back on the first restore attempt and no loose
ones found. If there were any I would have glued them first. I did fill the edges
somewhat with superglue and painted the black lines with Testors enamel and my
#000 brush.
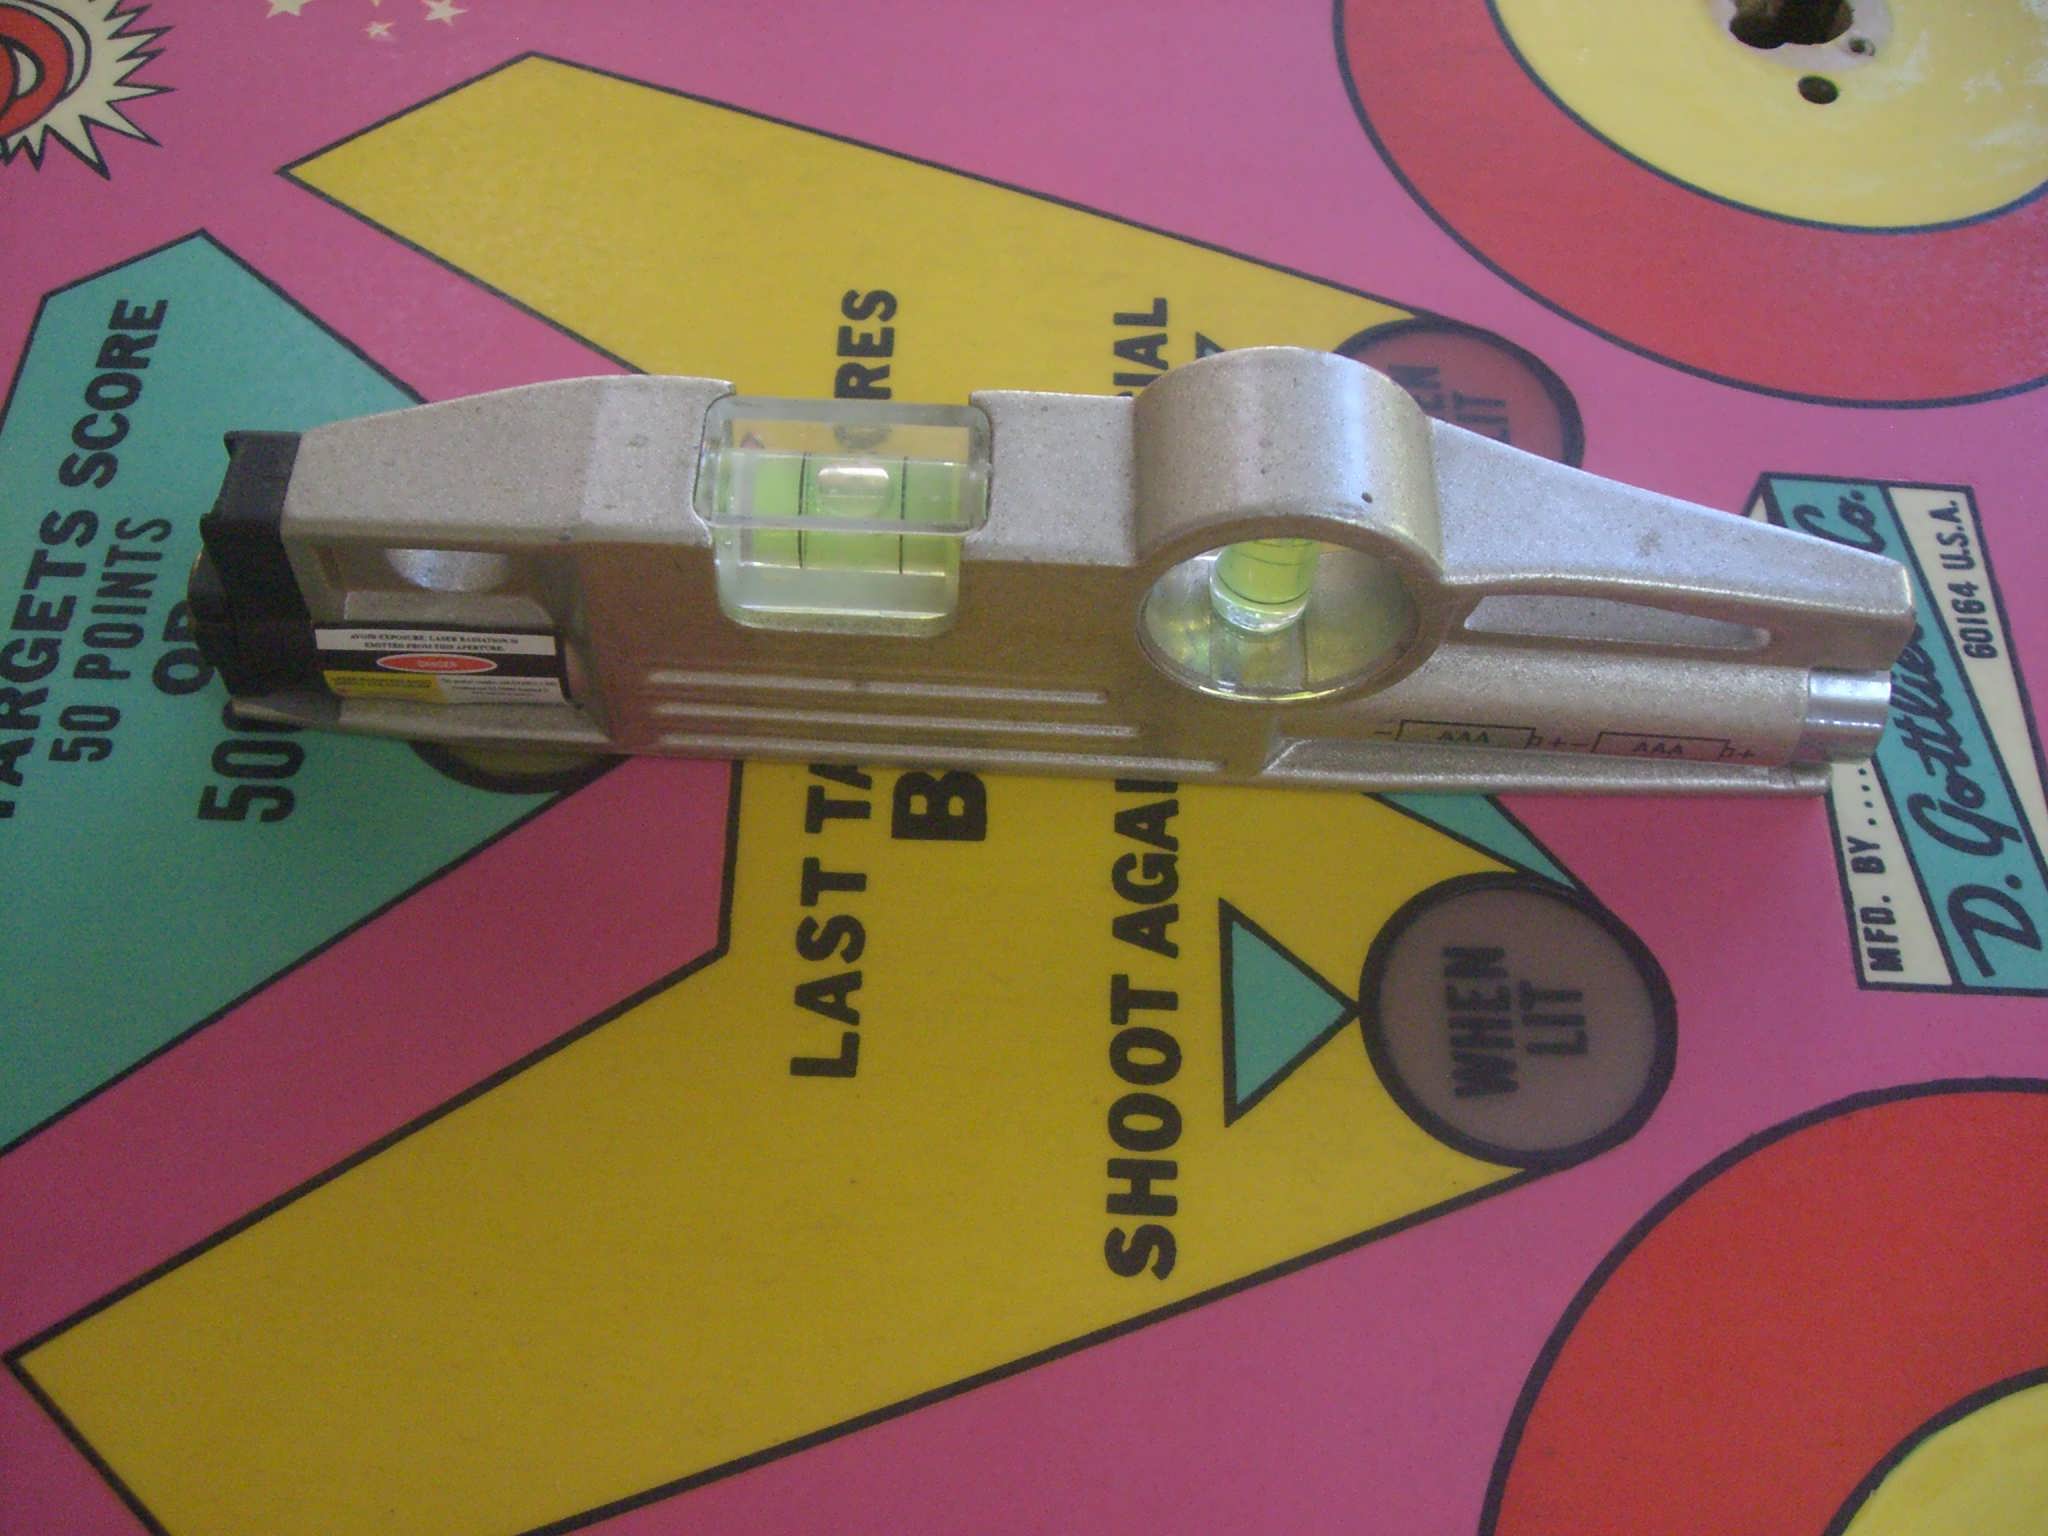
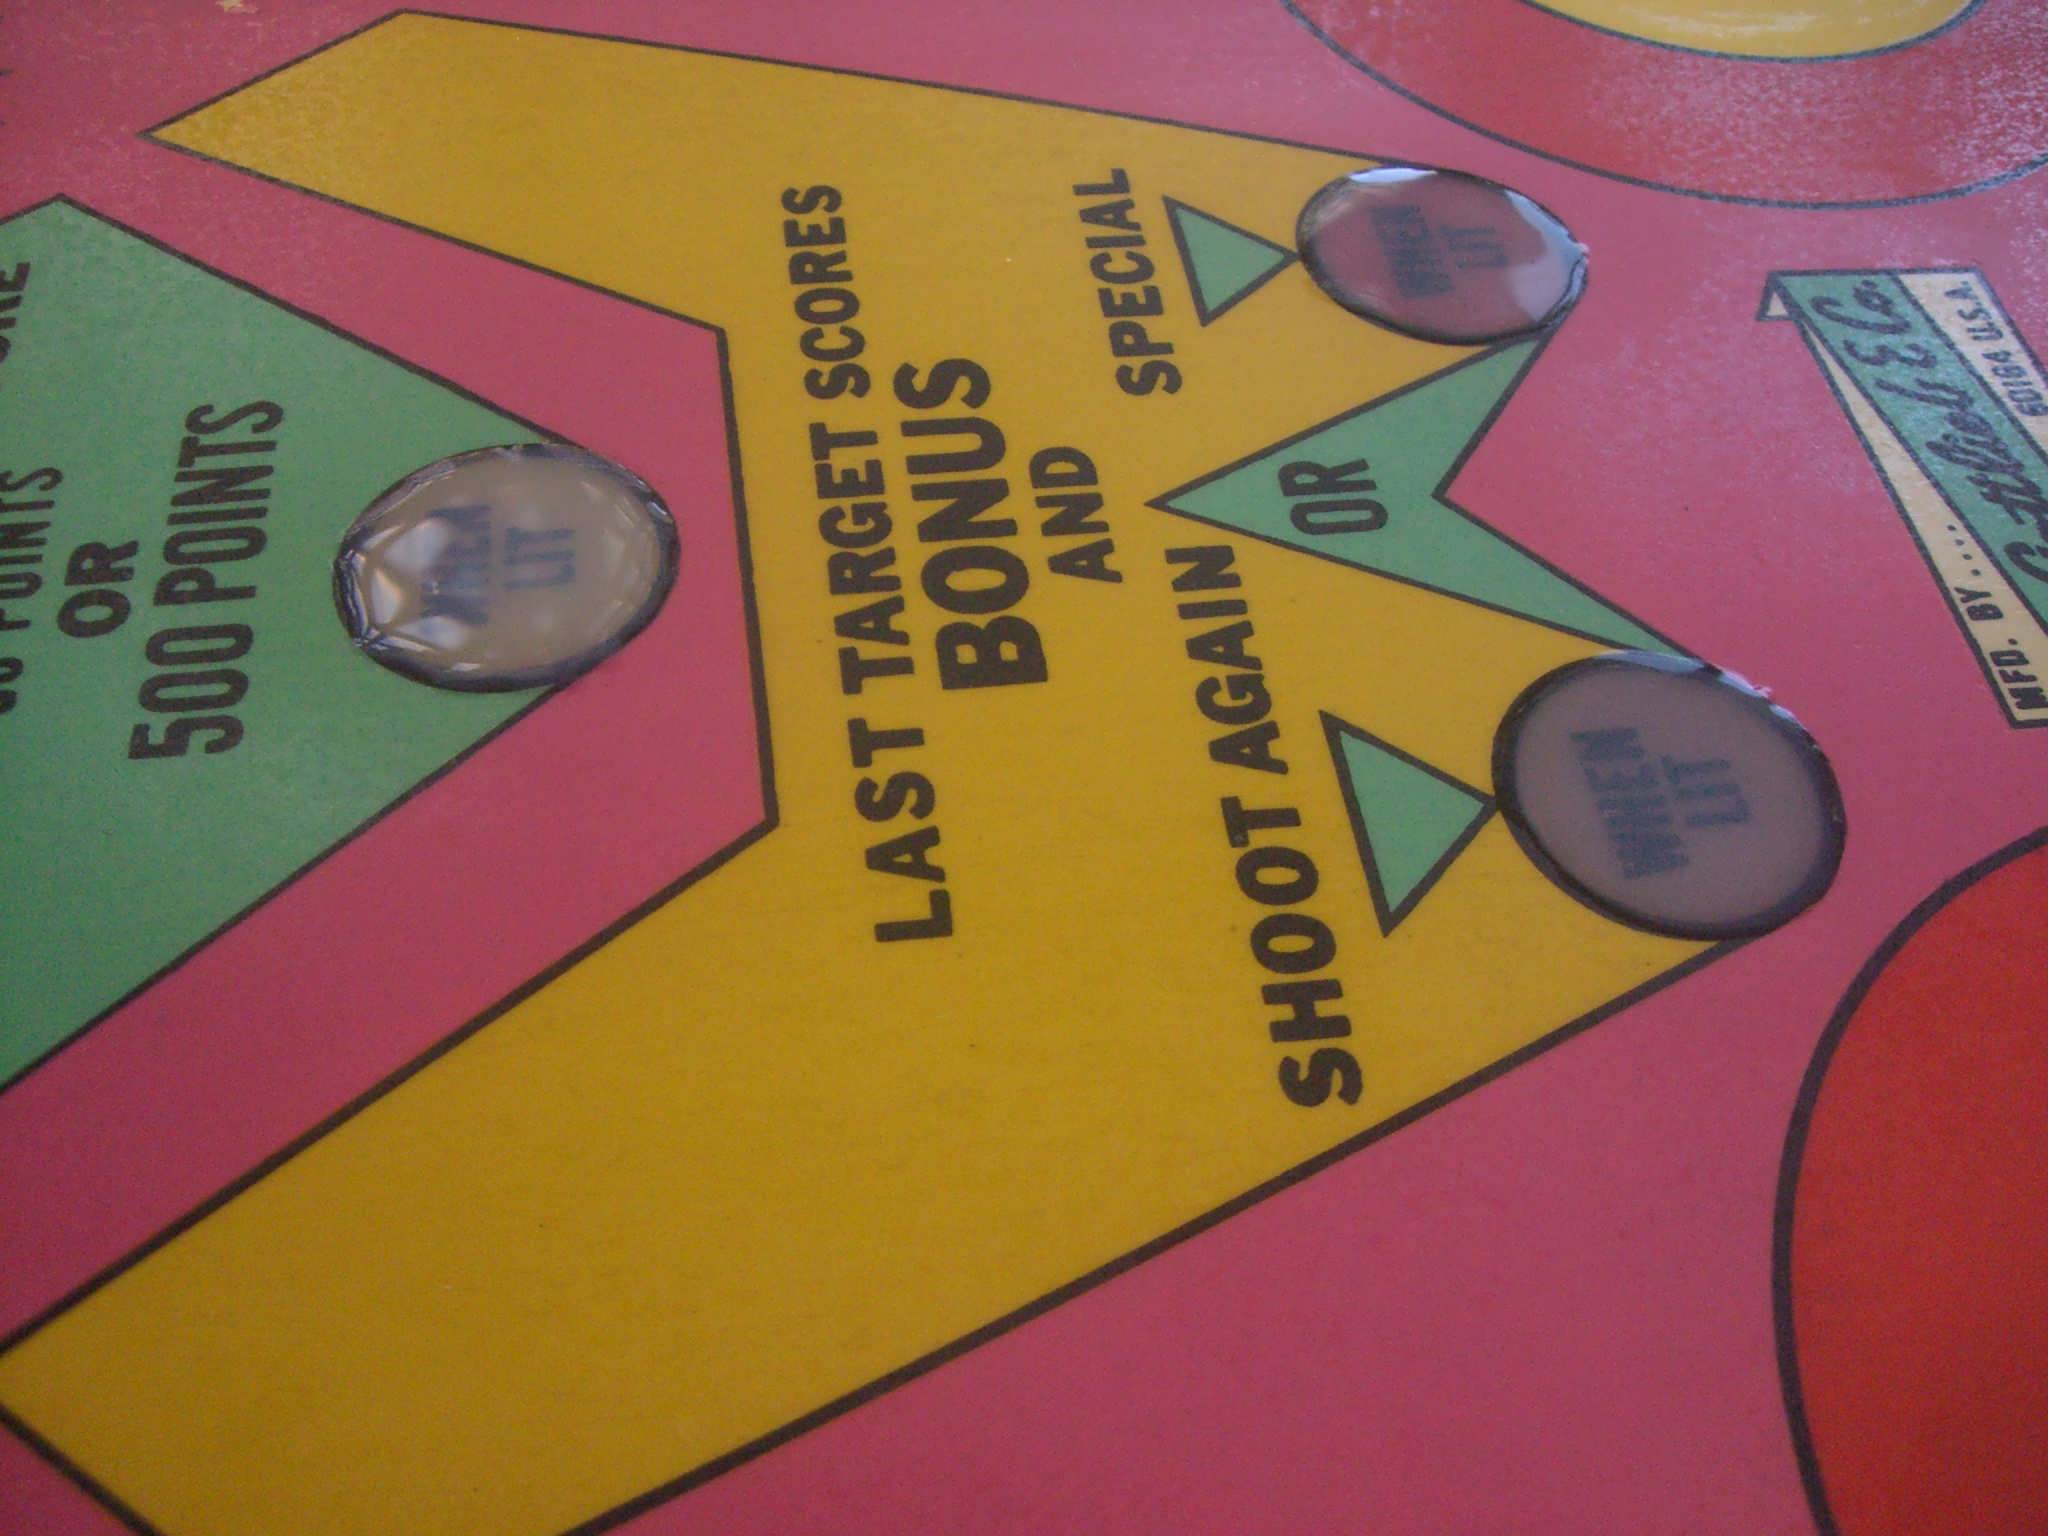
 Tools of the trade. I'll use Minwax Polycrylic gloss clear
to fill the dished inserts. I've used it before for this and it's just fantastic
stuff. The other two pics show how the playfield needs to be absolutely level in
both directions. Note the inserts are dull too. You need to use a Scotchbrite
pad to scuff these up ever so slightly.
Tools of the trade. I'll use Minwax Polycrylic gloss clear
to fill the dished inserts. I've used it before for this and it's just fantastic
stuff. The other two pics show how the playfield needs to be absolutely level in
both directions. Note the inserts are dull too. You need to use a Scotchbrite
pad to scuff these up ever so slightly.
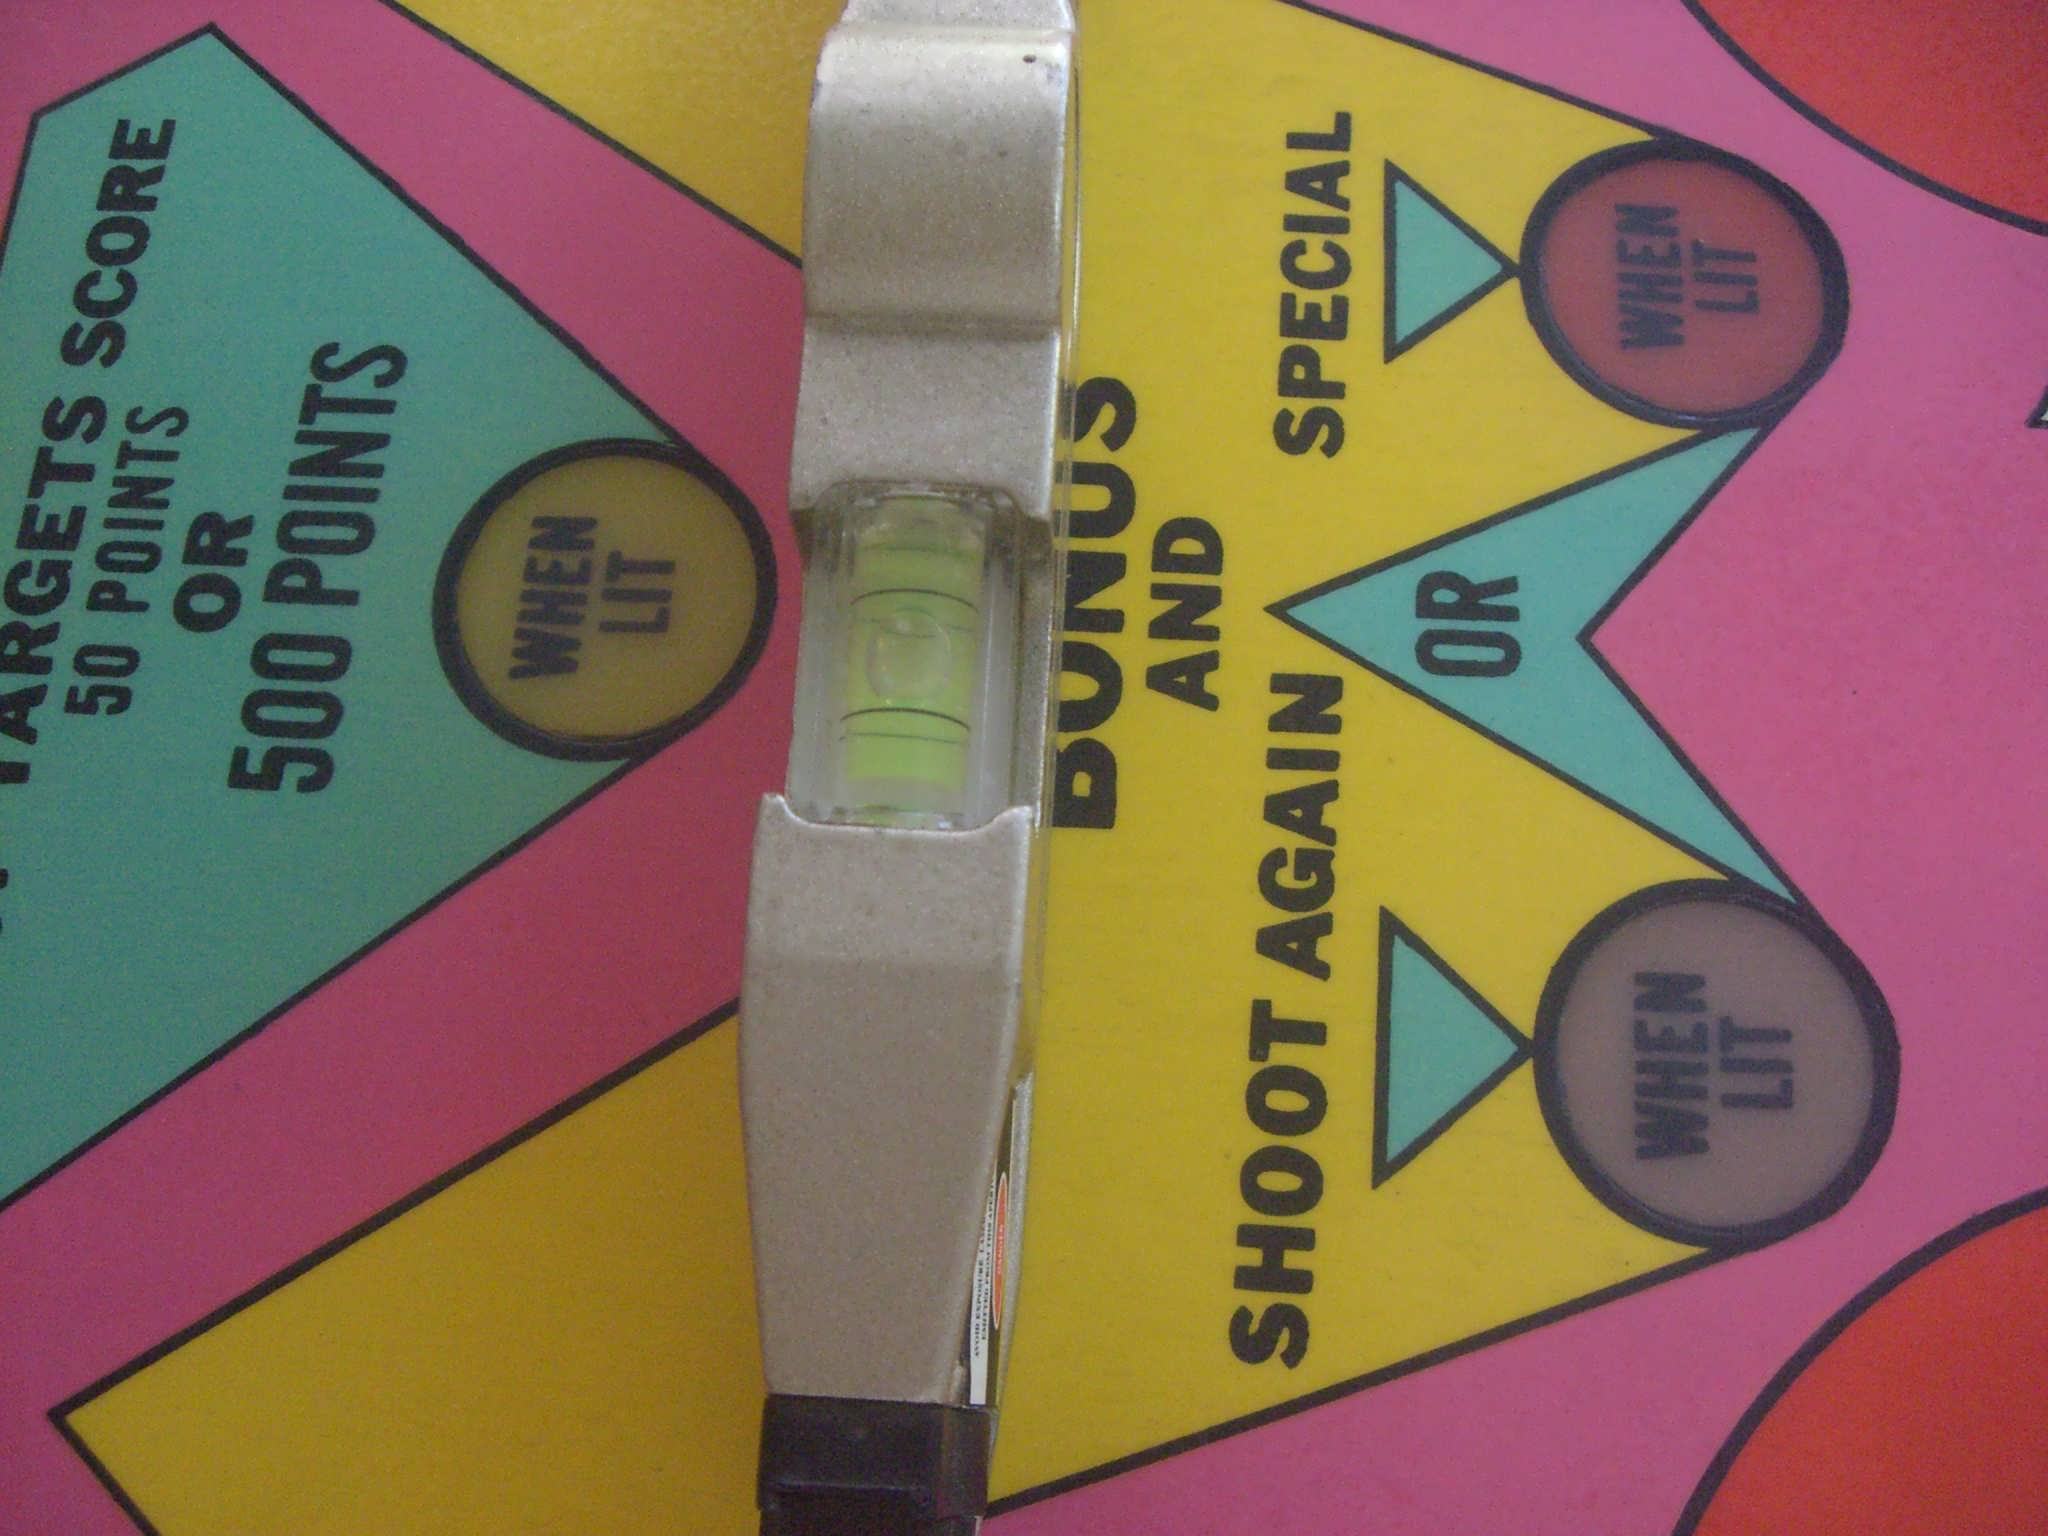
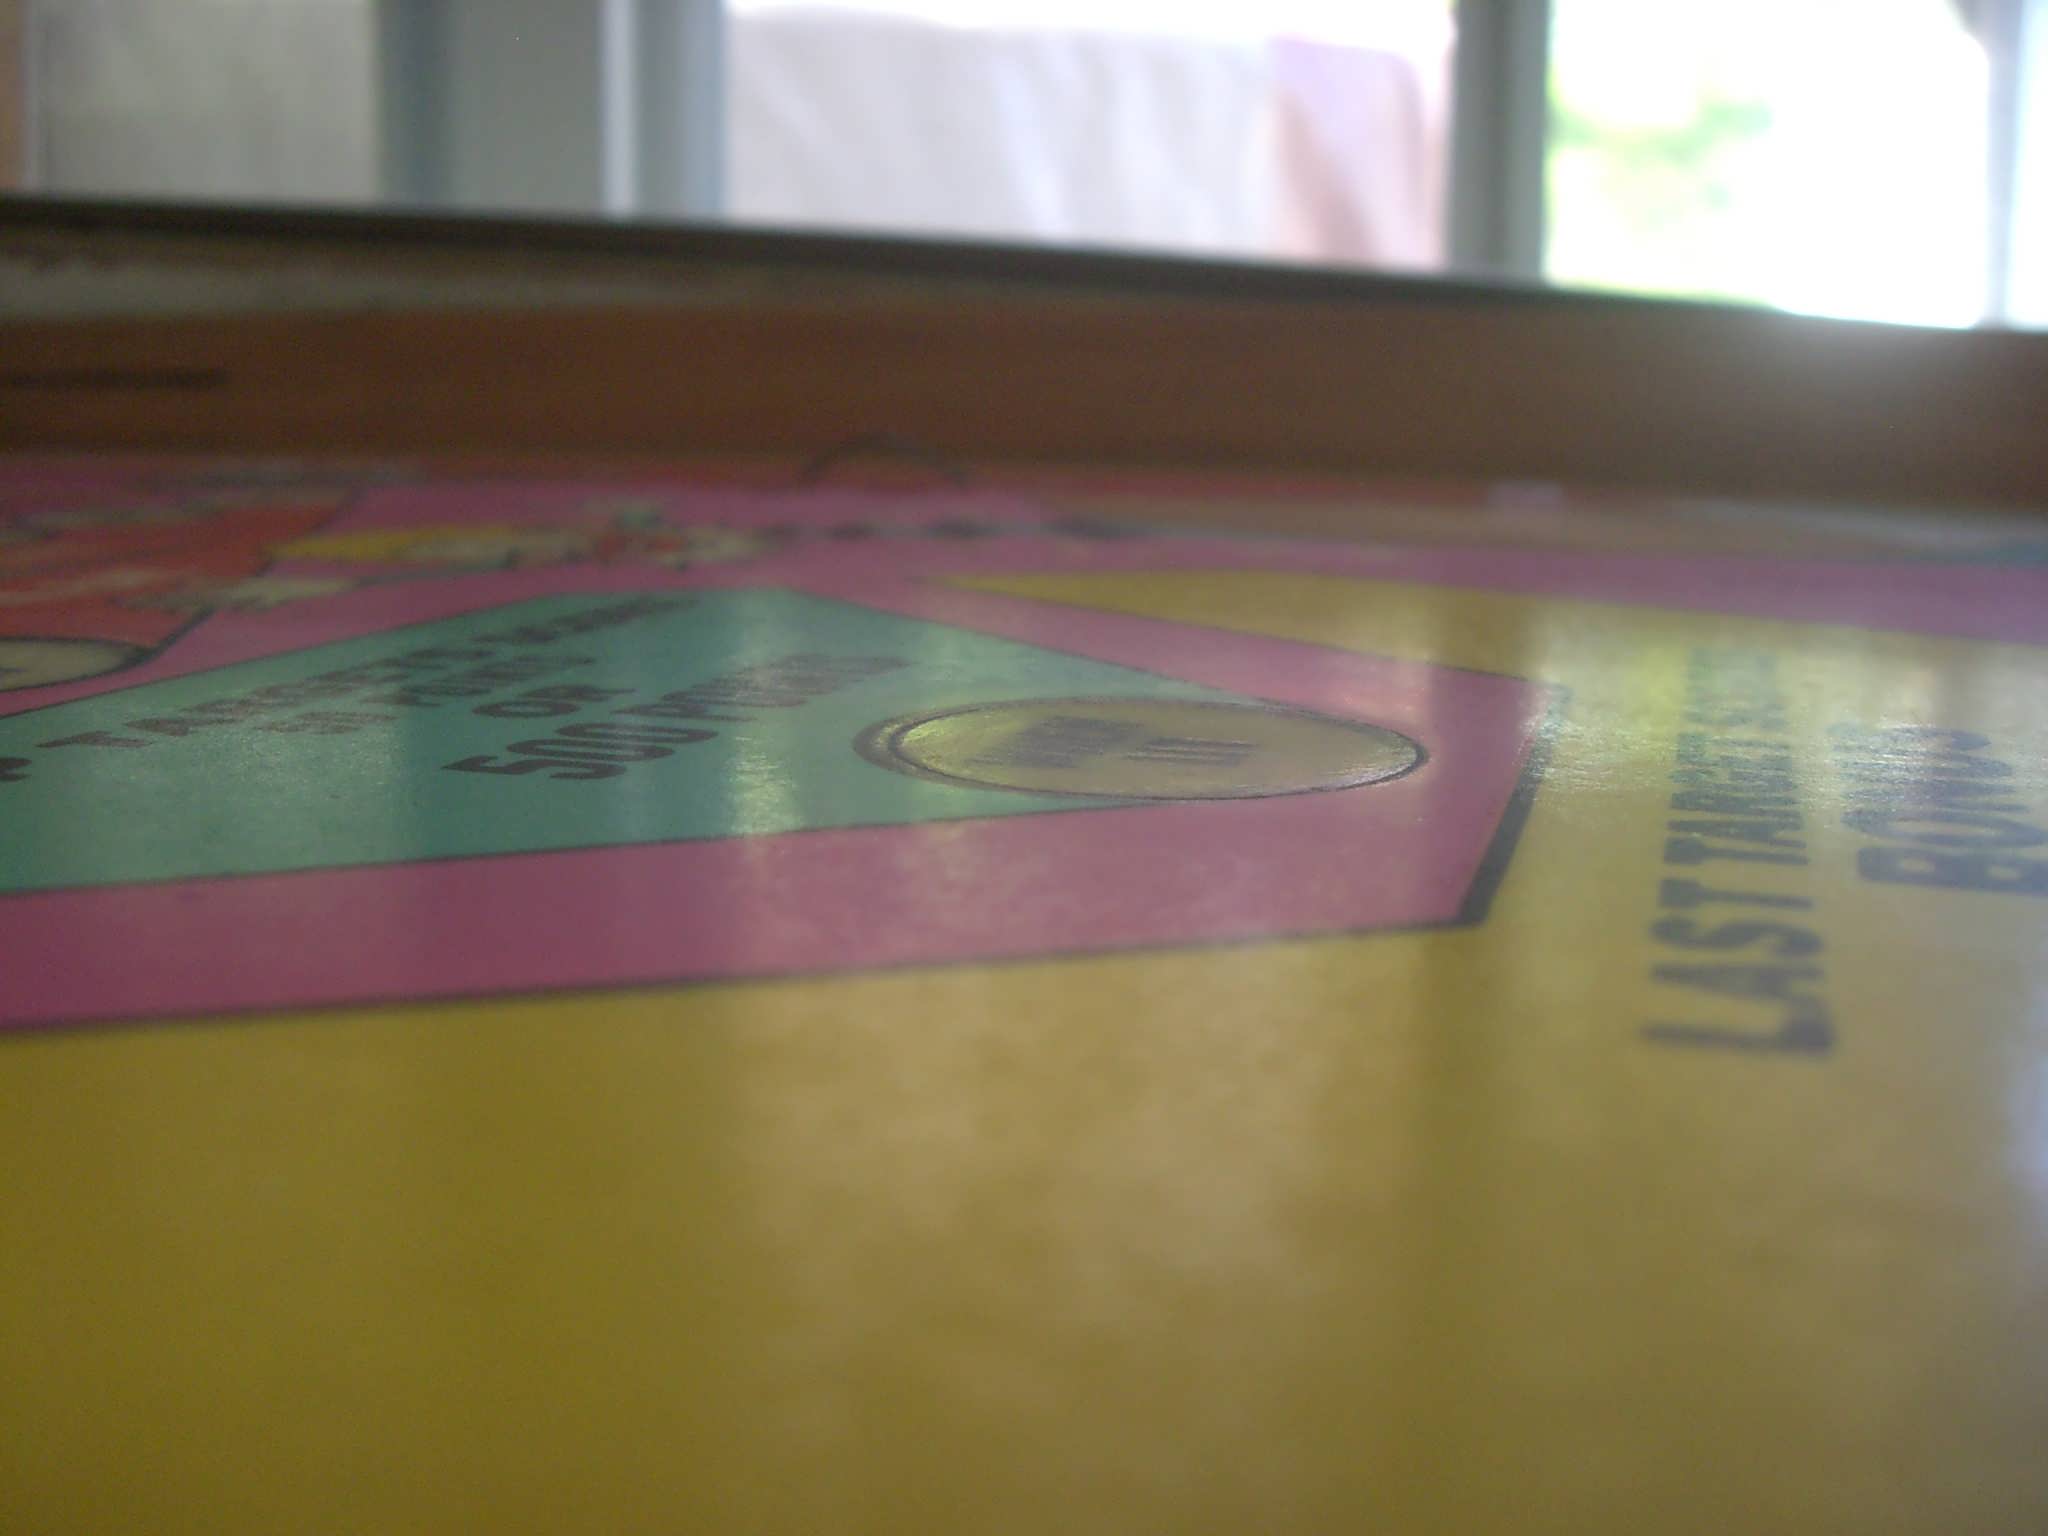 A dished insert.
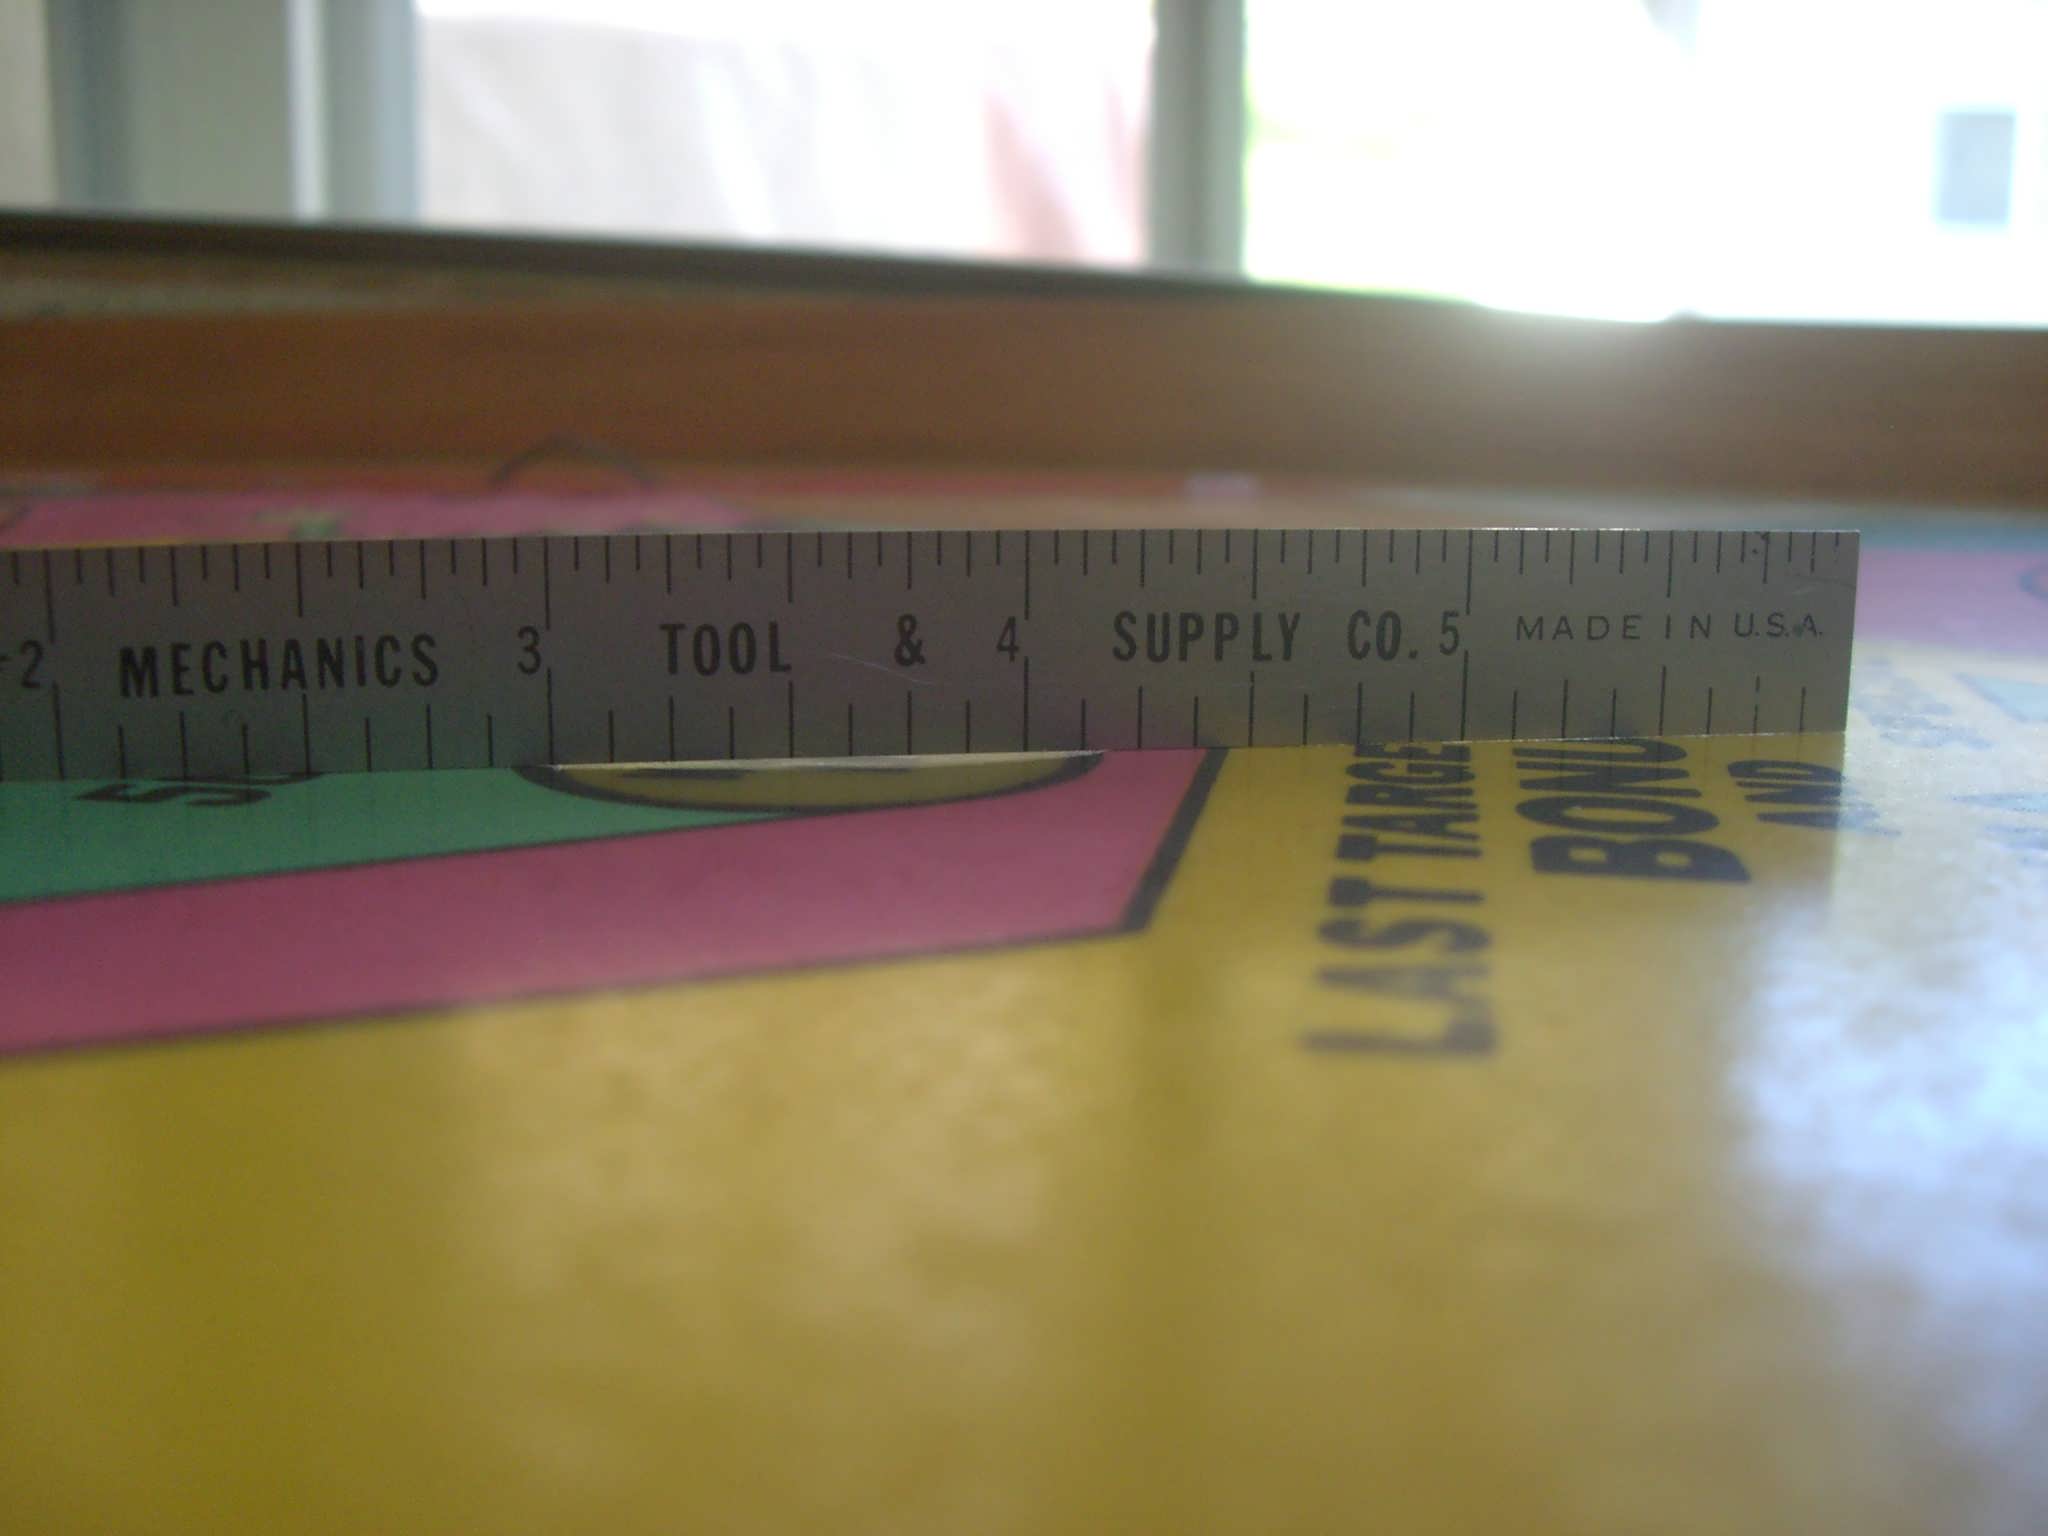 Verifying the dish with a straightedge. Let's fill 'er up!


 Just slightly overfilled. I drip it in with a paint brush. Do NOT "paint" it on
the insert as you will surely capture air bubbles by doing so. Just dip and
drip. As it dries it will shrink so you need to overfill about this much. On one
of them I even had to add more later. Cure overnight and start sanding!
Just slightly overfilled. I drip it in with a paint brush. Do NOT "paint" it on
the insert as you will surely capture air bubbles by doing so. Just dip and
drip. As it dries it will shrink so you need to overfill about this much. On one
of them I even had to add more later. Cure overnight and start sanding!
 Knock down with 320 on a wood block.

 Then use 400 and 600. Now check with your straightedge...
 Perfect!
Now that all the inserts are leveled I use a wood block with 600 and sand the entire playfield one last time followed by 1200-1500. Use small circles and no pressure on the block, just glide it. Vacuum up the debris and wipe down with a well soaked clean cotton cloth dripping with Naphtha. If you need one more coat of Varathane shoot it now, let cure overnight and then color sand with 600 and 1200. In my case it wasn't needed so it's on to machine buffing!